Pair & Manage your Devices
Now that you have the Taplytics SDK installed, you should pair your device. Taplytics uses your device to show you visual changes you are making in real time. There are two ways to pair your device with Taplytics. You can pair your device through Development Build Pairing or you can set up Advanced Pairing which allows you to pair both development and production builds and it links your device via text, email, or ping.
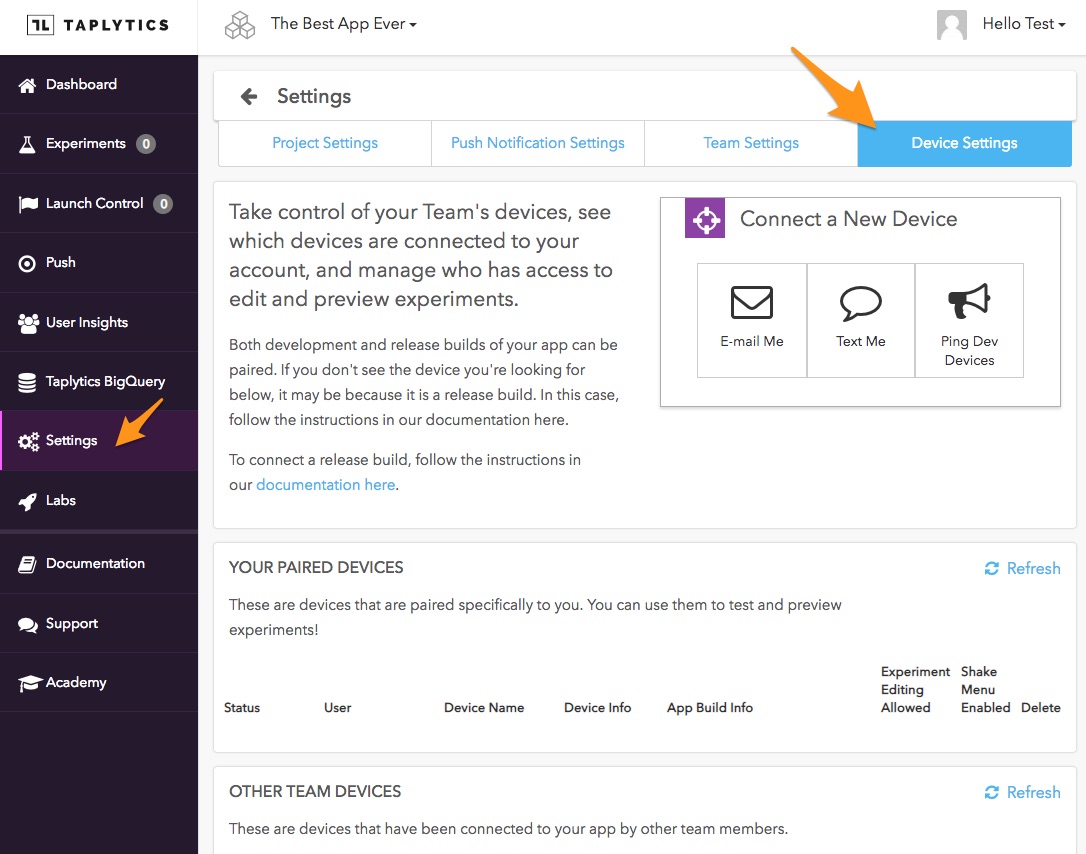
To check your paired devices, go to Settings > Device Settings

Development Build Pairing
While your app is still in development, you can pair your device by connecting it to your computer or by running your app on a simulator. Available devices show up in the pair list. All you need to do is click on "Pair Device" next to the desired device.

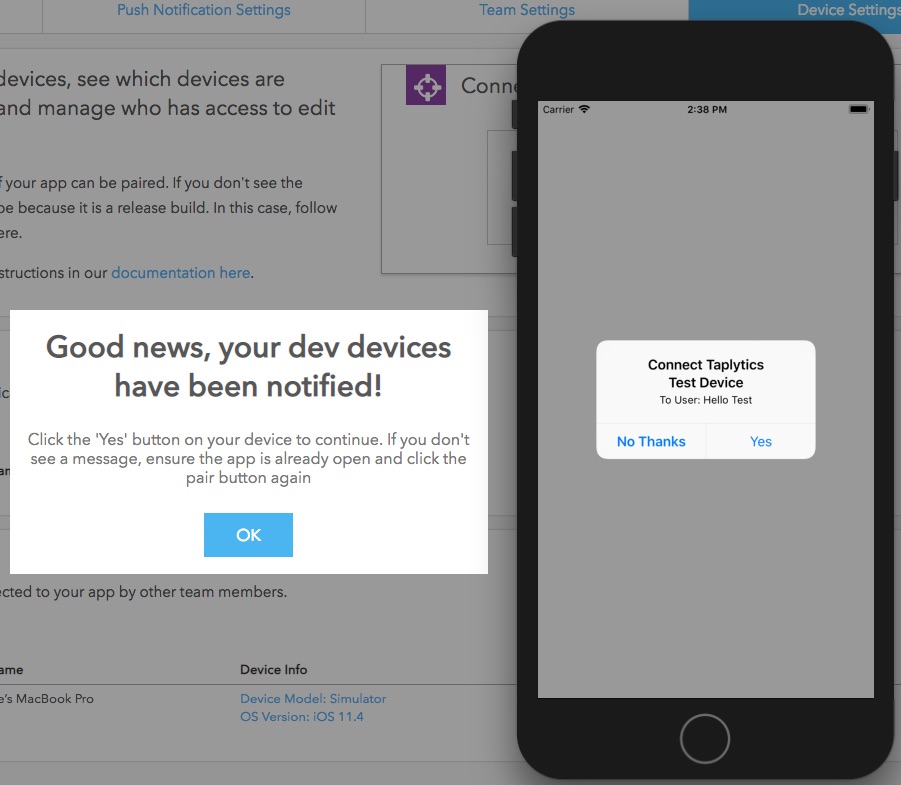
When you pair your device, an alert will pop up that asks you to connect the device to your Taplytics account.

Tap "Yes" and the status of the device should be updated to "Paired".

Advanced Pairing
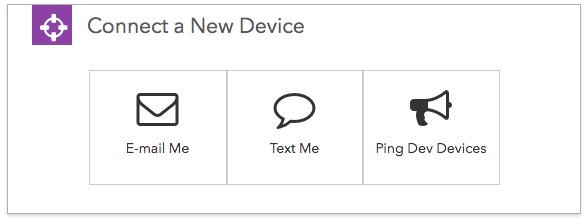
If you haven't already, we recommend that you take a few minutes and set up Advanced Pairing so you can work on visual experiments in production mode as well. Plus it's an awesome way to pair your device, you can pair your device via email, text, or ping! To do so, check out the Advanced Pairing documentation.
If you have already set up Advanced Pairing, click on your pairing method of choice on the Dashboard and follow the on-screen prompts to connect your device.

Manage your Devices
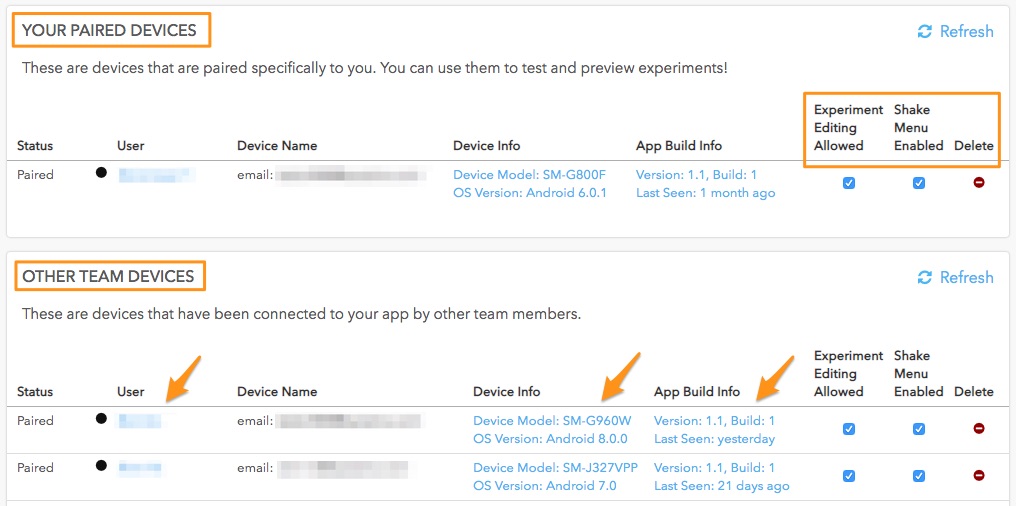
In Device Settings, you can also manage your own or your team devices.
- Allow experiment editing
- Enable/Disable Shake Menu. What is Taplytics Shake Menu?
- Delete a device
If you click on a User, a Device, or an App Build Info, it will redirect you to that selected User Details Page. Check out the User Insights section of our documentation to find out more about what user data is available in Taplytics Dashboard.

Updated over 5 years ago
