Types of Experiment Goals
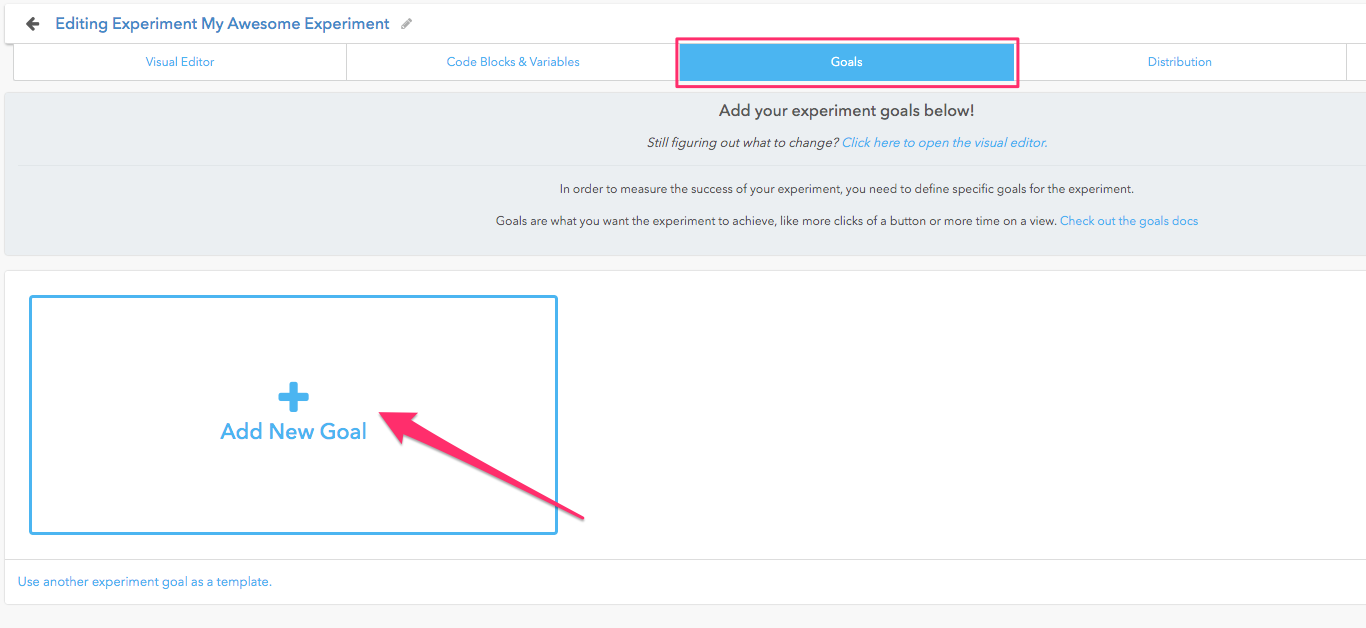
Taplytics allows you to create a goals to measure the success of your experiment. You can leverage several out of the box goals, leverage one of your own analytics events or create your own to track. Below we will go over a few examples of the type of goals that are available to you!
Taplytics Goal Types
Use the sidebar on the right to jump to a specific goal type.
All of these goals are available via the drop down on the goals section of the Taplytics Dashboard.
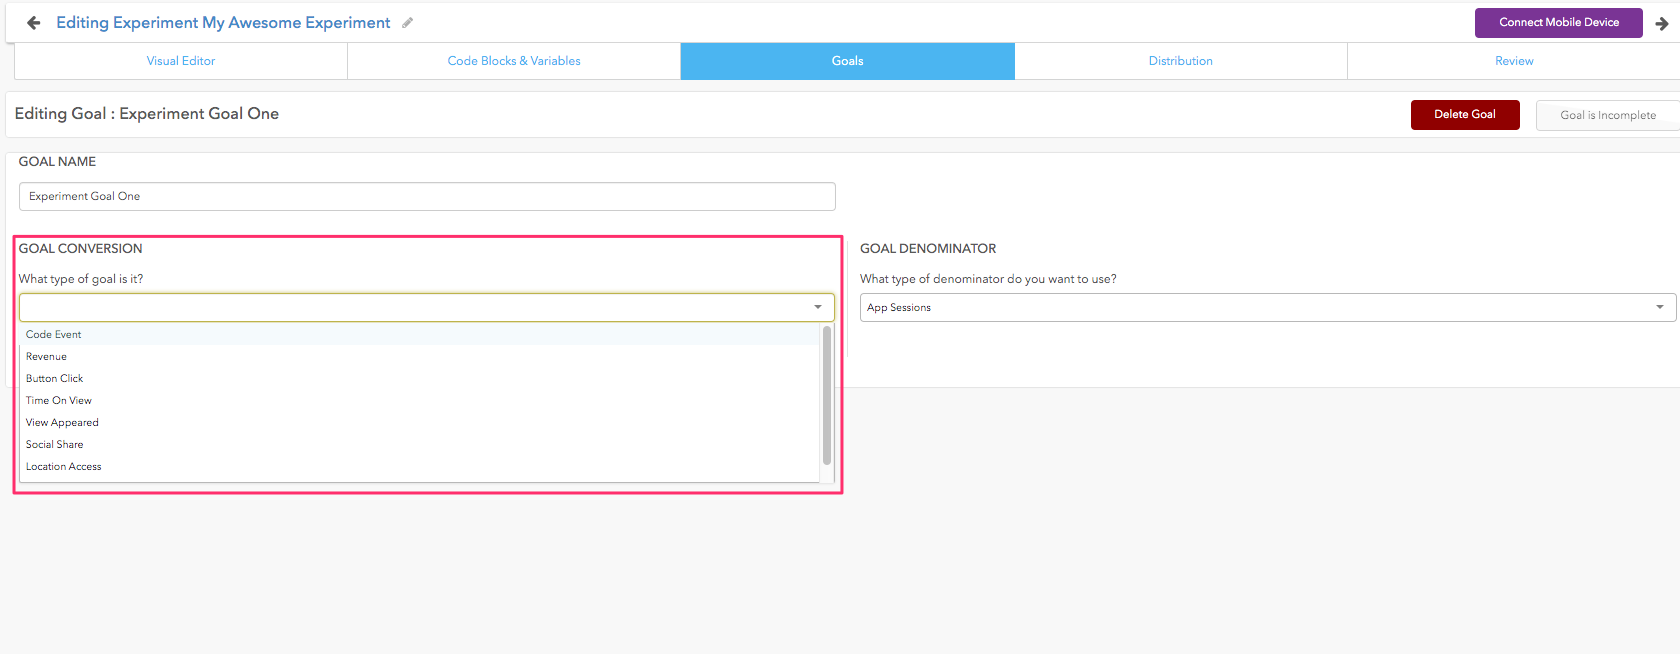
Code Event Goal
Code event goals allow you to use any event that you pass to Taplytics as a goal metric. This can include things like "Purchase Started" or "Sign up Completed" depending on the type of events you are tracking.
If you are moving users through a funnel it can be helpful to track events that show users are progressing through it and potentially point to areas of large drop off.
Revenue Goals
In order to use revenue goals you must be passing Taplytics revenue events.
// Log Revenue - Objective-c
[Taplytics logRevenue:@"Purchase" value:@10.25 metaData:@{@"Item":@"blueSweater"}];
// Log Revenue - Swift
Taplytics.logRevenue("Purchase", revenue: 10.15, metaData: ["Item": "blueSweater"])
// Log Revenue - Android Studio
Number someRevenue = 10000000;
Taplytics.logRevenue("Revenue Name", someRevenue);
You can use revenue goals to track the average of the event's numeric value that you send to Taplytics.
Button Click
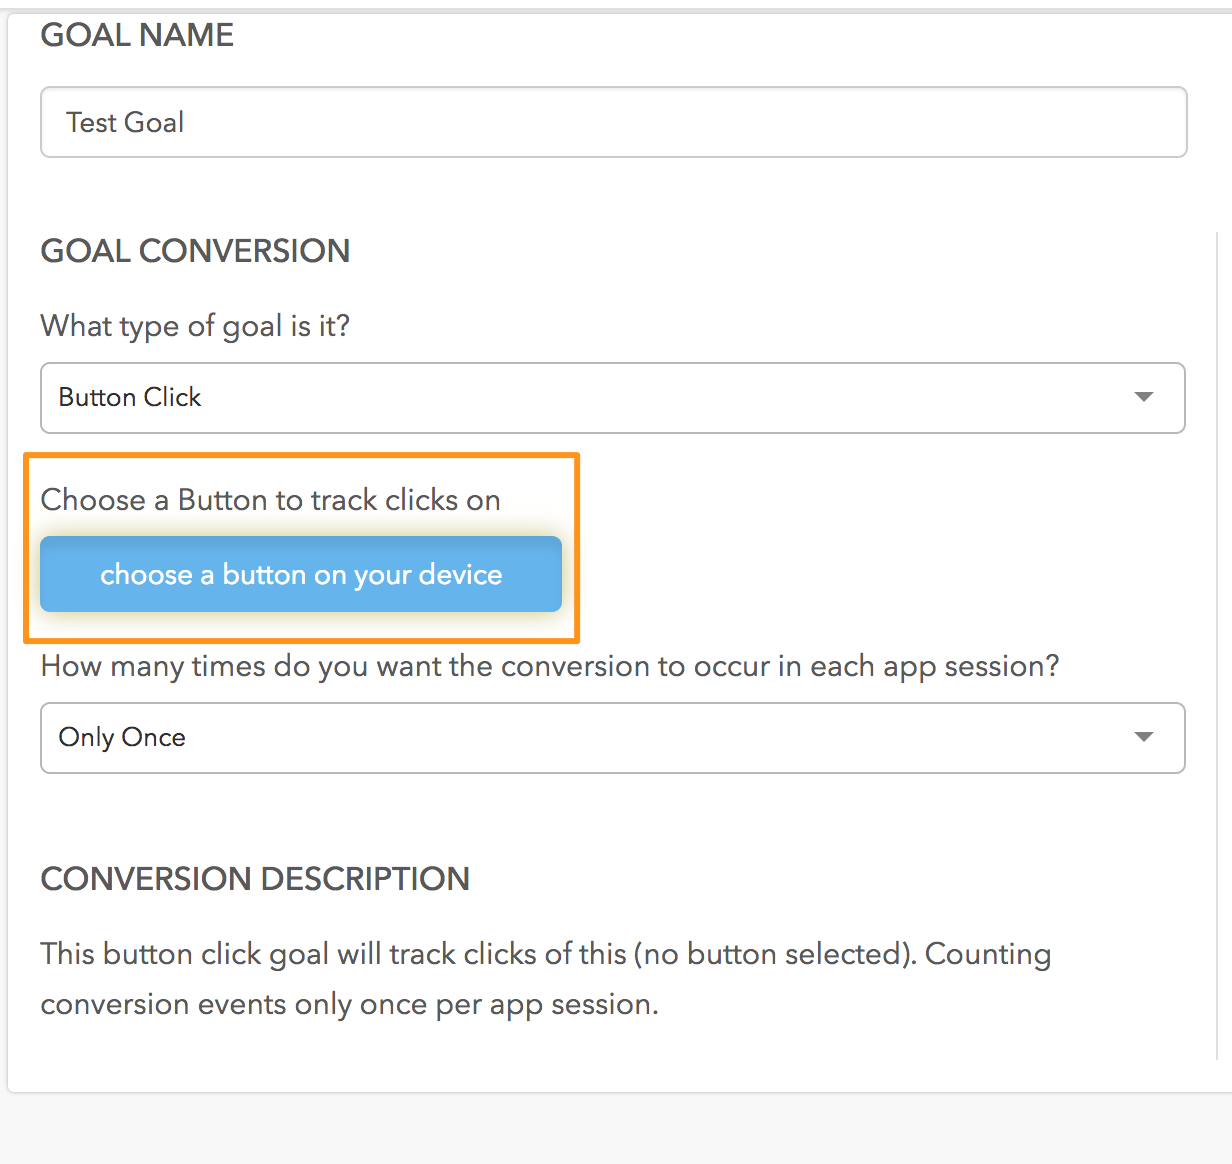
If you do not already have your own code event associated with a specific button on your app you can use the "Button Click" goal in order to measure the number of times users click on your app.
The set up of this goal requires that your phone is able to pair with Taplytics since in order to set the goal up you will manually select the button you would like to track a button click goals will allow you to track when users convert on these elements.
Time on View
The "Time On View" goal tracks the average time a user spends on a specific view of your app across your different experiment variations. This goal is useful for tracking user engagement on important views of your app.
Similar to the Button Click goal - The set up of this goal requires that your phone is able to pair with Taplytics since setup will require that you choose the view you would like to track.
View Appeared
A "View Appeared Goal" tracks the number of times a view is seen across your variations. This goal will help you track how far a user reaches into your view hierarchy depending on changes you make to your app.
Similar to the Button Click and Time on View goals - The set up of this goal requires that your phone is able to pair with Taplytics since setup will require that you choose the view you would like to track.
Social Share (for iOS only)
The "Social Sharing" goal lets you track when social sharing screens are used or canceled across all built-in iOS social services.
Location Access (for iOS only)
This goal tracks when an iOS location access alert is shown to your users and what their success/decline rate is.
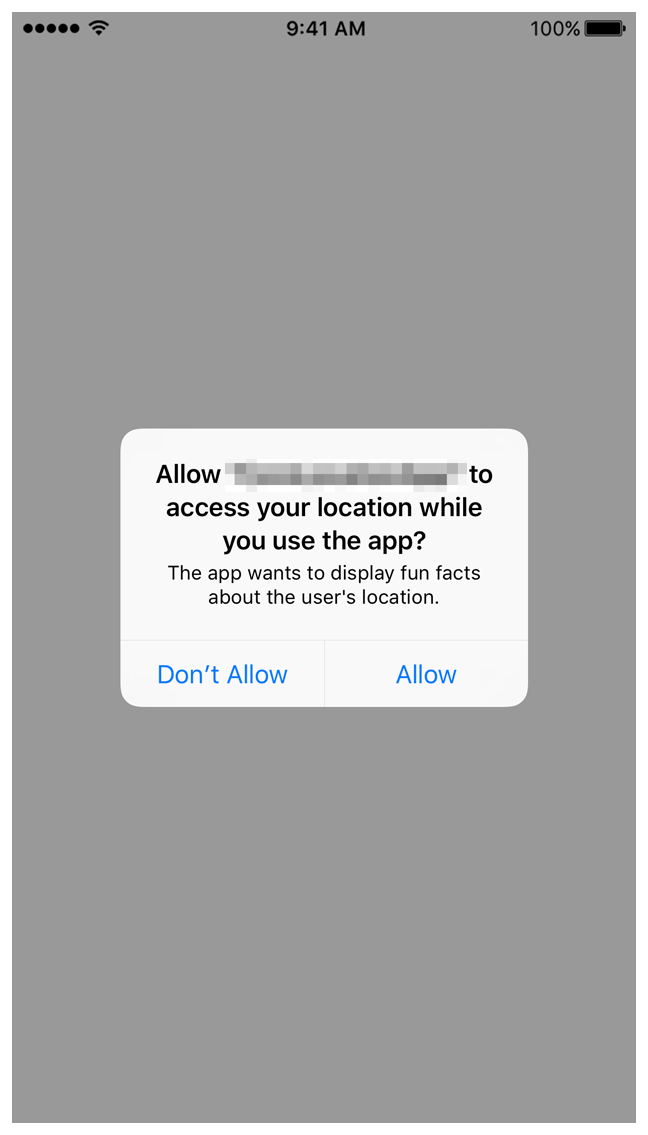
Photo Access (for iOS only)
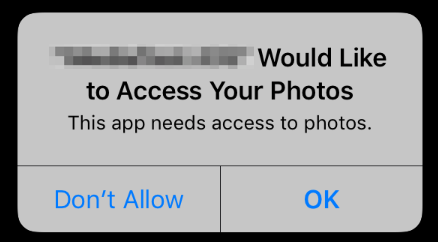
This goal tracks when you request iOS photo library access from your users and their success/decline rate.
Once you've selected your goal conversion event you will need to select what you will measure it against. Taplytics calls this a goal denominator.
If you think of the conversion event as the numerator in a fraction, then the denominator event is, well, the denominator.
Your options for Goal Denominator are:
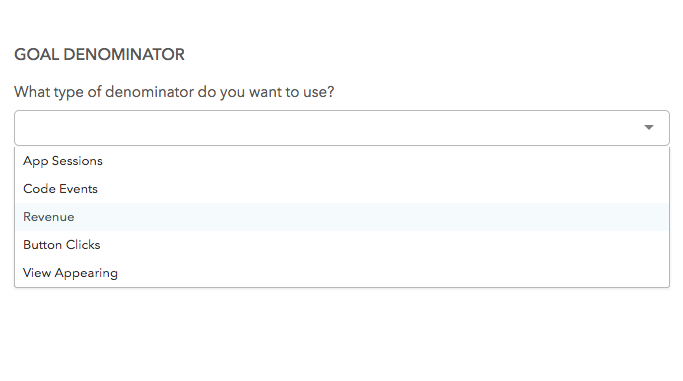
If you are unsure of what to use for this field then using "app session" is a good place to start. This will count how many conversion events happen either per app session or mutliple times a session depending on your needs.
If you want to be more precise when it comes to measuring your goals, we give you a number of other options.
An important thing to note is the check box at the bottom of the screen that indicates if you want the goal to be a conditional goal. This means that the denominator event must happen before the conversion event will be counted.
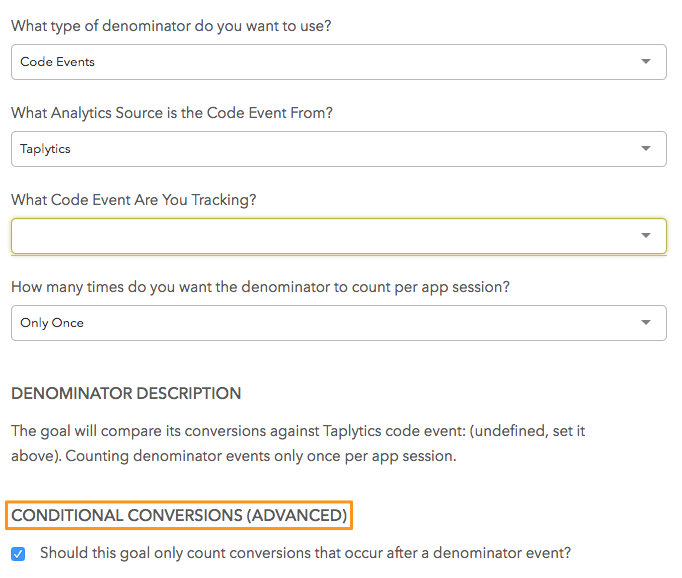
This ensures that conversions only happen when users are in the appropriate place within the app.
Updated over 5 years ago
