How to Setup a Taplytics Project
Walk before you run
If you've made it this far, you've created an account and are logged in to the Taplytics dashboard. If you haven't created an account yet, you can sign up here. It literally takes less than one minute!
Create your project
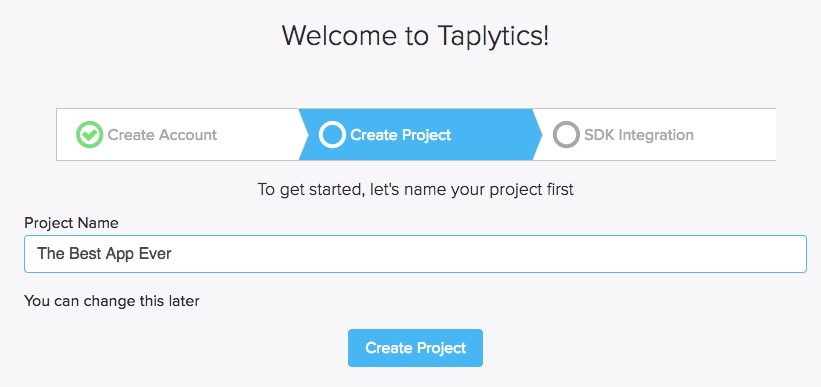
Once you're all signed up and logged in, you'll see the screen below where you can make your first project.

A project represents the app on which Taplytics is installed. Start by giving your project a name.
Install the SDK
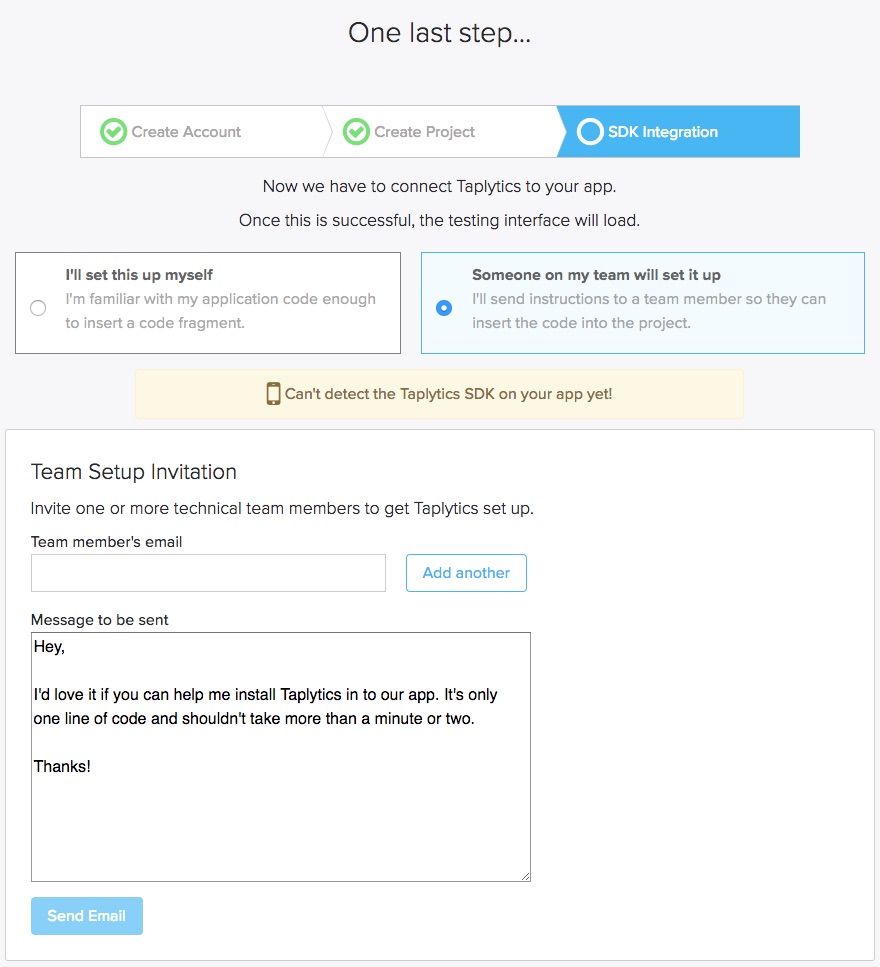
Now that you've picked a name for your project, it's time to install the Taplytics SDK on your application. If you're not a developer, you can invite one of your own developers to help you out or contact Taplytics for additional assistance.

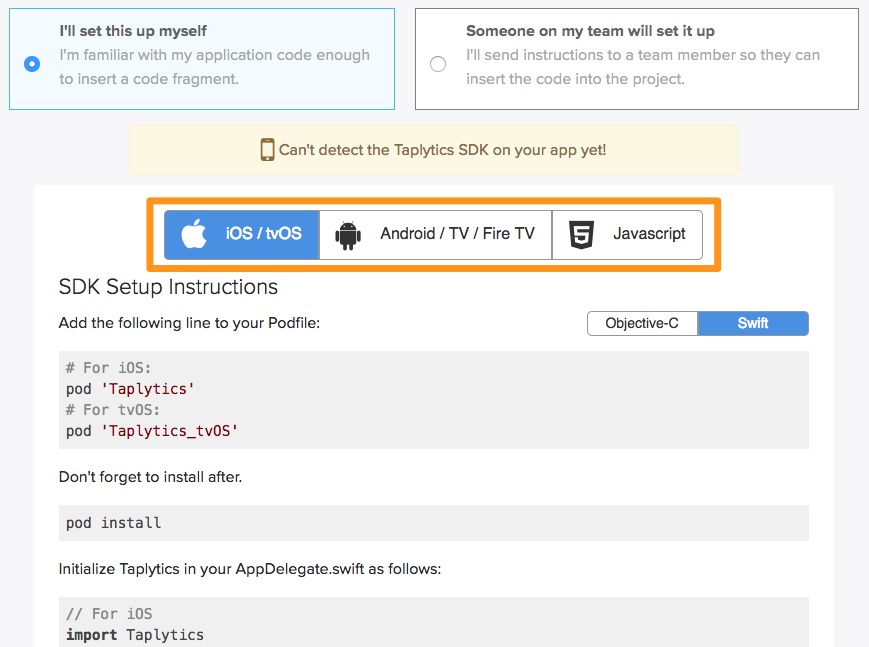
Pick the proper OS and follow the instructions on the screen to install Taplytics SDK.

If you would like additional instructions for installing Taplytics SDK, you can check out our SDK installation documentation.
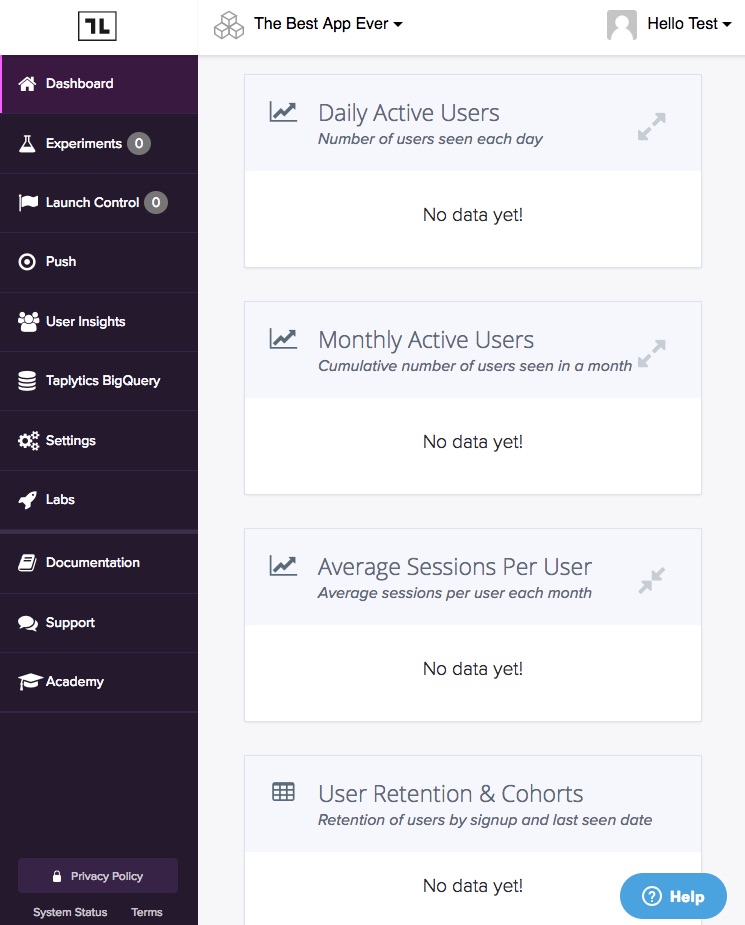
If you installed the SDK correctly, you will see the Dashboard Homepage screen for your newly created project. If you have any questions or issues, please do not hesitate to reach out at [email protected]

Updated over 6 years ago
