1. How to Use the Visual Editor
Use visual experiments to test changes without App Store updates
Before you create your first experiment, make sure you have:
Create your experiment
If you're still reading this, that means you're ready to dive in and create a visual experiment. Awesome, let's go! Start by clicking the "Create New Experiment" button.

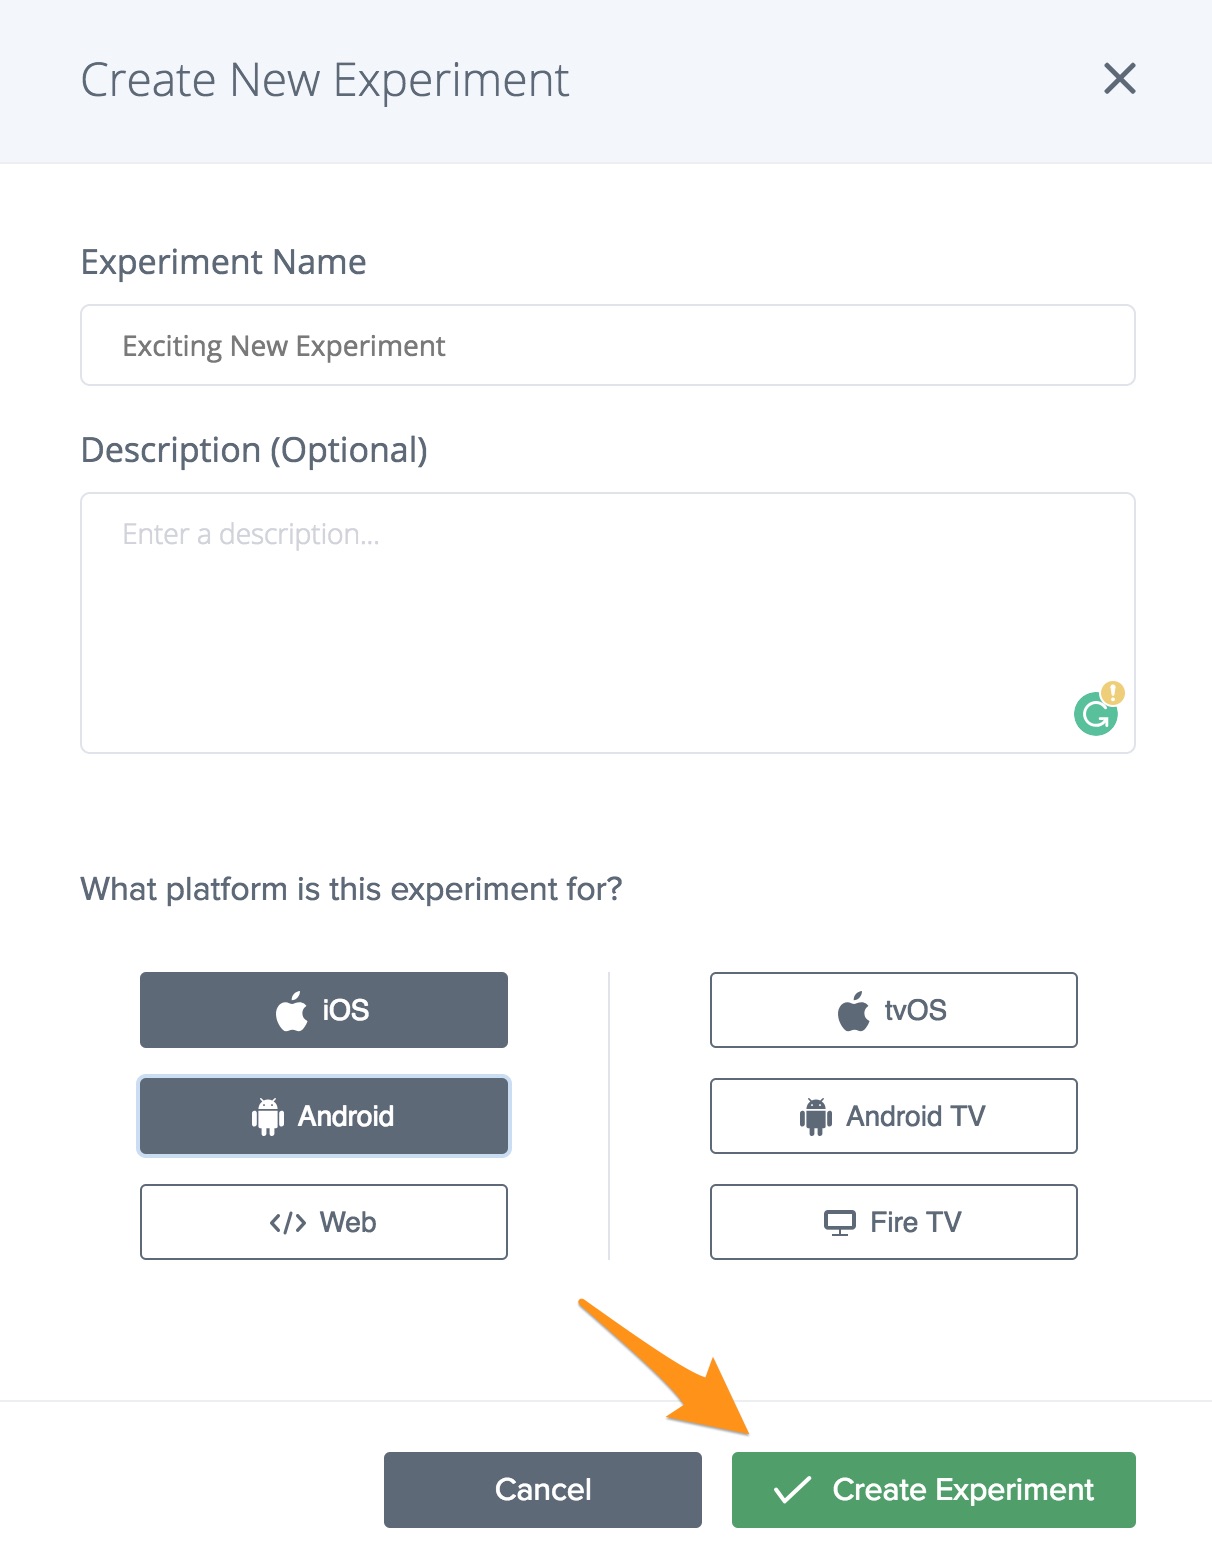
You'll be prompted to add a name for your experiment and choose the OS for your app.
Step One: Connect Your Device
The first thing you need to do is connect your device. This will allow you to make real-time changes within your app.
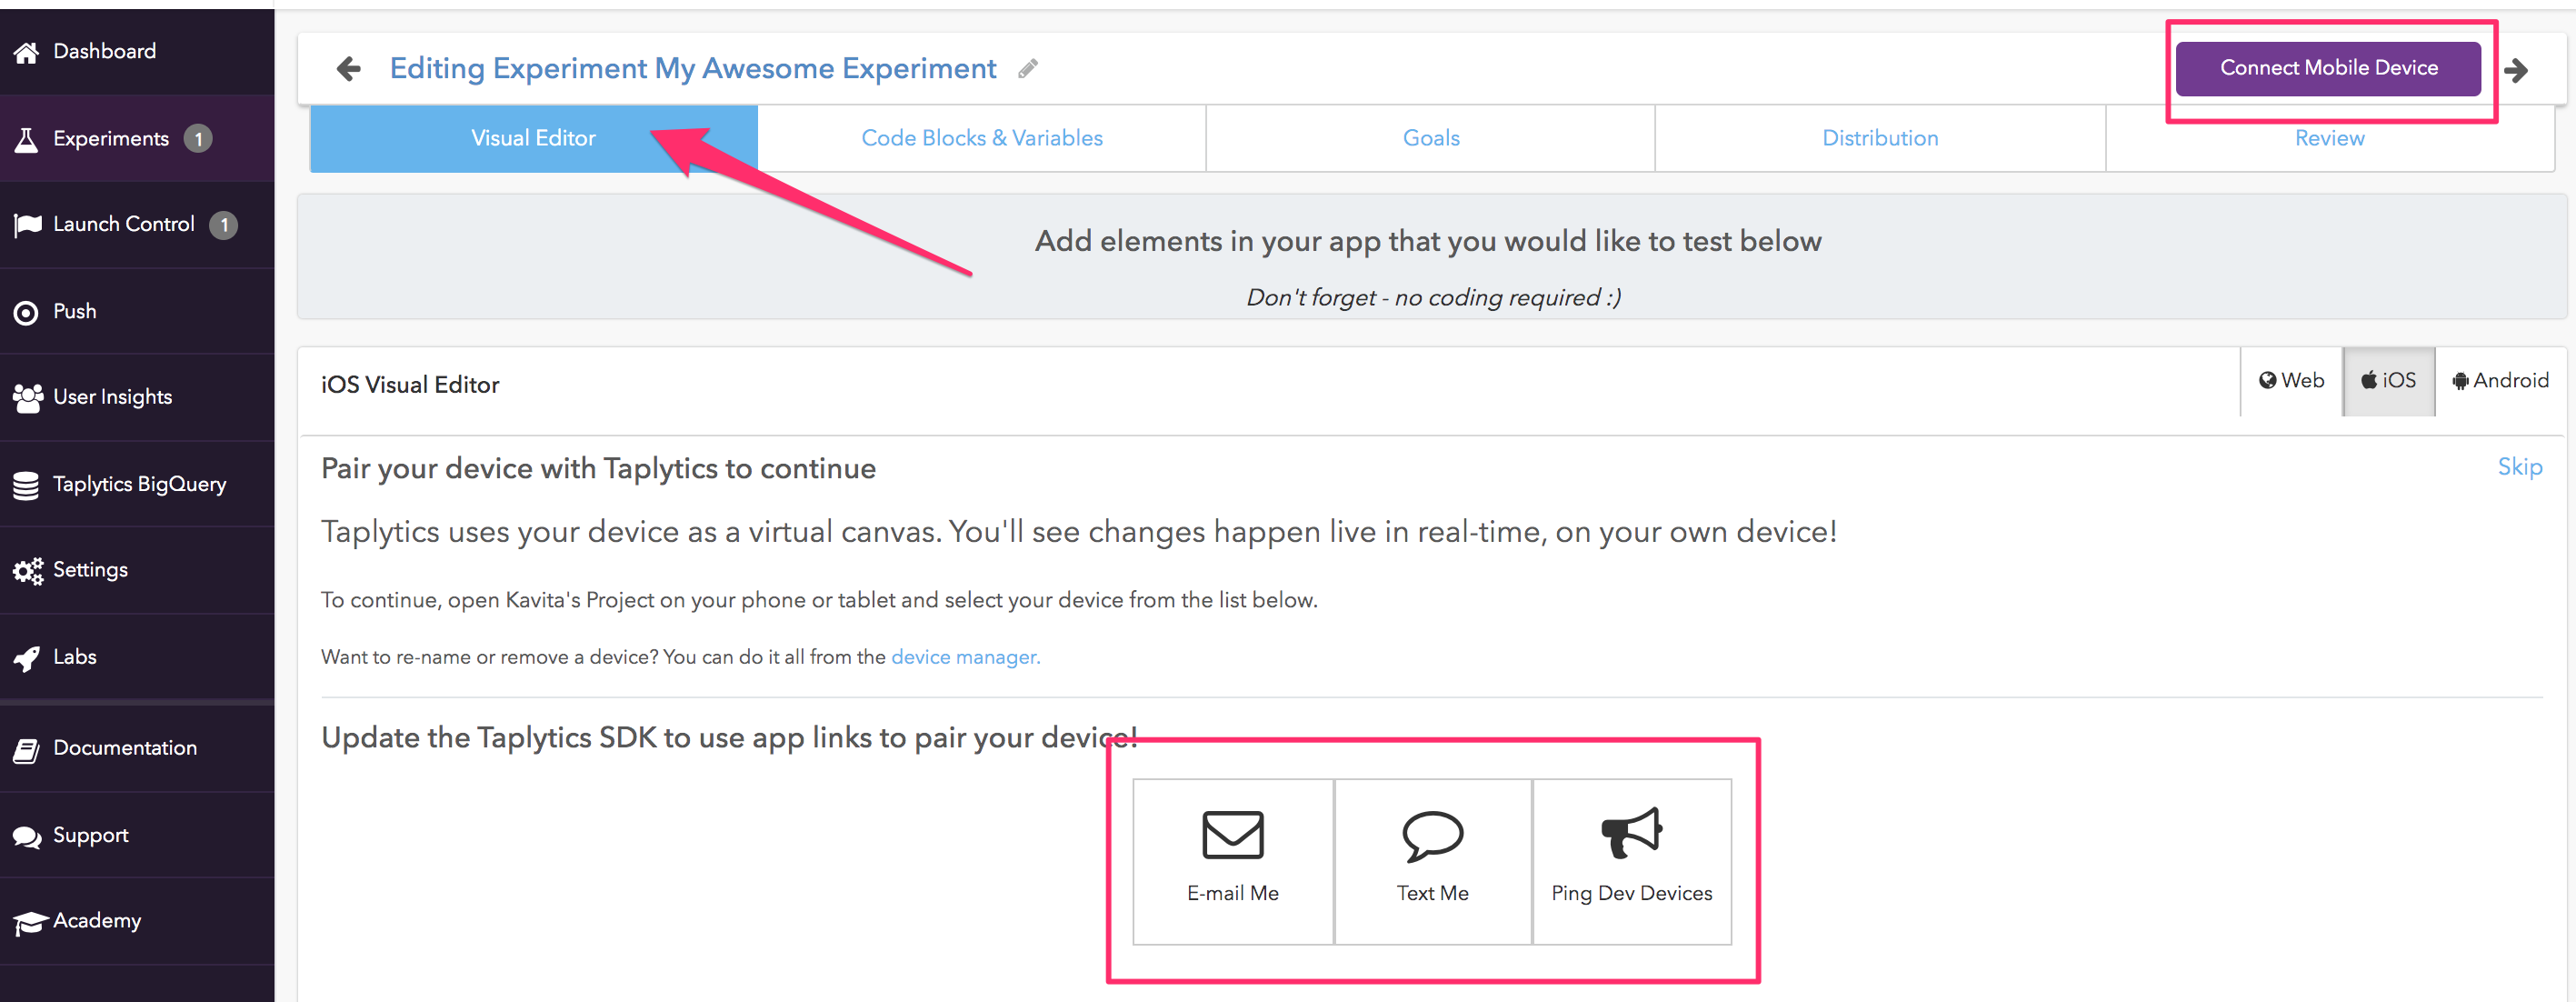
To get started you need to pair your device. In the image below there are a few options you can use to do this: Email / Text / Ping Dev Devices.
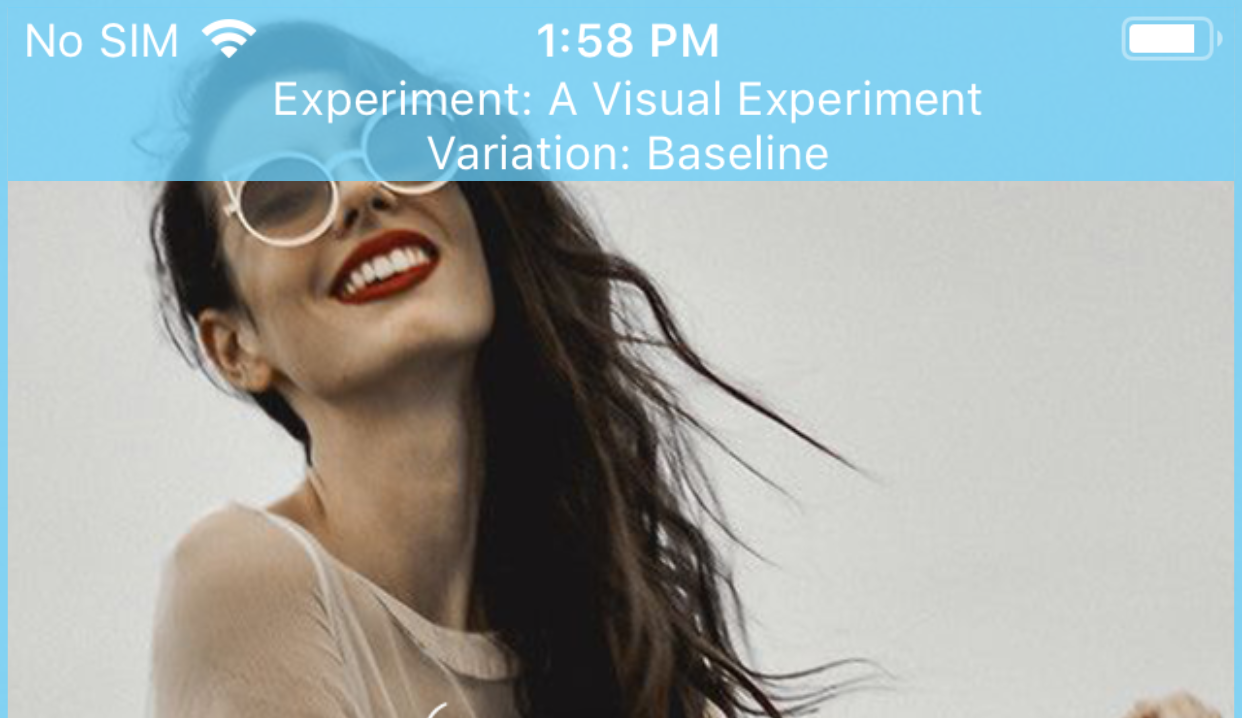
We suggest sending a text first - it's super easy! Once you input your number you'll receive a text from Taplytics. Open that link and you'll be directed back to your app and you should see a blue border around your app.
If you receive any error messages or it just doesn't work - please review the Pair & Manage your Devices doc with your dev team or contact [email protected] for more help.
Also review: how to pair your device.

Create your Visual Experiment
Now that your device is connected, you start to make changes to your app!
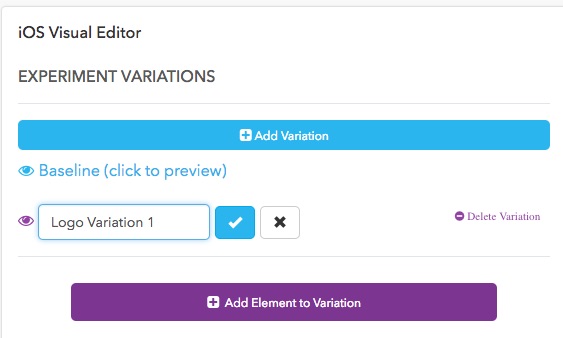
1. Name your first variation
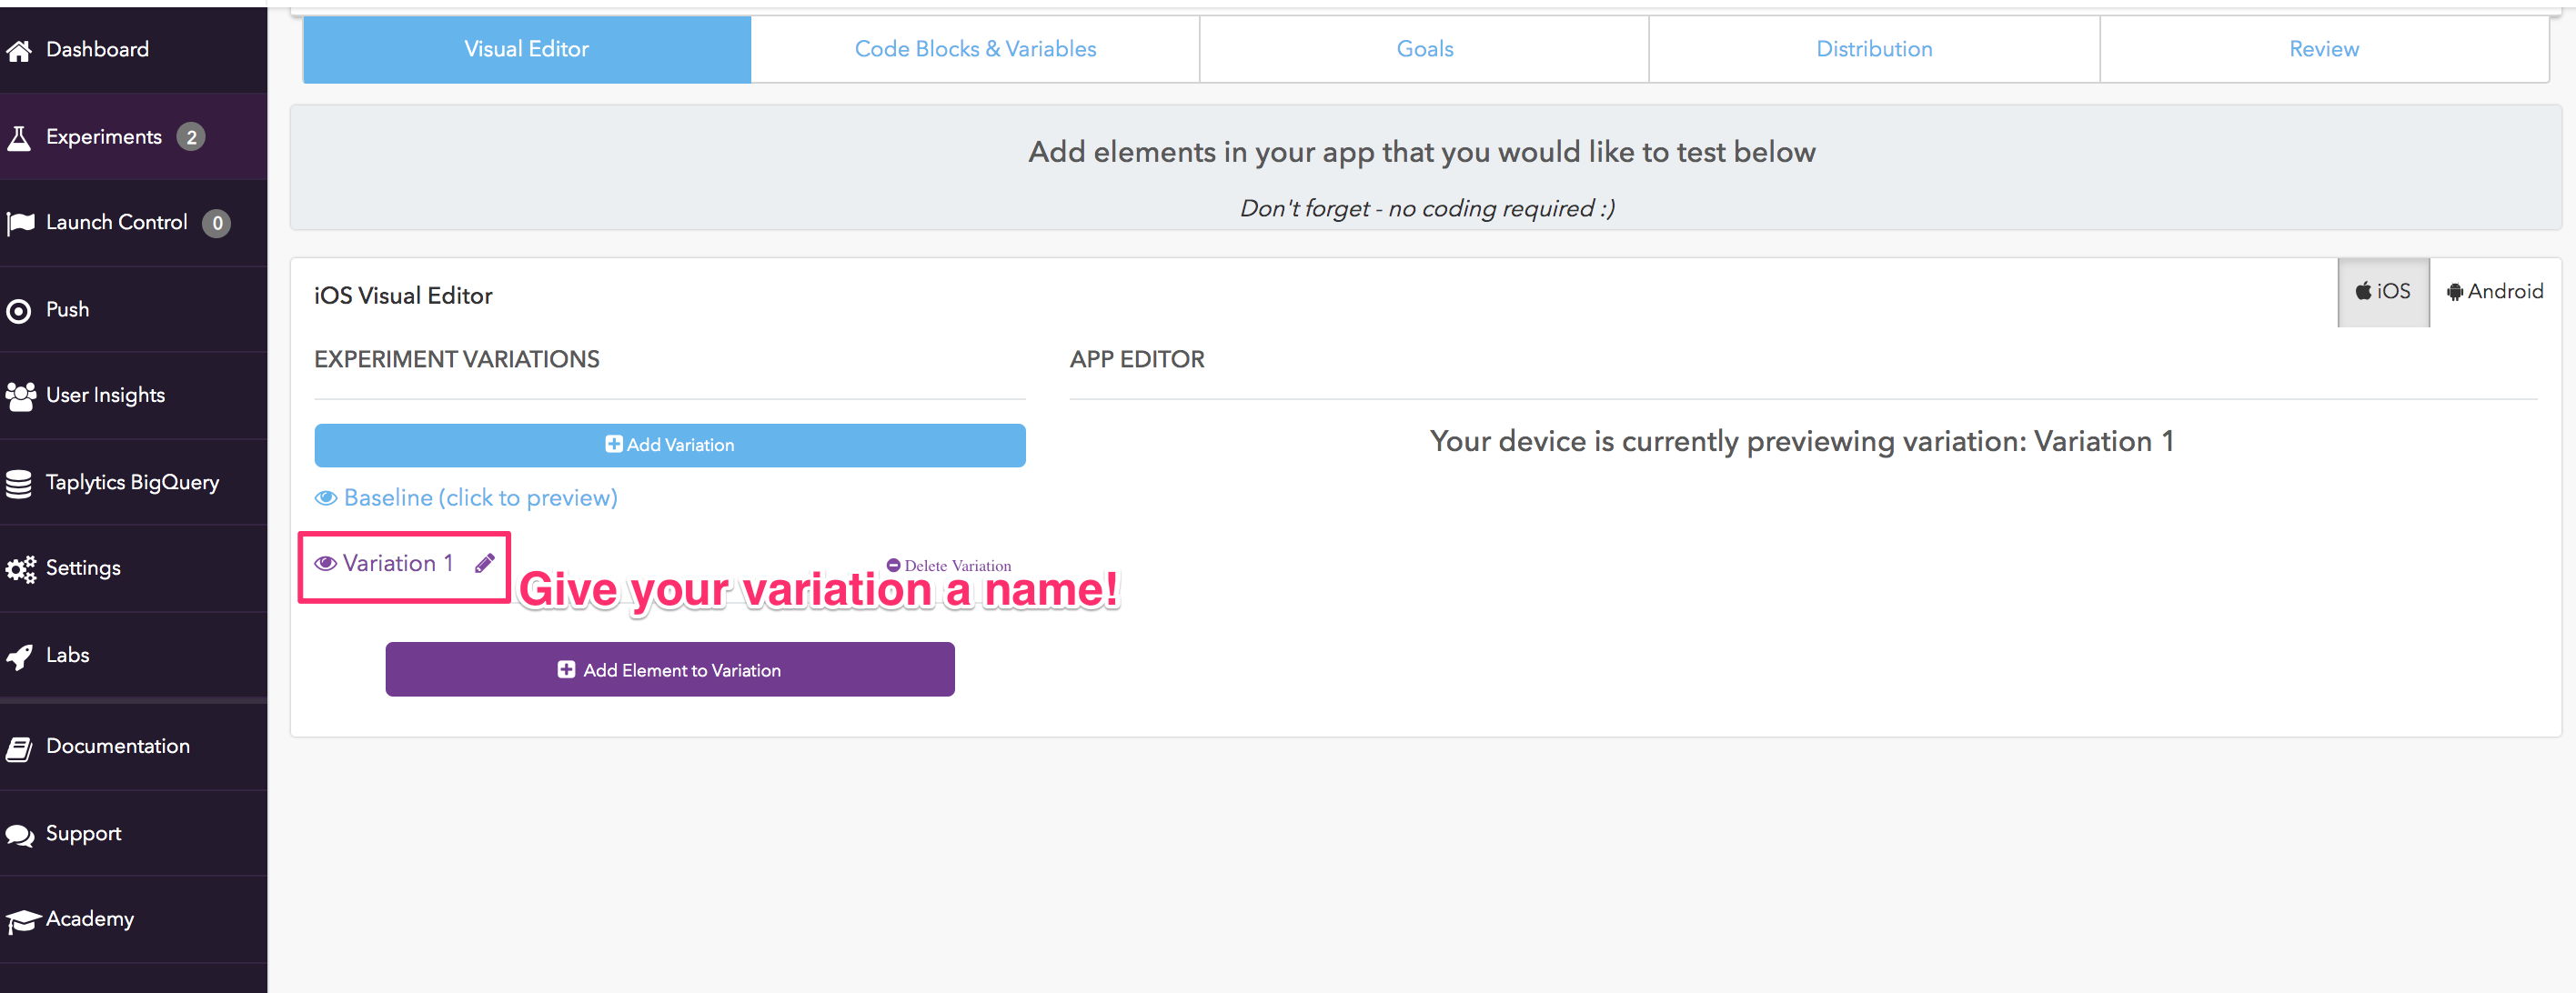
Before adding elements to your experiment, you should give your first variation a name.
2. Add elements to test
The first thing to do is navigate to the part of the app where you'd like to make a change. If you want to change the copy of a Sign Up or Check Out button, navigate to that area of the app so you can see the element you'd like to edit.
Next, click the "Add Element to Variation" button.
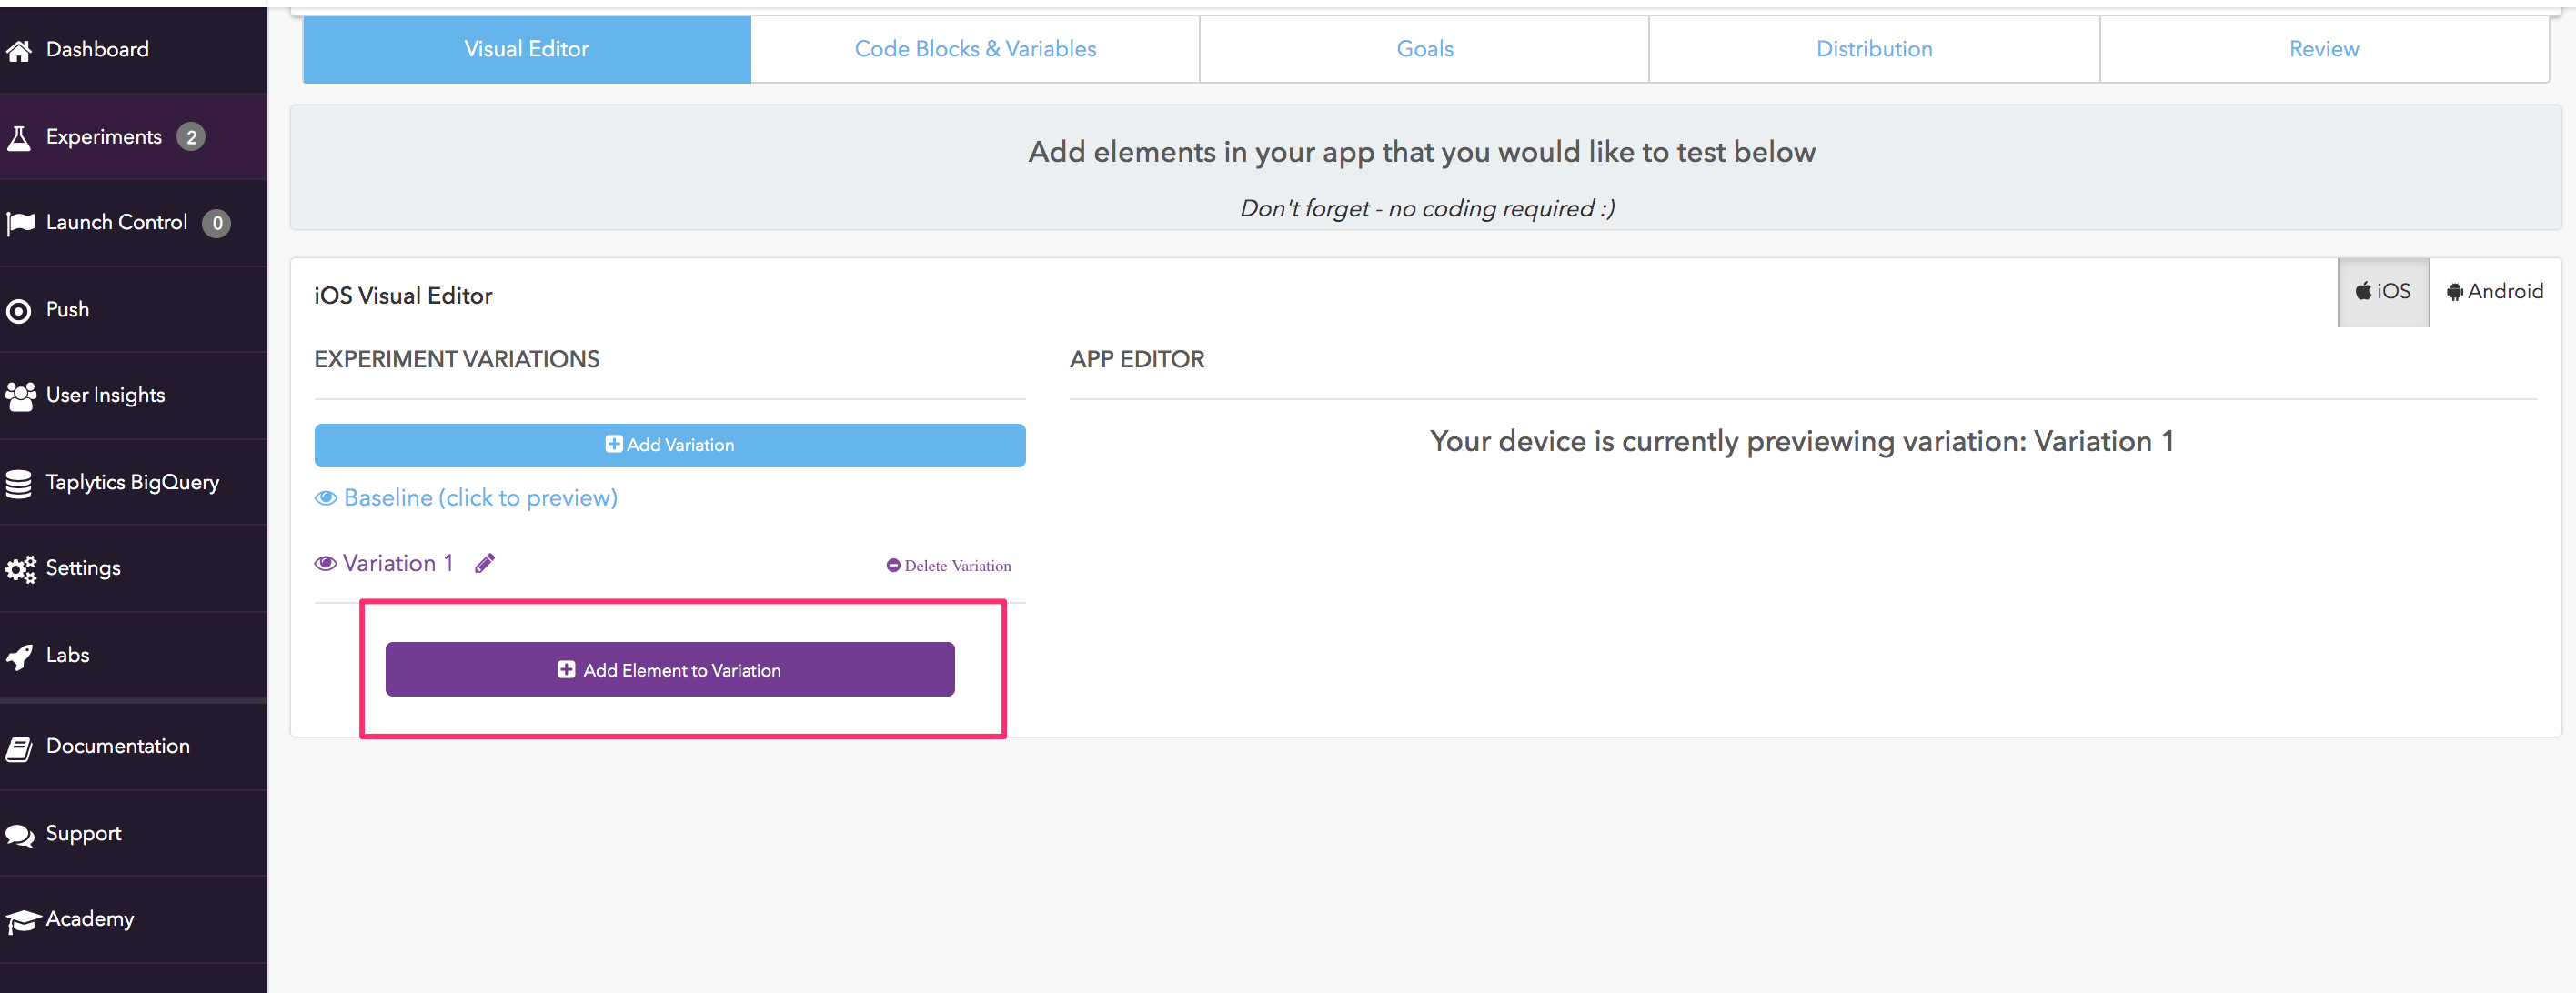
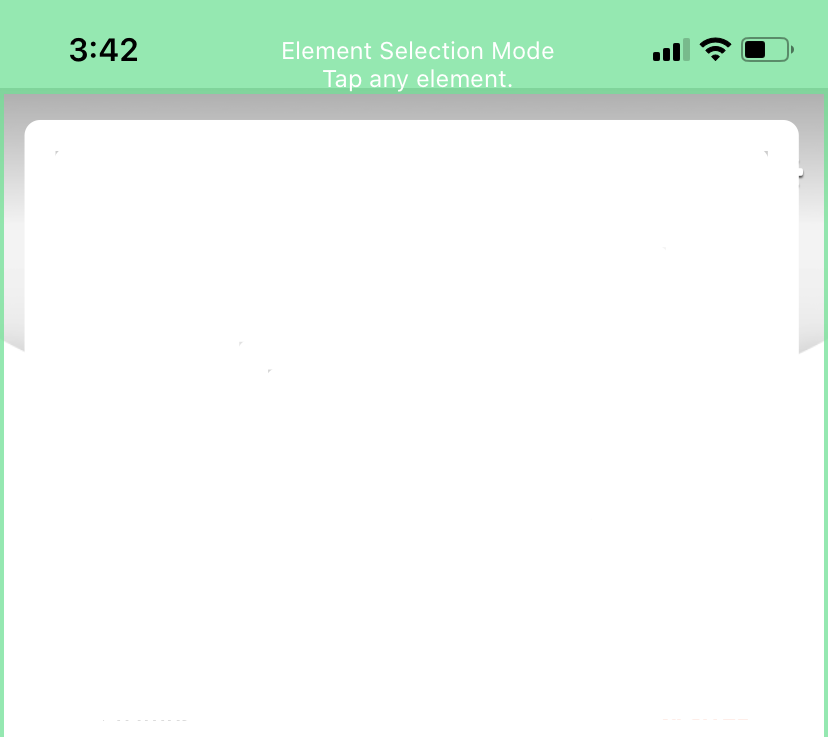
Once you click that button the blue border on your phone will change to green! You're now able to select the specific thing you'd like to edit.
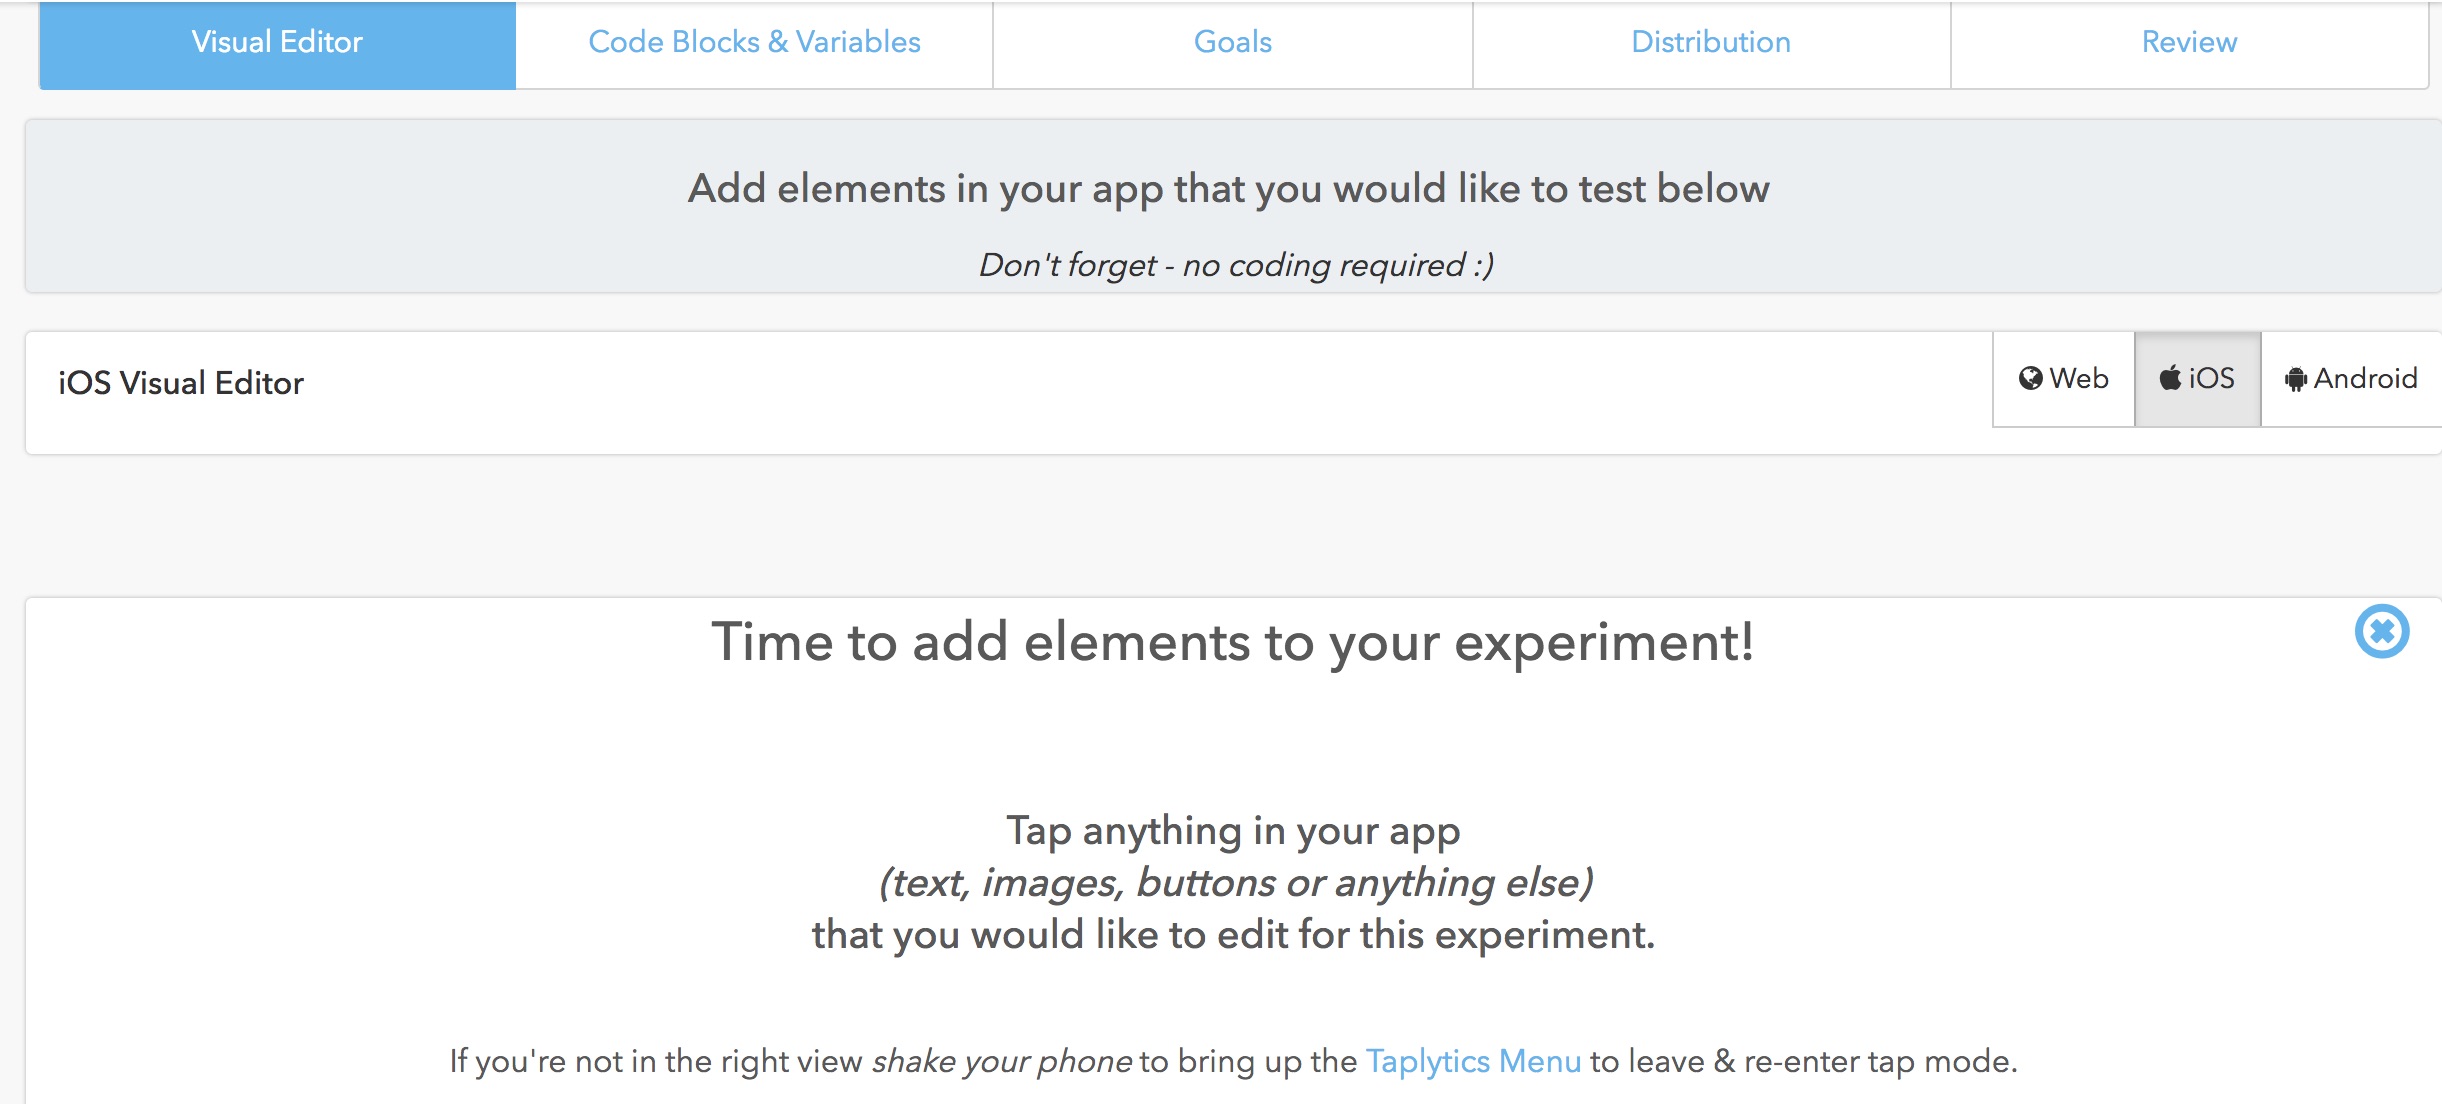
The Taplytics Dashboard will look like this:
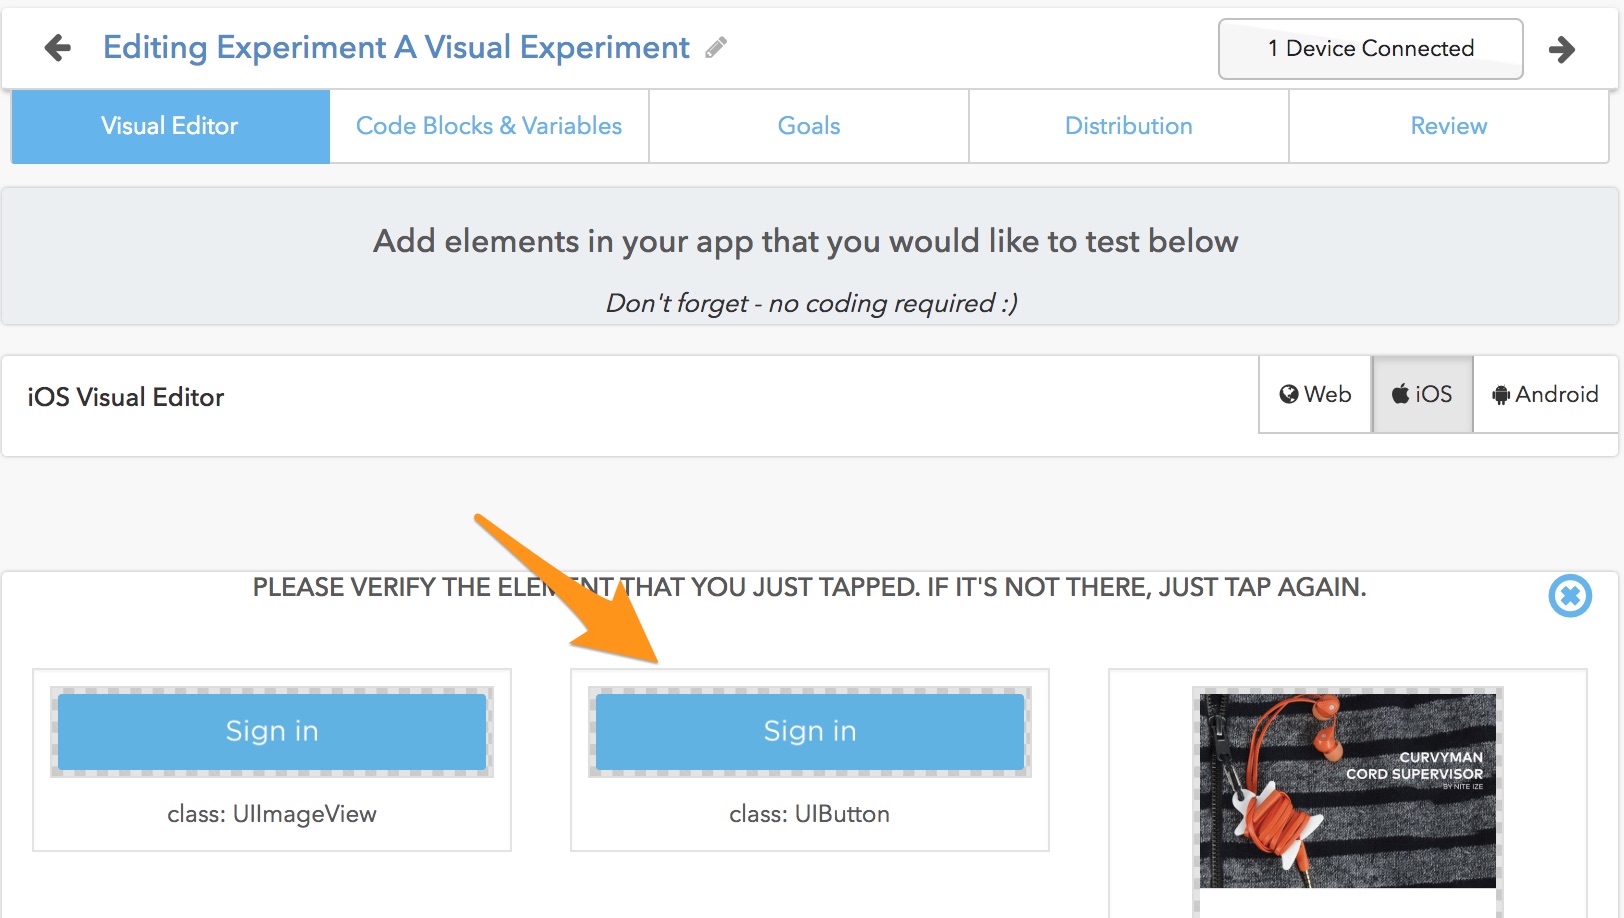
You can now click on the specific element you'd like to edit.
3. Edit your elements
Once you have added the elements that you want to edit, you can select them one at a time to change their properties. The properties that can be edited are on the right of the element list.
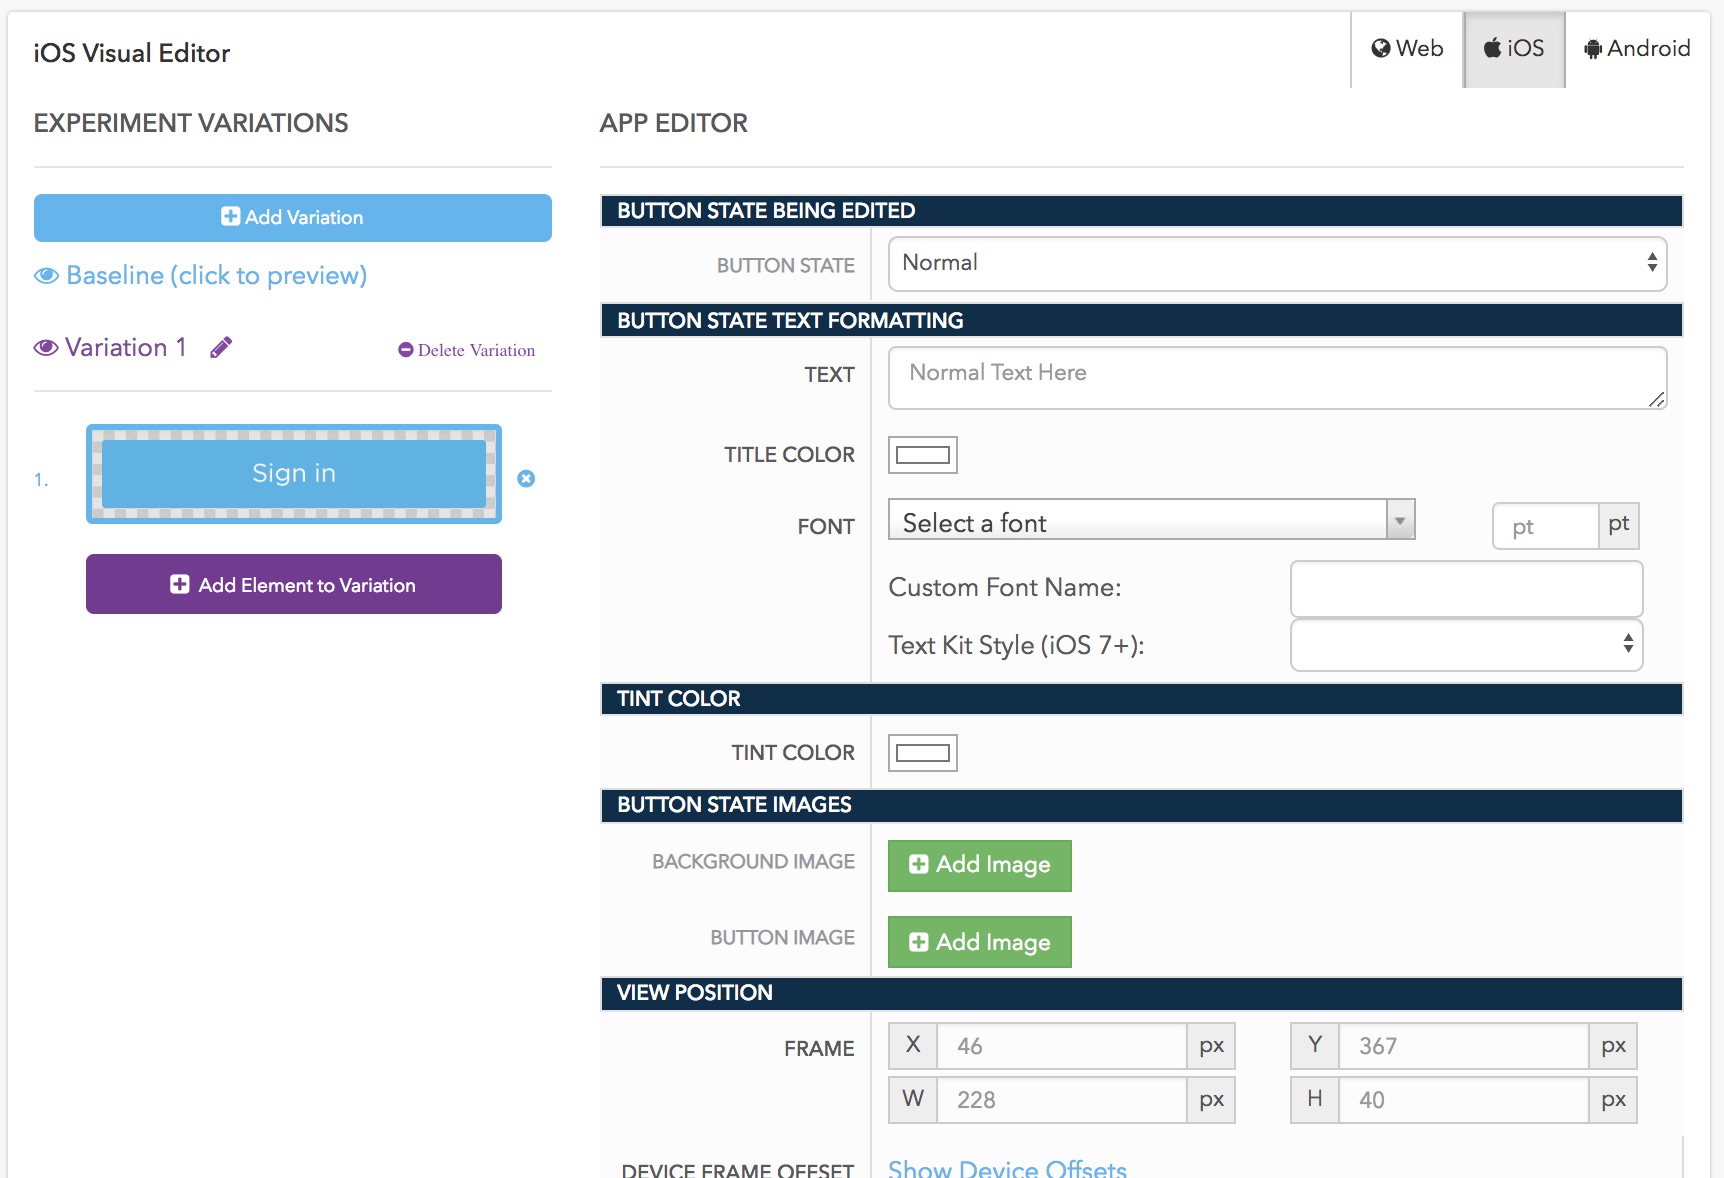
Taplytics only shows you the properties that you can edit for that element. As you change the properties, the changes show up right on your device, instantly.
4. Add additional elements or more variations
If this is an A/B test and you've created one variation then you're all done! Congrats! You've used the visual editor!
If you'd like to make more edits within this variation simply continue navigating to the part of the app you'd like to edit and keep using the Add Element to Variation. You'll be able to add as many elements to that variation as you need.
The Add Variation button will allow you to create an additional variation so your test will have Baseline / Variation 1 and Variation 2. You can add as many as you like.
Give each variation a name like we showed you in the previous steps. You can cycle through the different variations by clicking on their name - this also changes the variation being previewed on your paired device.
By now, you should have your variations set with your elements edited the way you like them. If you're ready to move on, click the "Goals" button in the top-right corner.
Keep moving through the experiment work flow!
What's next? Move to the Code Blocks and Variables tab or start creating goals!
-
Leveraging Code Blocks and Variables (Web Code-Based Experiments)
-
Creating Goals
-
Specifying the Audience Distribution
-
Reviewing the experiment set up and launching it to users!
Updated over 5 years ago
