How to Setup a Taplytics Project
Walk before you run
If you've made it this far, you've probably been invited to your project and are logged in to the Taplytics dashboard. If you are subscribed to Taplytics but haven't gotten an invite from us yet, please reach out to [email protected].
Project Access
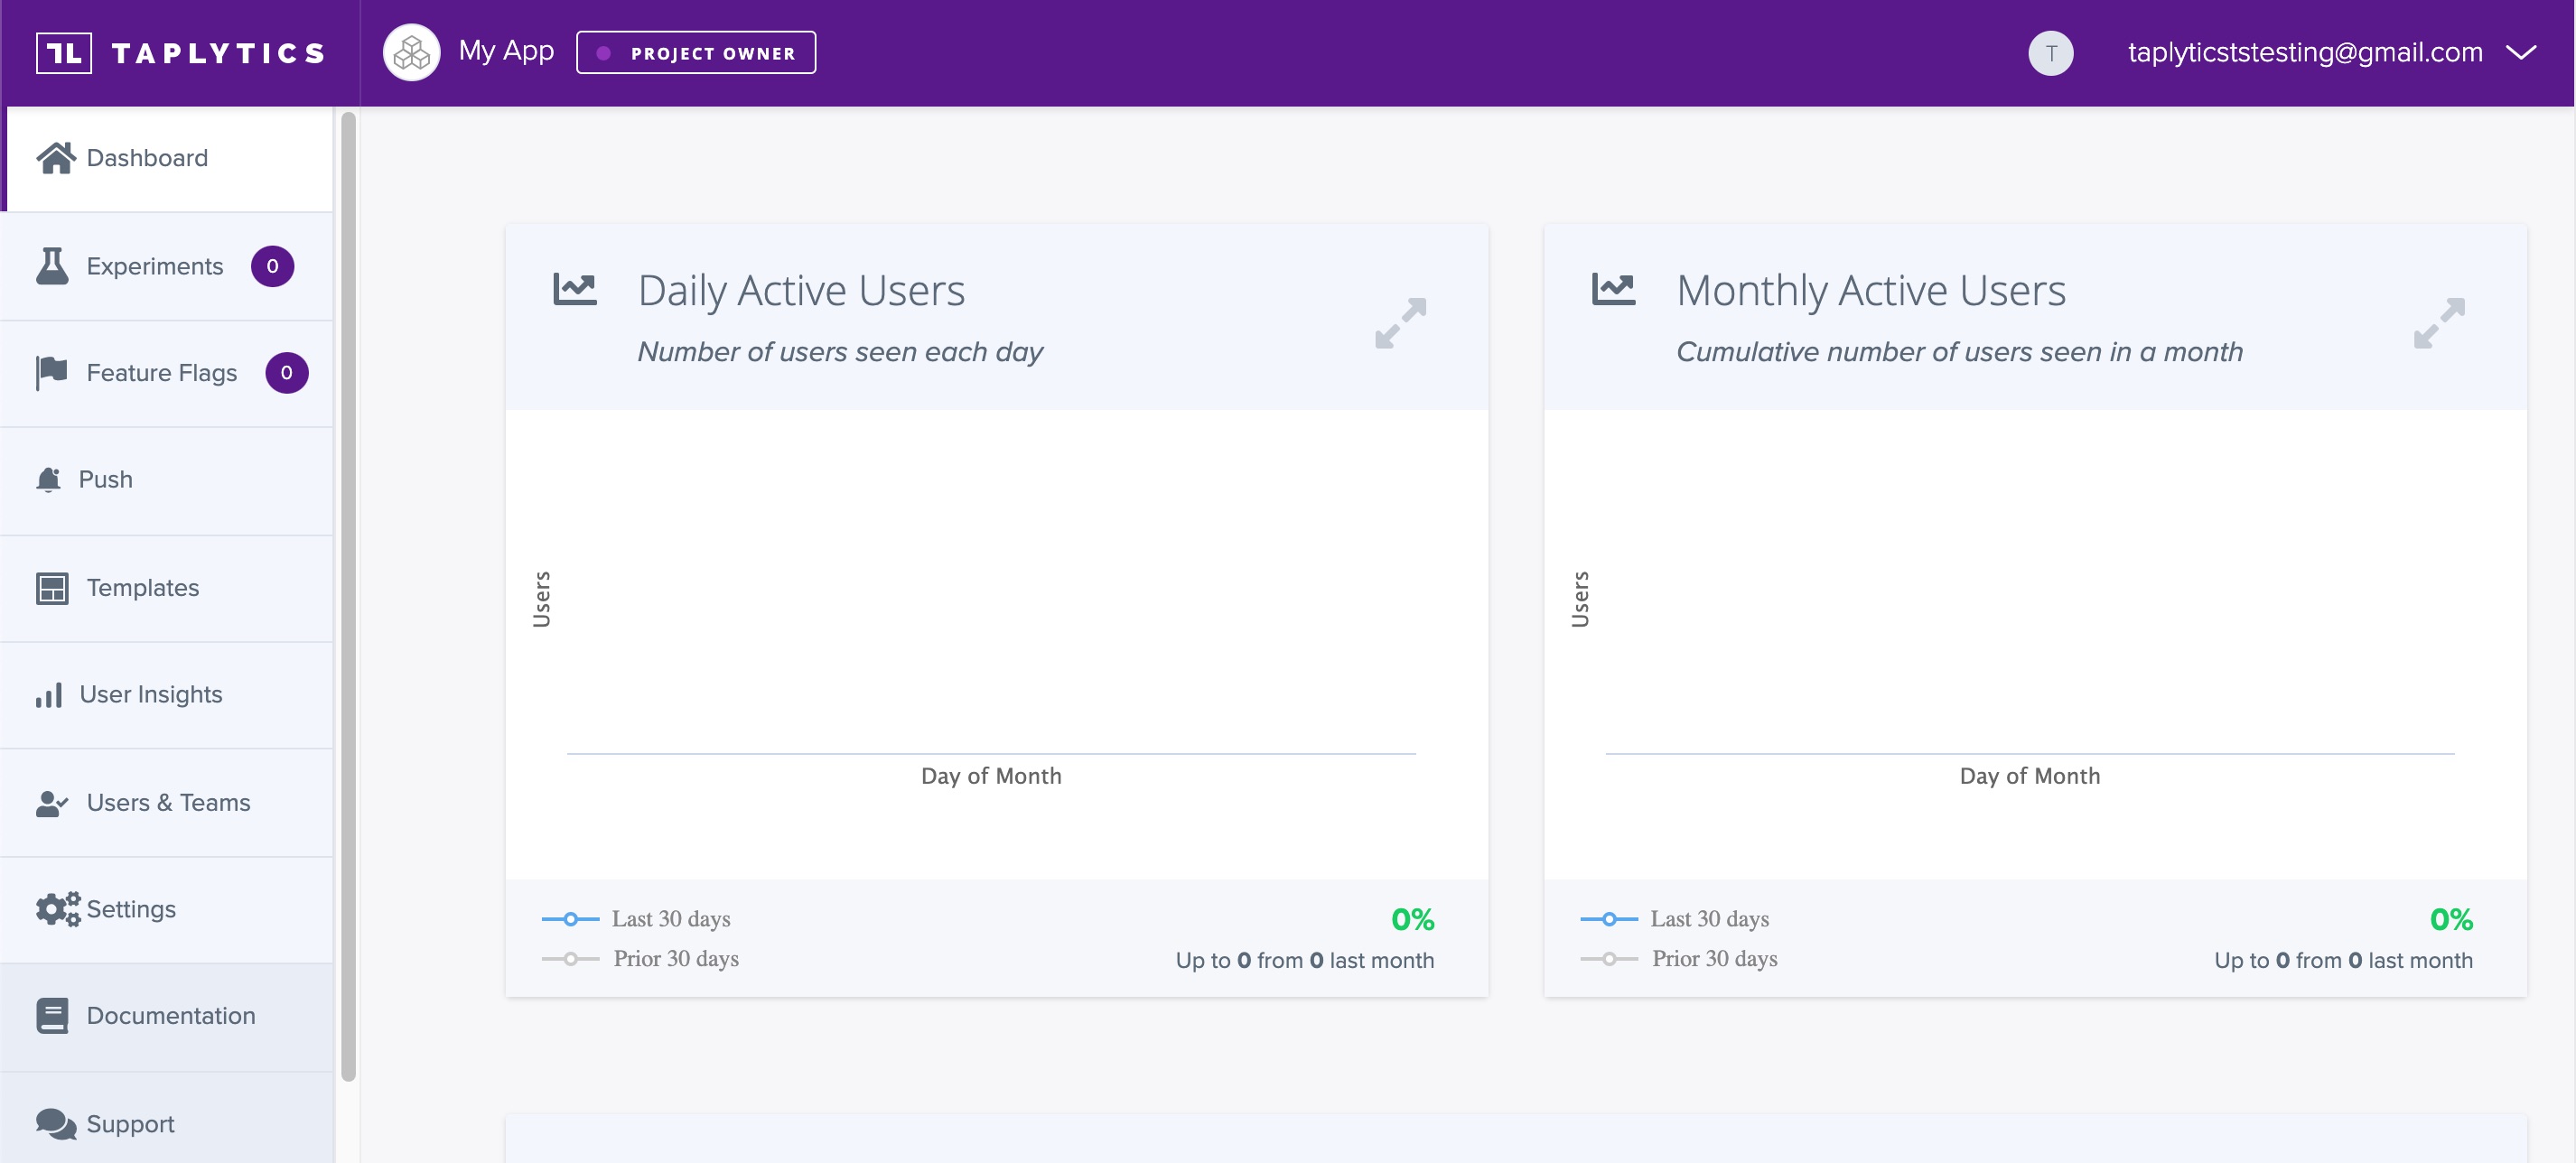
Once you're all signed up and logged in, you'll see the screen below where you have been added to a Taplytics project created by your Account Manager. A project represents the app on which Taplytics is installed. If you would like to change the name of your project, you can navigate to Project Settings and make the change there.

Install the SDK
Now that you're able to access your project, it's time to install the Taplytics SDK on your application. If you're not a developer, you can invite one of your own developers to help you out or contact Taplytics for additional assistance.
If you would like additional instructions for installing Taplytics SDK, you can check out our SDK installation documentation.
Universal API (Server-Side)
To get started with the UAPI and ensure proper behaviour, Taplytics will need to configure your project so that it set to User-Based Bucketing. This is a project-wide change and you will need to contact support or your CSM to make that change.
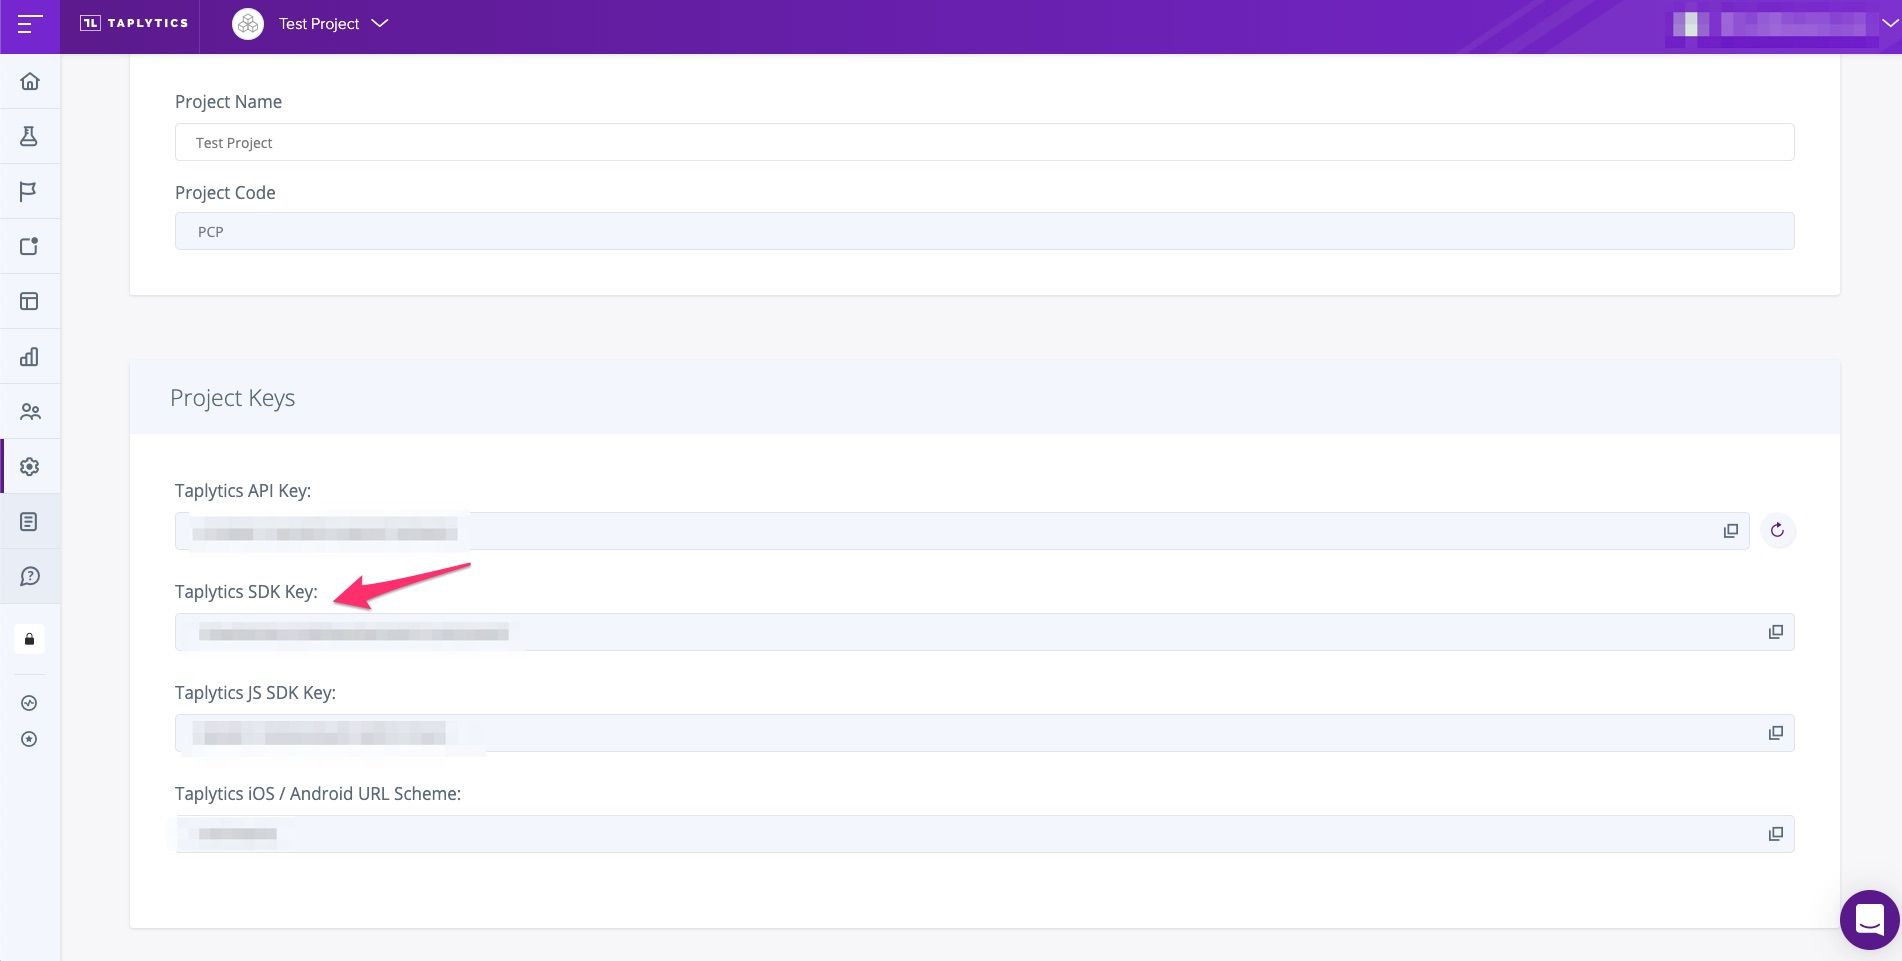
Once the project is set up, access your SDK key for the Taplytics Universal API in the Settings page shown below. From there, you can start using the Universal API by following our docs found here.

Updated over 3 years ago
