Segment
Installing Taplytics with Segment
-
Log in to your Segment Account.
-
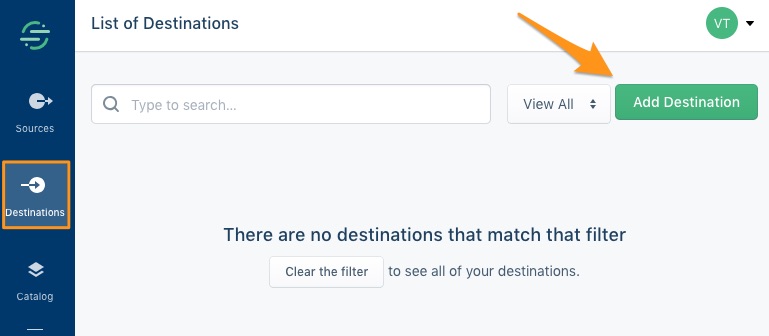
Go to your list of destinations and "Add Destination".
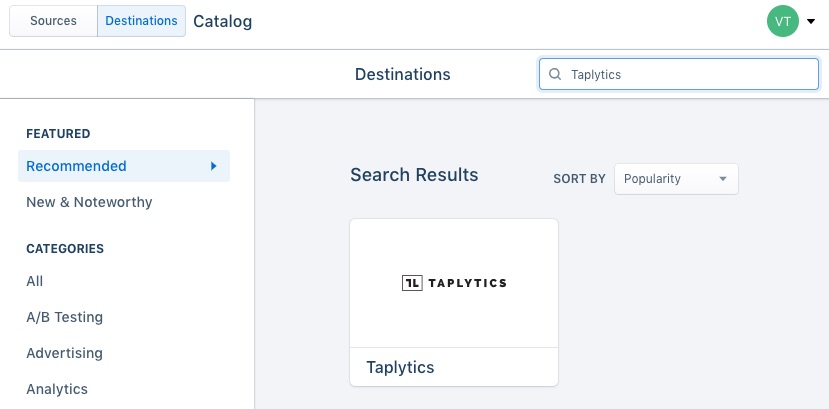
- Search for "Taplytics" in the Segment Destination Catalog then select "Taplytics".
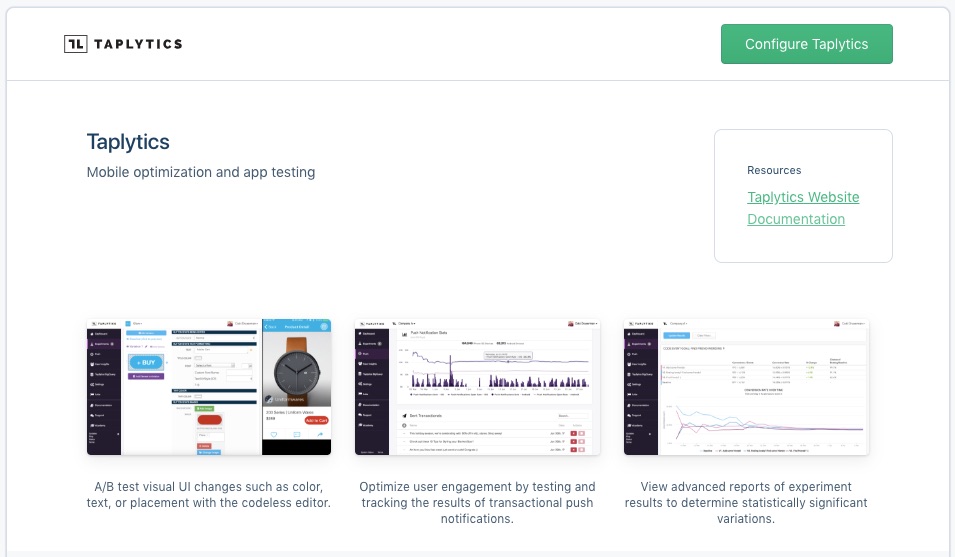
- "Configure Taplytics".
- Select which app/website you would like to connect Taplytics with from your list of sources and "Confirm Source".

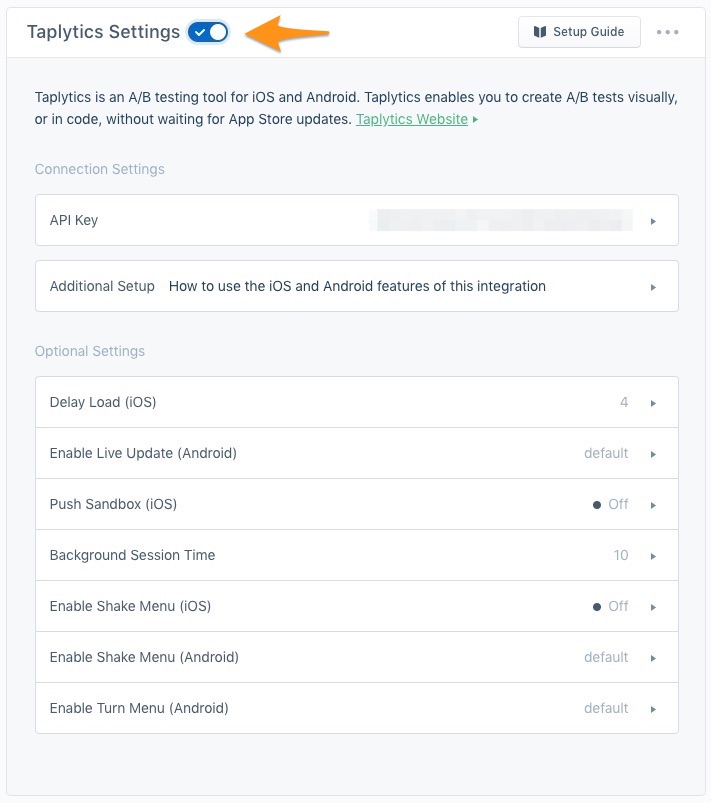
- You can now configure your Taplytics Settings with Segment. You will need to provide the API Key and if installing Segment for Mobile, you must also follow the Additional Setup steps.
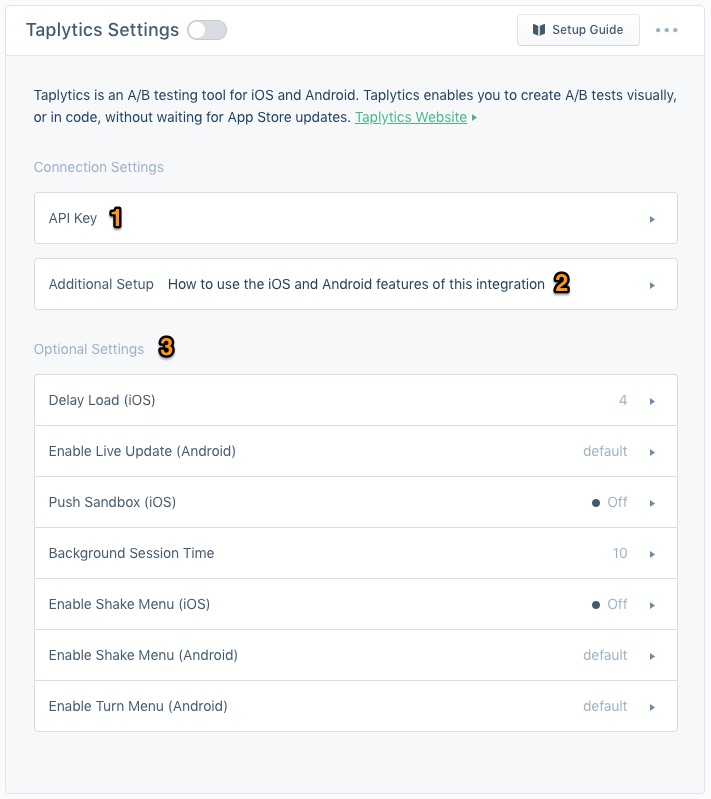
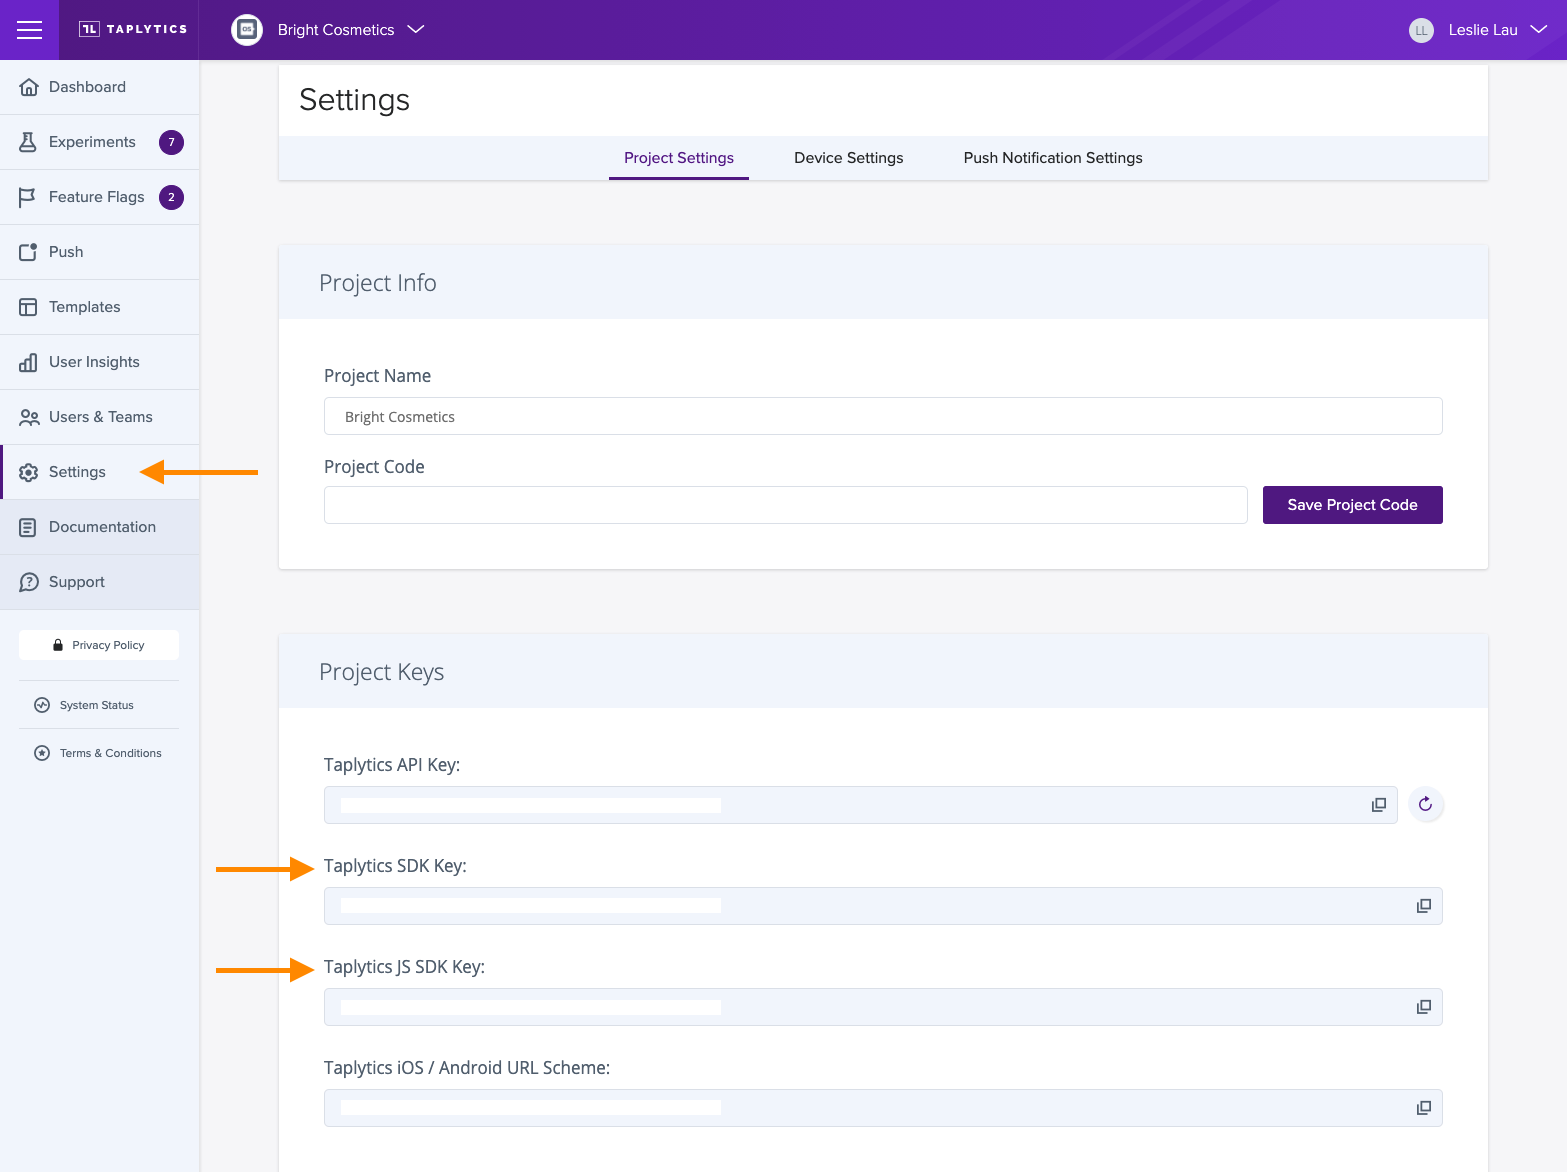
API Key: This is required for all installations. Please use the Taplytics SDK Key on Mobile installations and JS SDK Key on Web installations. You can find the Taplytics Project Keys by logging into your Taplytics account and navigating to the Settings page.
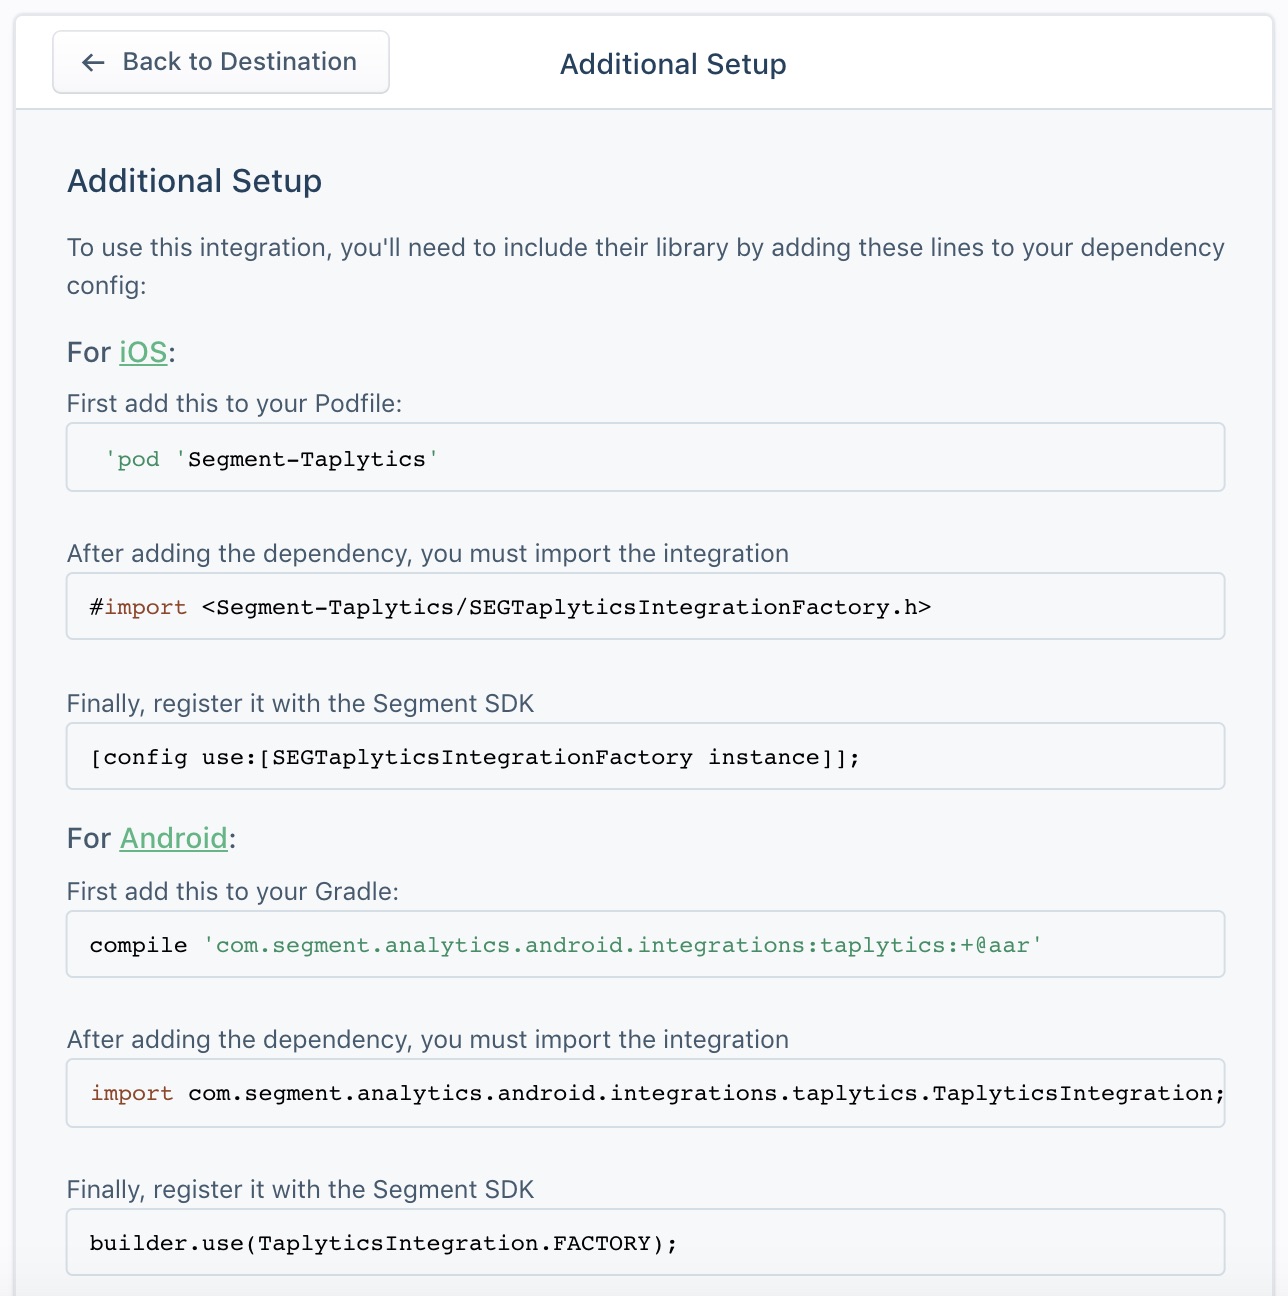
Additional Setup: Required if installing Segment for Mobile, follow the instructions in "Additional Setup" for iOS and/or Android. There's no additional setup required for Web.
Optional Settings: You have the option to configure some extra settings if you'd like to customize your startup or enable additional features within the SDKs.
- Activate the integration by clicking on the toggle next to "Taplytics Settings"
All done! You should see Taplytics enabled both in your list of destinations and your list of sources for the selected source(s).


For more information, please check out our Taplytics / Segment: Side by Side Integration article.
Segment to Taplytics
Segment gives you to the ability to automatically send user data and events to Taplytics, removing the need to explicitly call Taplytics giving you the ability manage your information in one central location.
User Attributes
Set user data using Segment and the integration will pass the data along to Taplytics automatically. Make sure you've allowed Taplytics to receive email, userIDs or any other attributes that you wanted to leverage from your Segment project.
Taplytics will set the following user attributes:
user_id= Segment userIdemail= Segment emailcustomUserData= Other Traits
Events
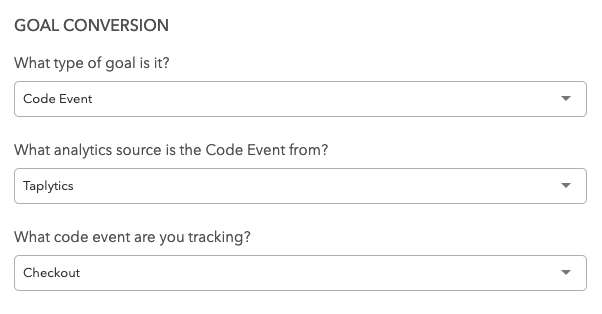
The Segment integration allows you to leverage the same client-side events being sent from your App for Goal Creation on the Taplytics platform. These events will automatically flow into Taplytics and will be visible in the Code Event dropdown as Taplytics Events. For more information on goal creation, please see here.
Taplytics to Segment
The Taplytics SDK can automatically push Experiment and Feature Flag data back to your Segment instance so that you may continue reporting on your desired analytics platform.
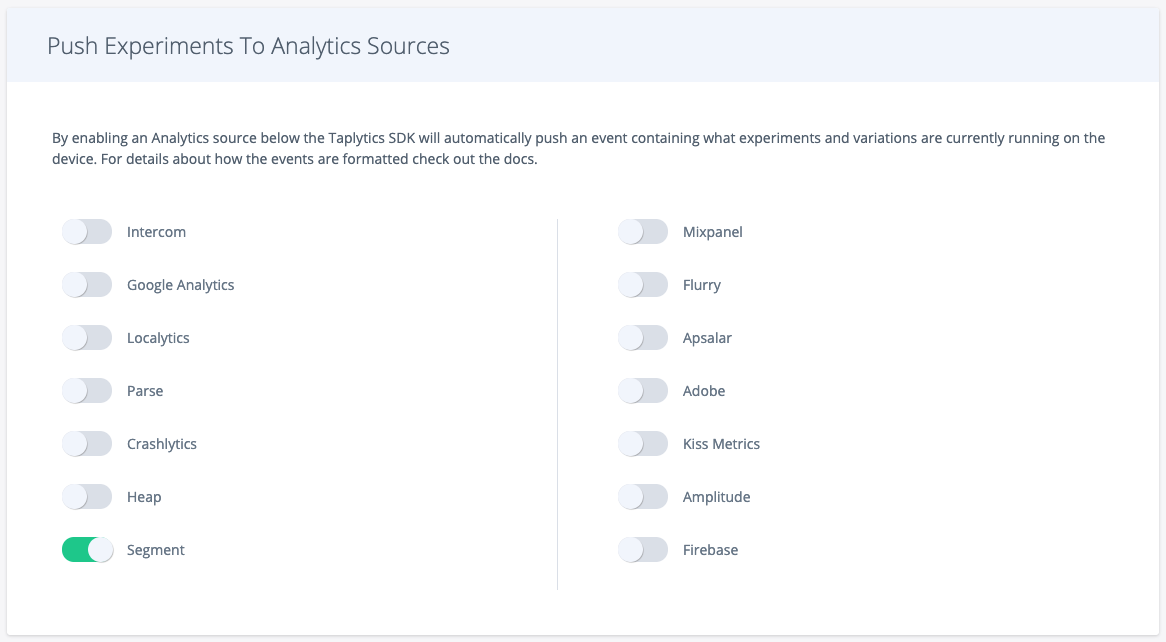
To enable this feature, turn on the Segment toggle in the Push Experiments to Analytics Sources section located at the bottom of the Settings page.
Javascript
Data coming from Segment can be passed downstream to Taplytics by calling one of six Segment Specs' APIs.
See below for an example of the two most common specs:
// The 'identify' API call records information used to identify a user
analytics.identify("97980cfea0067", {
  name: "Peter Gibbons",
  email: "[email protected]",
  plan: "premium",
  logins: 5
});


// The 'track' API call records a user's action alongside descriptive properties
analytics.track("User Registered", {
  plan: "Pro Annual",
  accountType: "Facebook"
});
For more information on the support actions from Segment, please visit their Specs API events documentation page here.
Android
Taplytics logs each experiment and variation to the Segment Android SDK individually along with their experiment and variation ids.
While the following isn't exactly how Taplytics handles the data, it serves to give you an idea of how experiment/variation data is sent to Segment.
HashMap experiment1 = new HashMap
experiment1.put("experiment_name", "Experiment 1");
experiment1.put("experiment_id", "51353414351143");
experiment1.put("variation_name", "Variation 2");
experiment1.put("variation_id", "4919491294129");

Analytics.with(context).track("Experiment Viewed", new Properties().putAll(experiment1));
iOS
Taplytics logs each experiment and variation to the Segment iOS SDK individually. This example is how a single one is sent.
NSDictionary* experimentsAndVariations = @{
    @"Experiment 1": @"Variation 2"
};

[[SEGAnalytics sharedAnalytics] track:@"Experiment Viewed" properties:experimentsAndVariations];
let experimentsAndVariations = [
    "Experiment 1": "Variation 2"
]

SEGAnalytics.shared().track("Experiment Viewed", properties: experimentsAndVariations)
Updated over 3 years ago
