1a. How to Use the Web Visual Editor
Before you can use the visual web editor, ensure that the Taplytics JS SDK has been installed on your website and you have a project set up.
To learn more about no-code web A/B testing, please view our video tutorial here.
Visual Web Editor
Simplify changes made to your website by utilizing the Taplytics Visual Web Editor (VWE) tool.
To begin, you'll need a Google email address and to install the Taplytics Chrome Extension within your browser. Please note that Google Chrome is the only supported browser for the Taplytics Chrome Extension.
Once the Taplytics Chrome Extension is installed, edits can be made directly on your website.
Note: To use the Taplytics Chrome Extension, you must be logged into the same Google email address used during the initial setup.
Experiment Creation
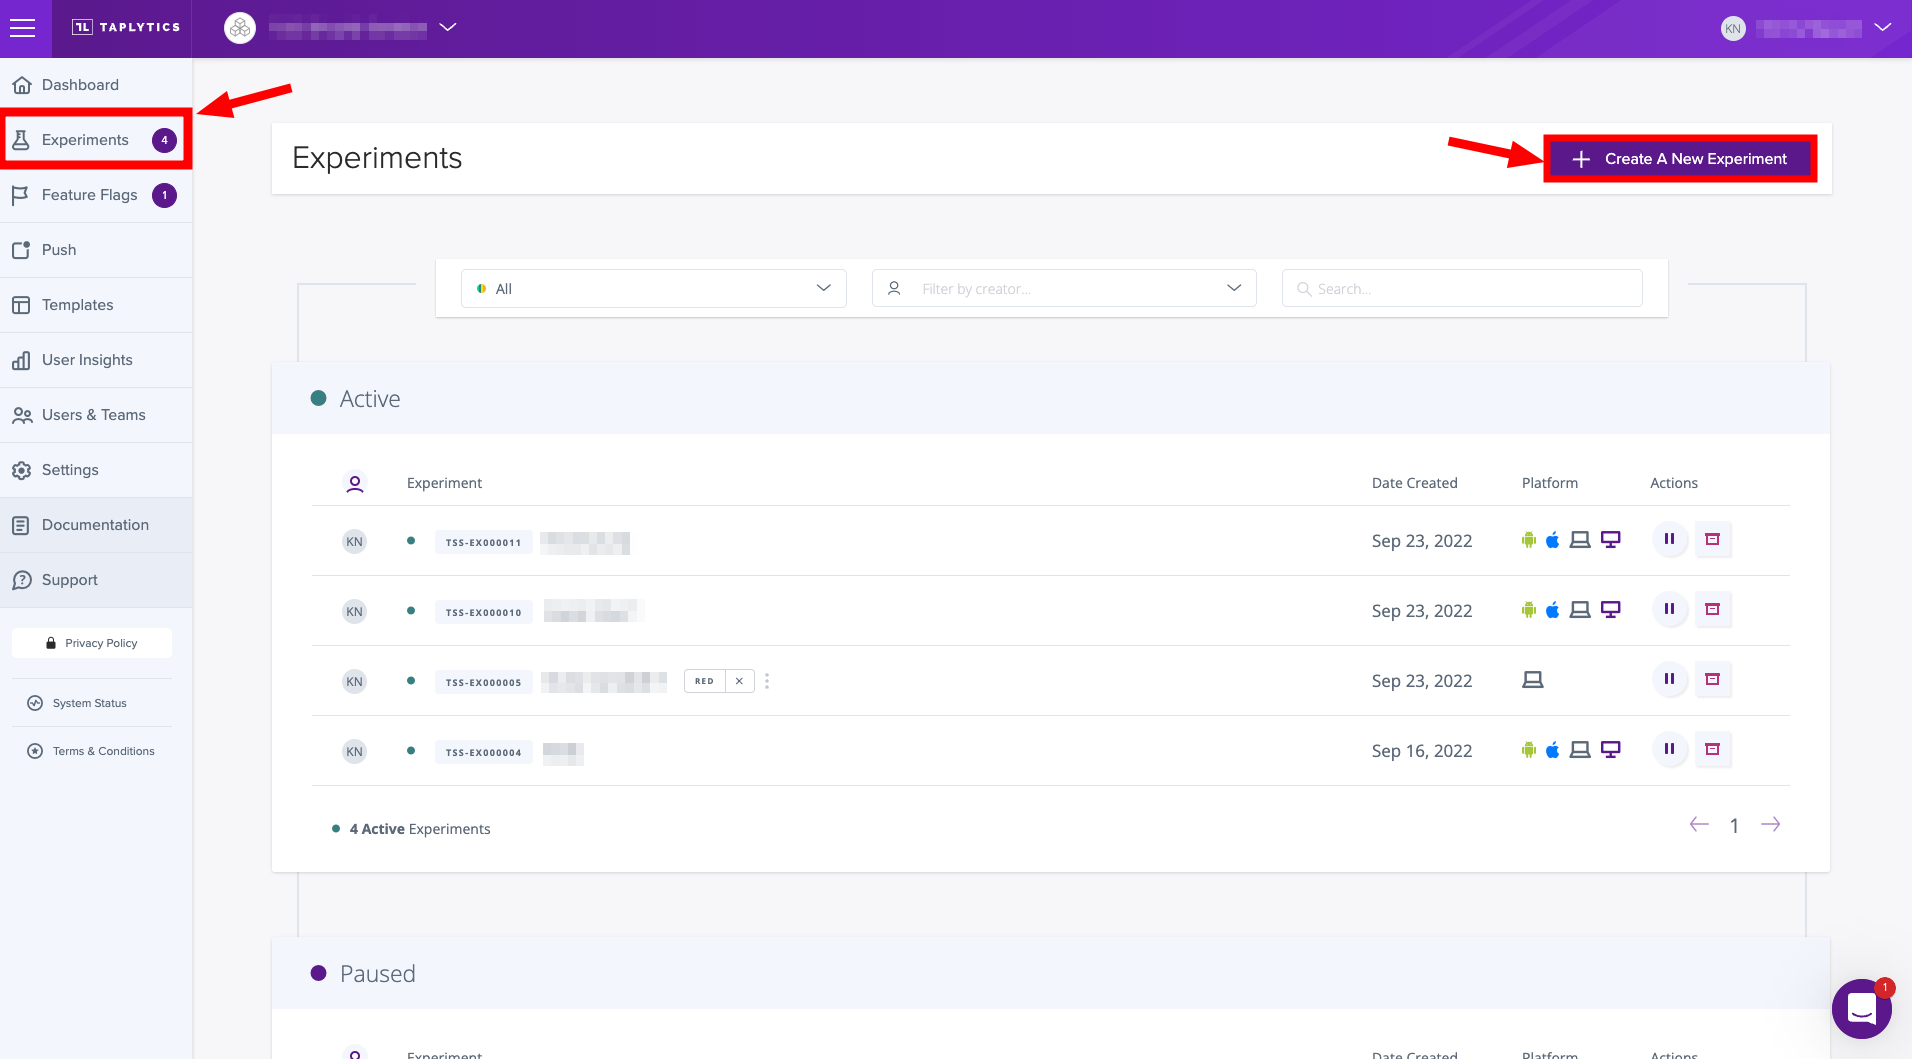
To create a new experiment, navigate to the Experiments tab in the left-hand sidebar and click on the Create A New Experiment button.
Once prompted, fill out the Create A New Experiment form and click on Continue.
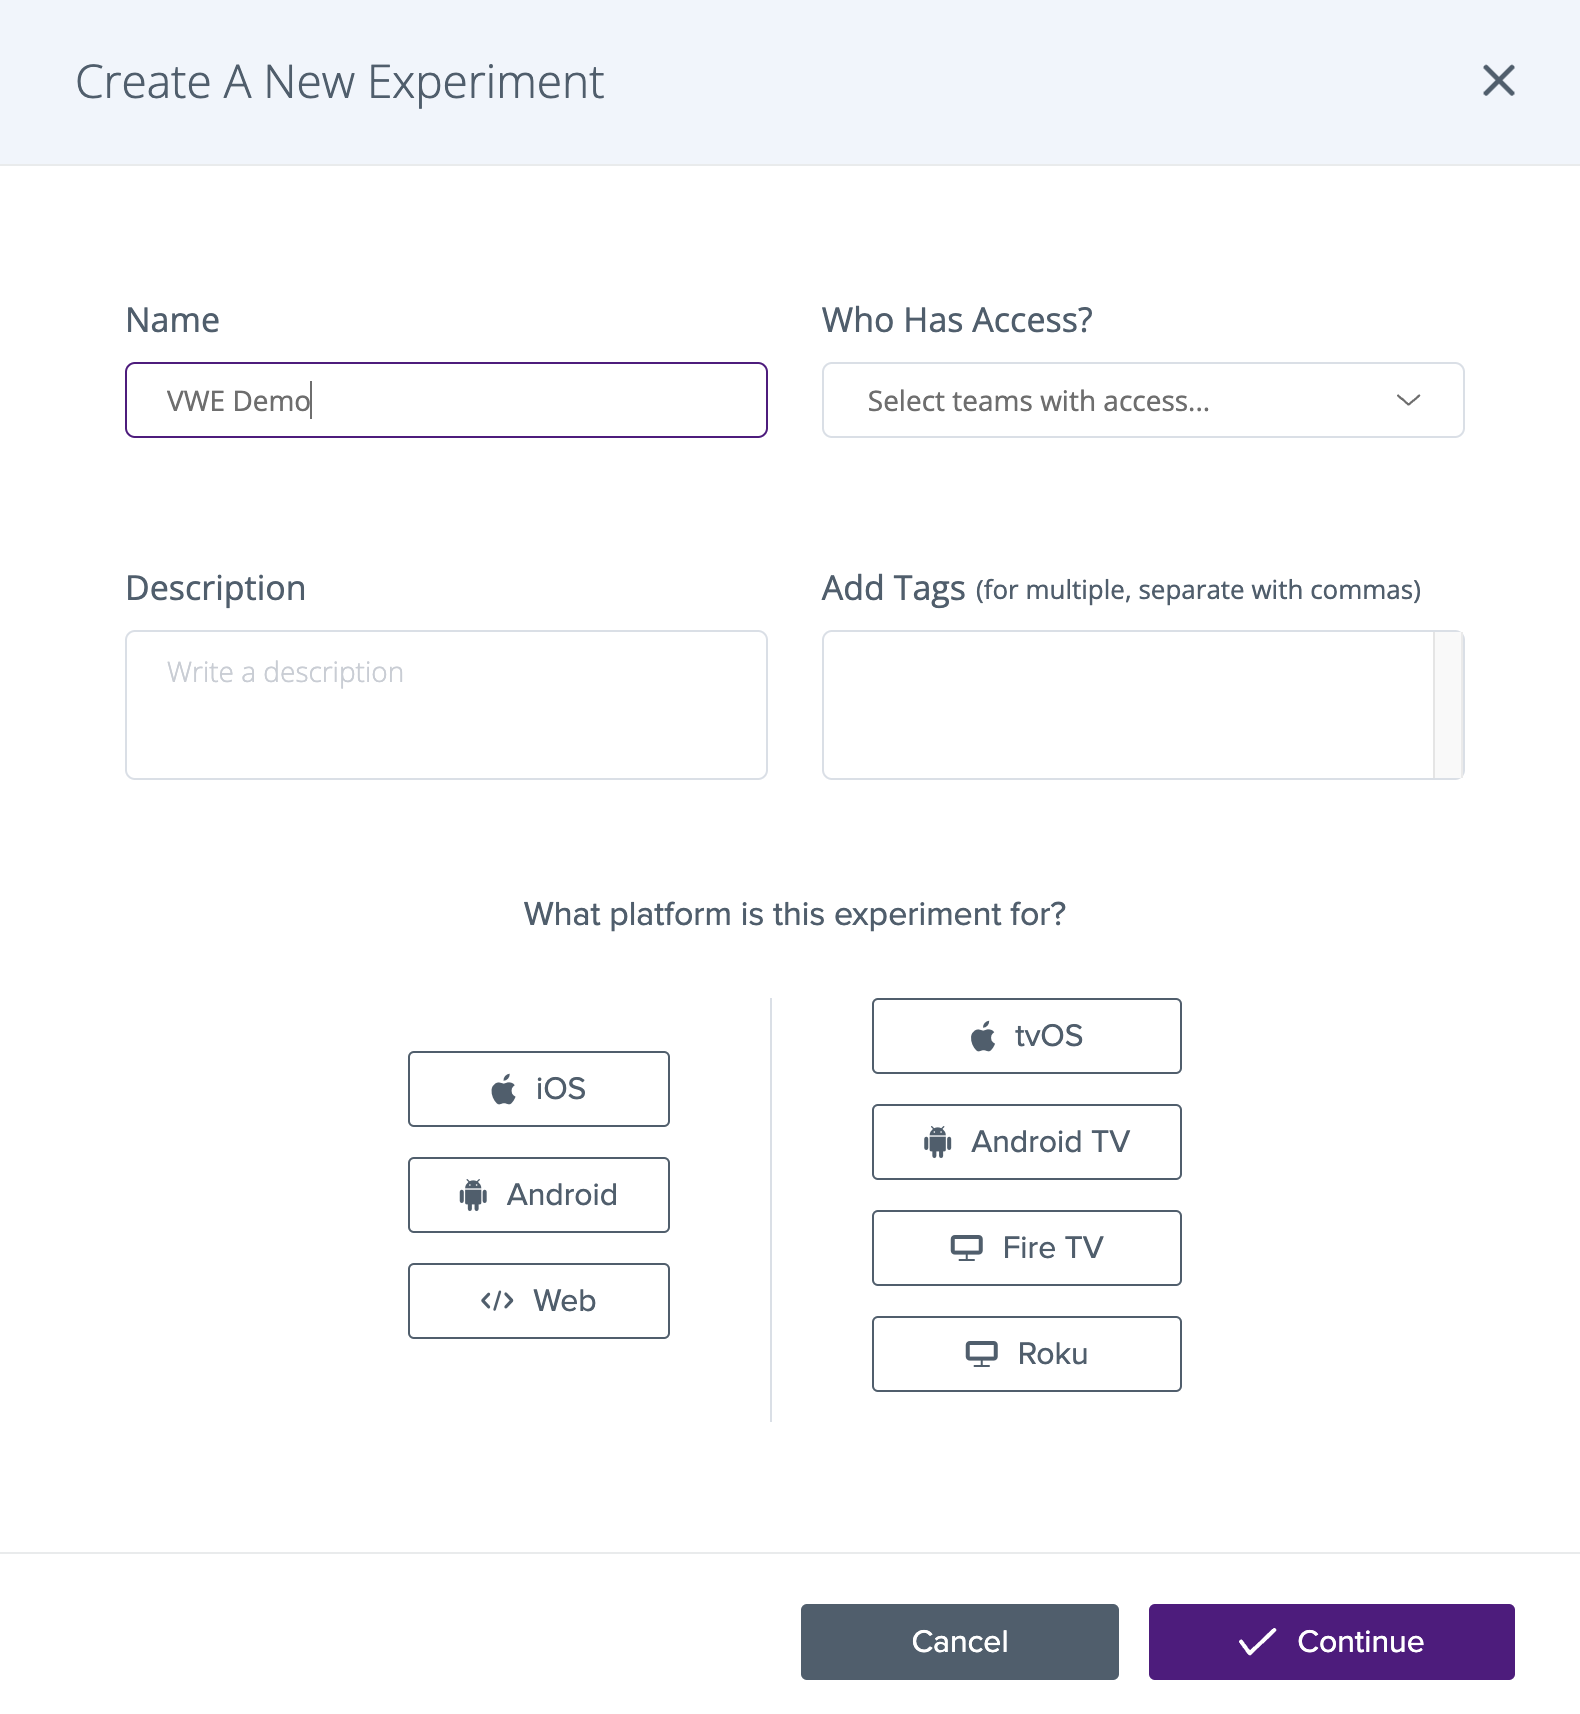
Experiment Setup
Making Visual Edits
On the next screen you'll be prompted to put your website URL into the Dashboard. Go ahead and click the "Start Editing" button once it lights up!
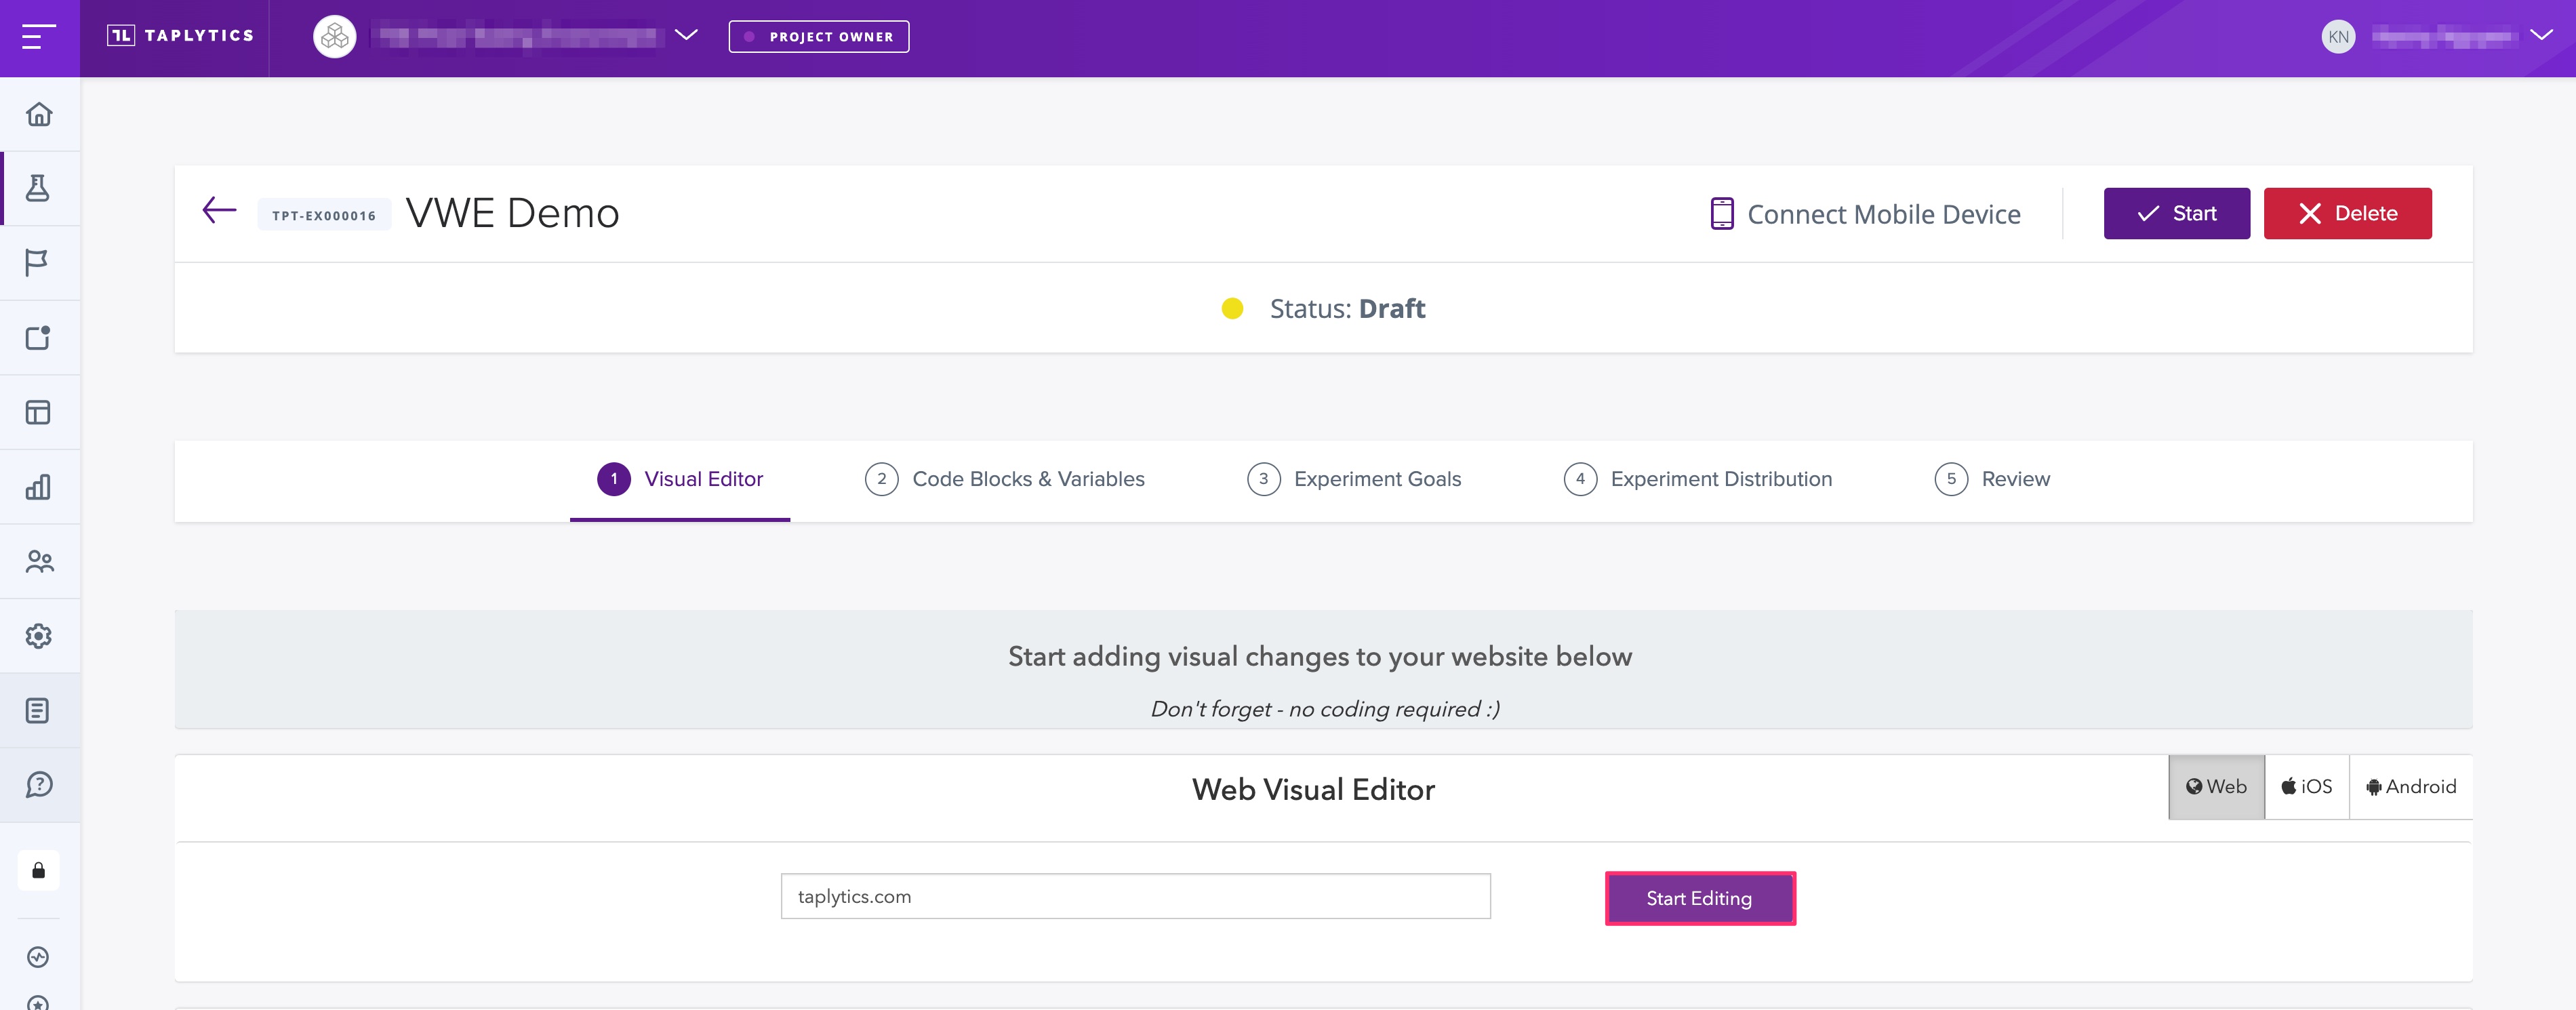
You'll then be redirected to the website. Once you land on your website, you'll see the Taplytics Chrome Extension load at the top of the screen.
After the VWE finishes loading, you’re ready to begin making visual editors on your website!

VWE User Interface (UI) Breakdown
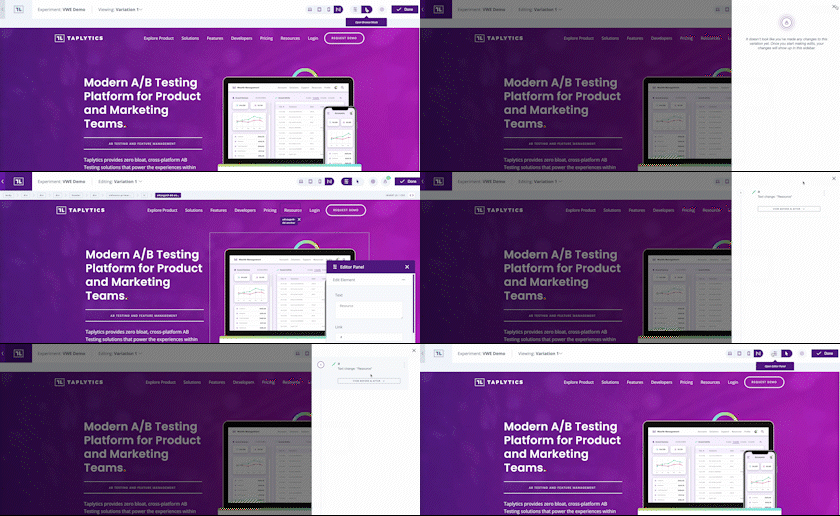
Let's break the VWE down into its separate components:
1) Return Button
- Return to your experiment within the Taplytics Dashboard.
2) Experiment Name
- Ensure you're editing the correct experiment using the experiment's name.
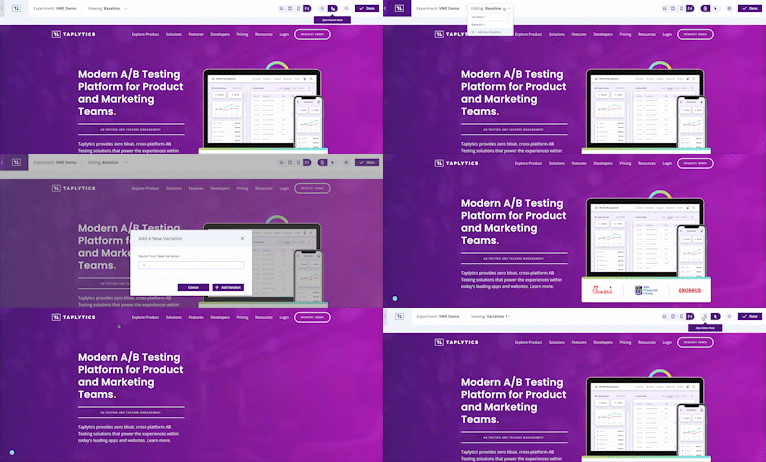
3) Variation Switcher
- Create, manage, and select the experiment variation you'd like to apply edits to by selecting it from the
Variation Selectordropdown menu.
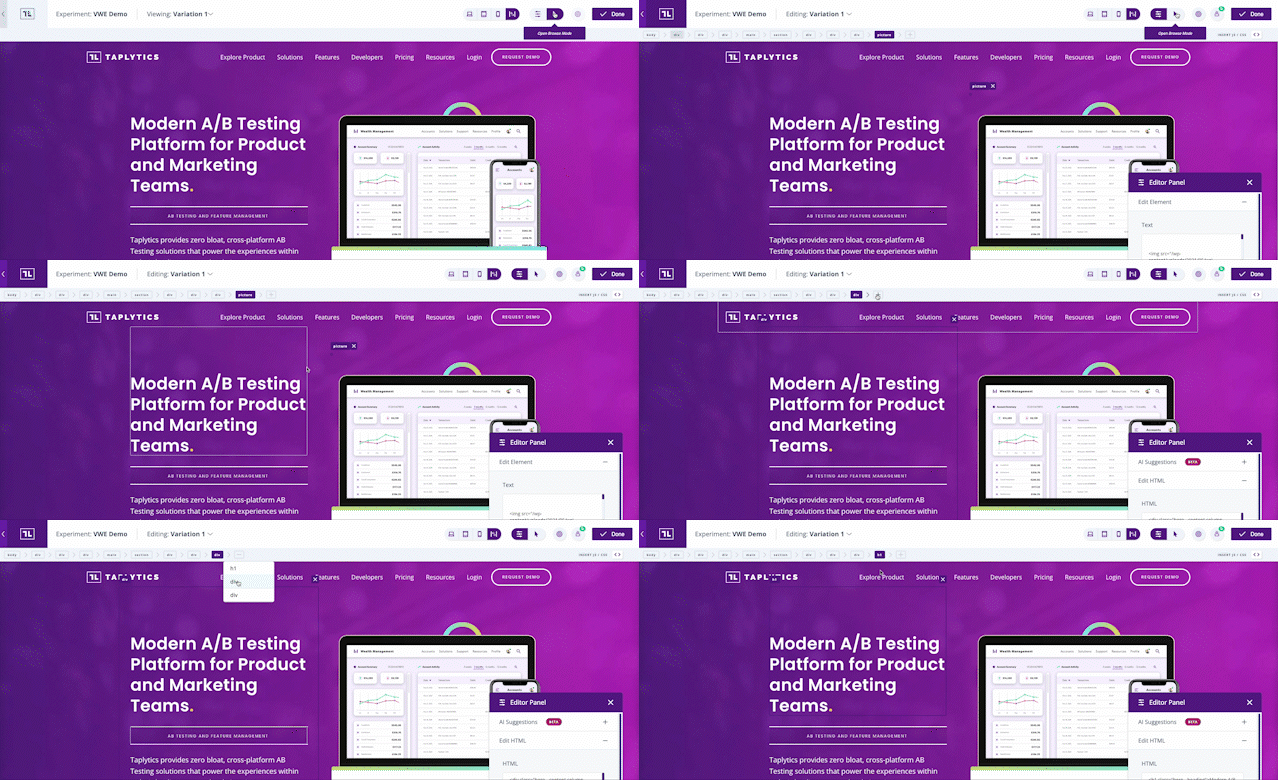
4) Element Selector
- View the hierarchy of the elements within the DOM and ensure the correct element is selected when editing elements on your website by using our breadcrumb element selector.
5) Viewport Selector
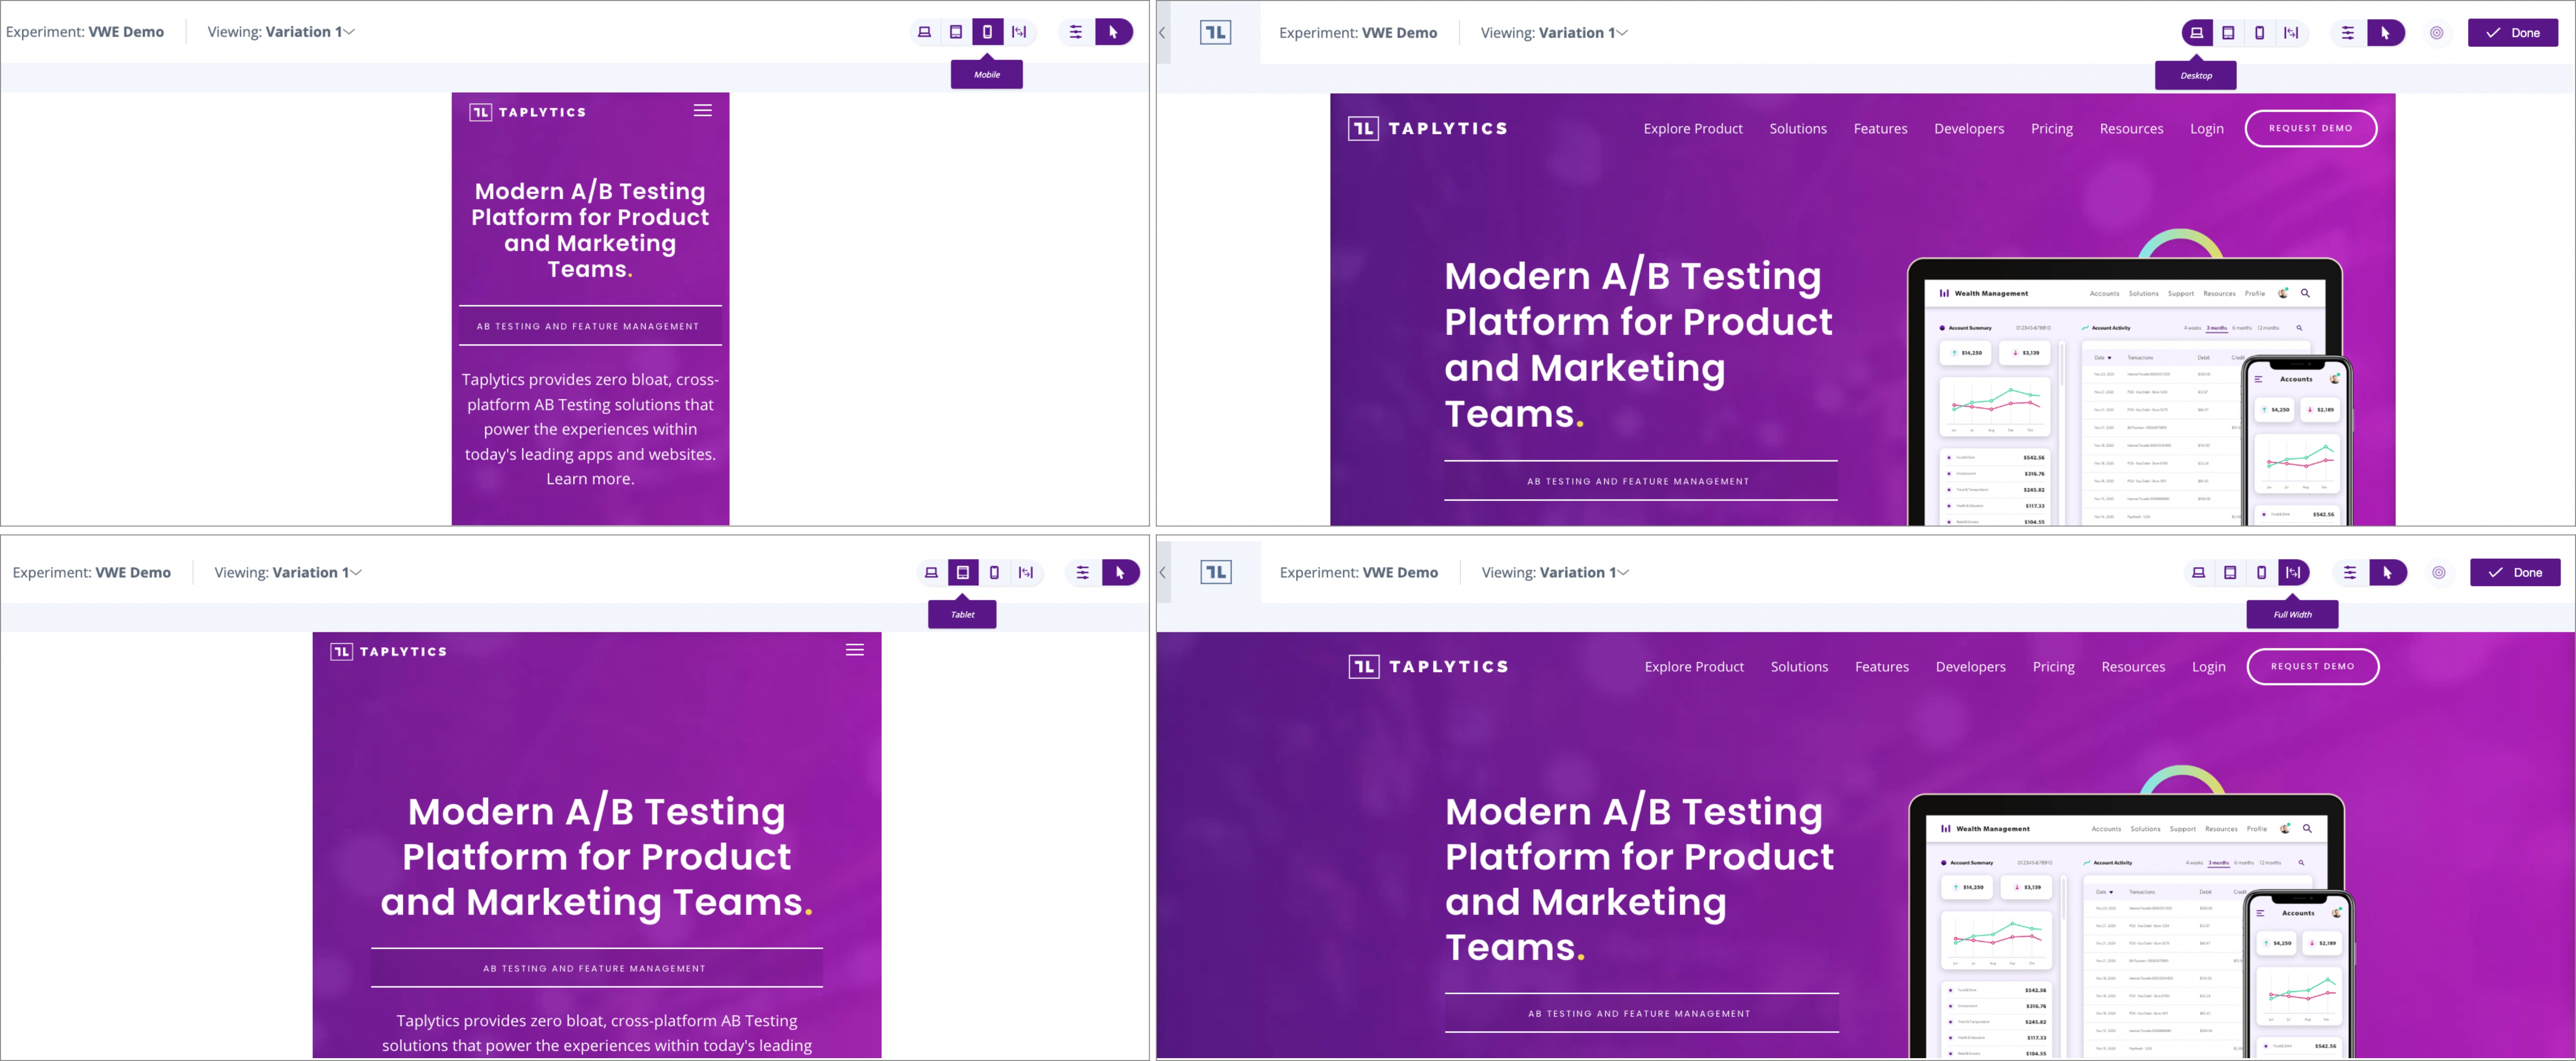
- Quickly apply and preview edits on a variety of viewport sizes using the built-in
Viewport Selector:- A) Desktop View (1440px)
- B) Tablet View (768px)
- C) Mobile View (375px)
- D) Full-Width View (Default)
6) VWE Mode Toggle
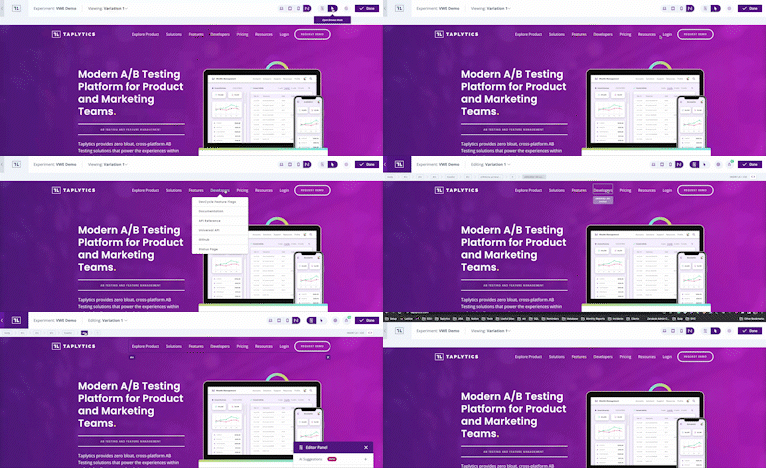
- Quickly toggle between the two available VWE modes:
- A) Edit Mode: select elements and make edits on the webpage.
- B) Browse Mode: navigate the webpage, as you would normally.
7) Instant Goals
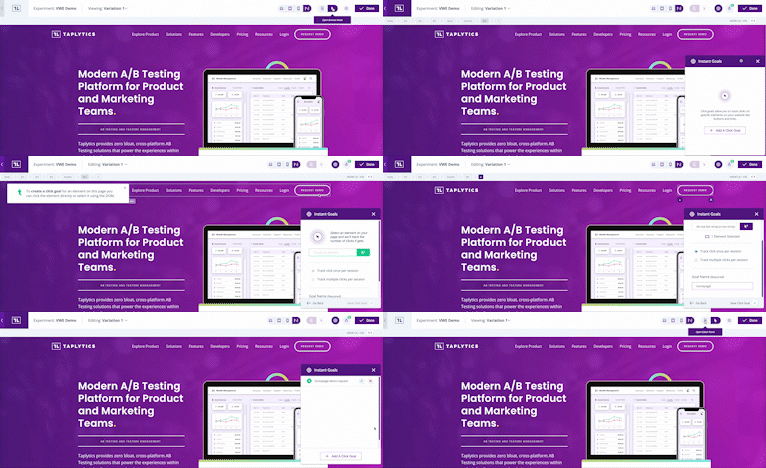
- Create an instant goal to quickly track metrics, such as click rates, on an element.
8) Edit History
- View, edit, or delete edits within the edit history viewer.
9) Done Button
- Return to your experiment within the Taplytics Dashboard.
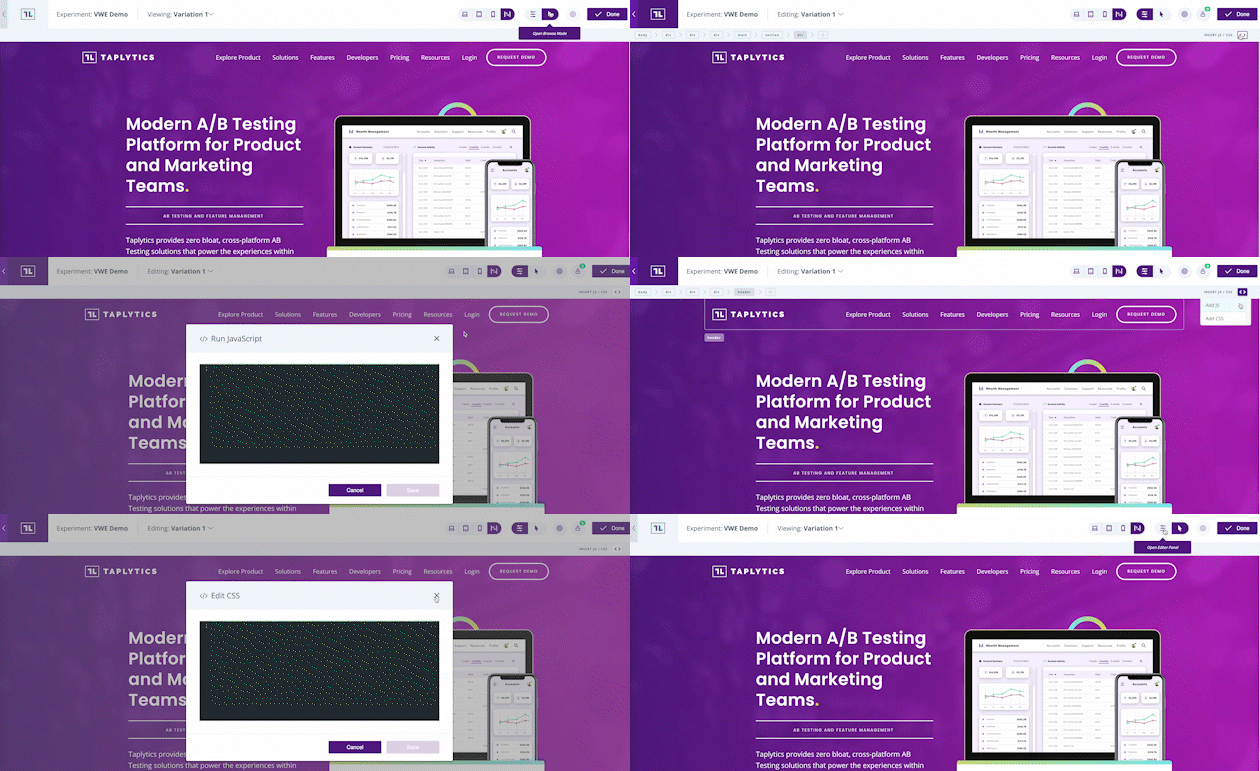
10) JS/CSS Injector
- Inject vanilla JavaScript or CSS to your webpage. Injected code will only run within the variation that it was applied to.
Responsive Viewports
The web is a flexible medium, and your experiments should be too.
Optimize your web pages for responsiveness directly in the Visual Web Editor with our built-in viewport switcher.
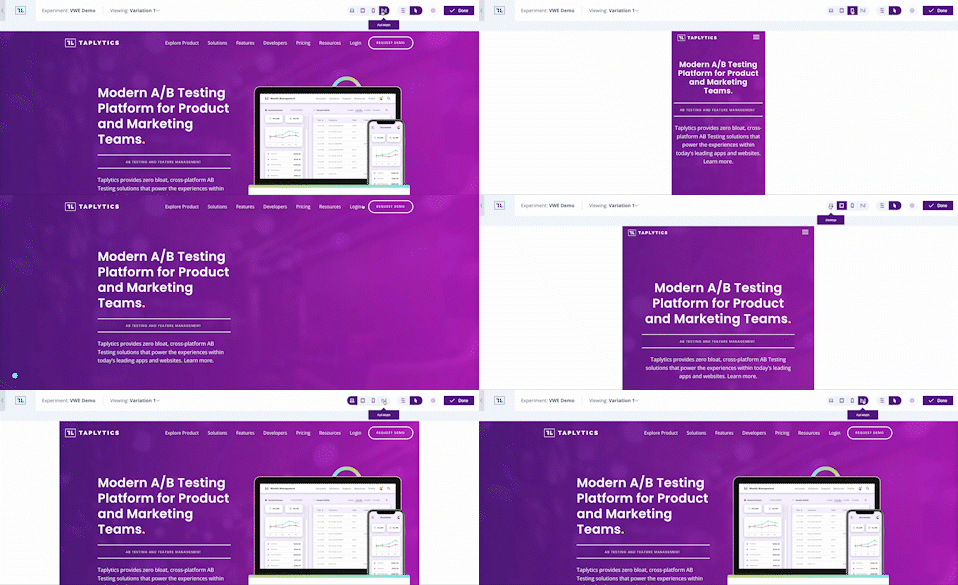
VWE Responsive Design Viewport Switcher
Resize your web page using one of the built-in viewports:
- Mobile view (375px)
- Table view (768px)
- Desktop view (1440px)
- Full-screen view (default)
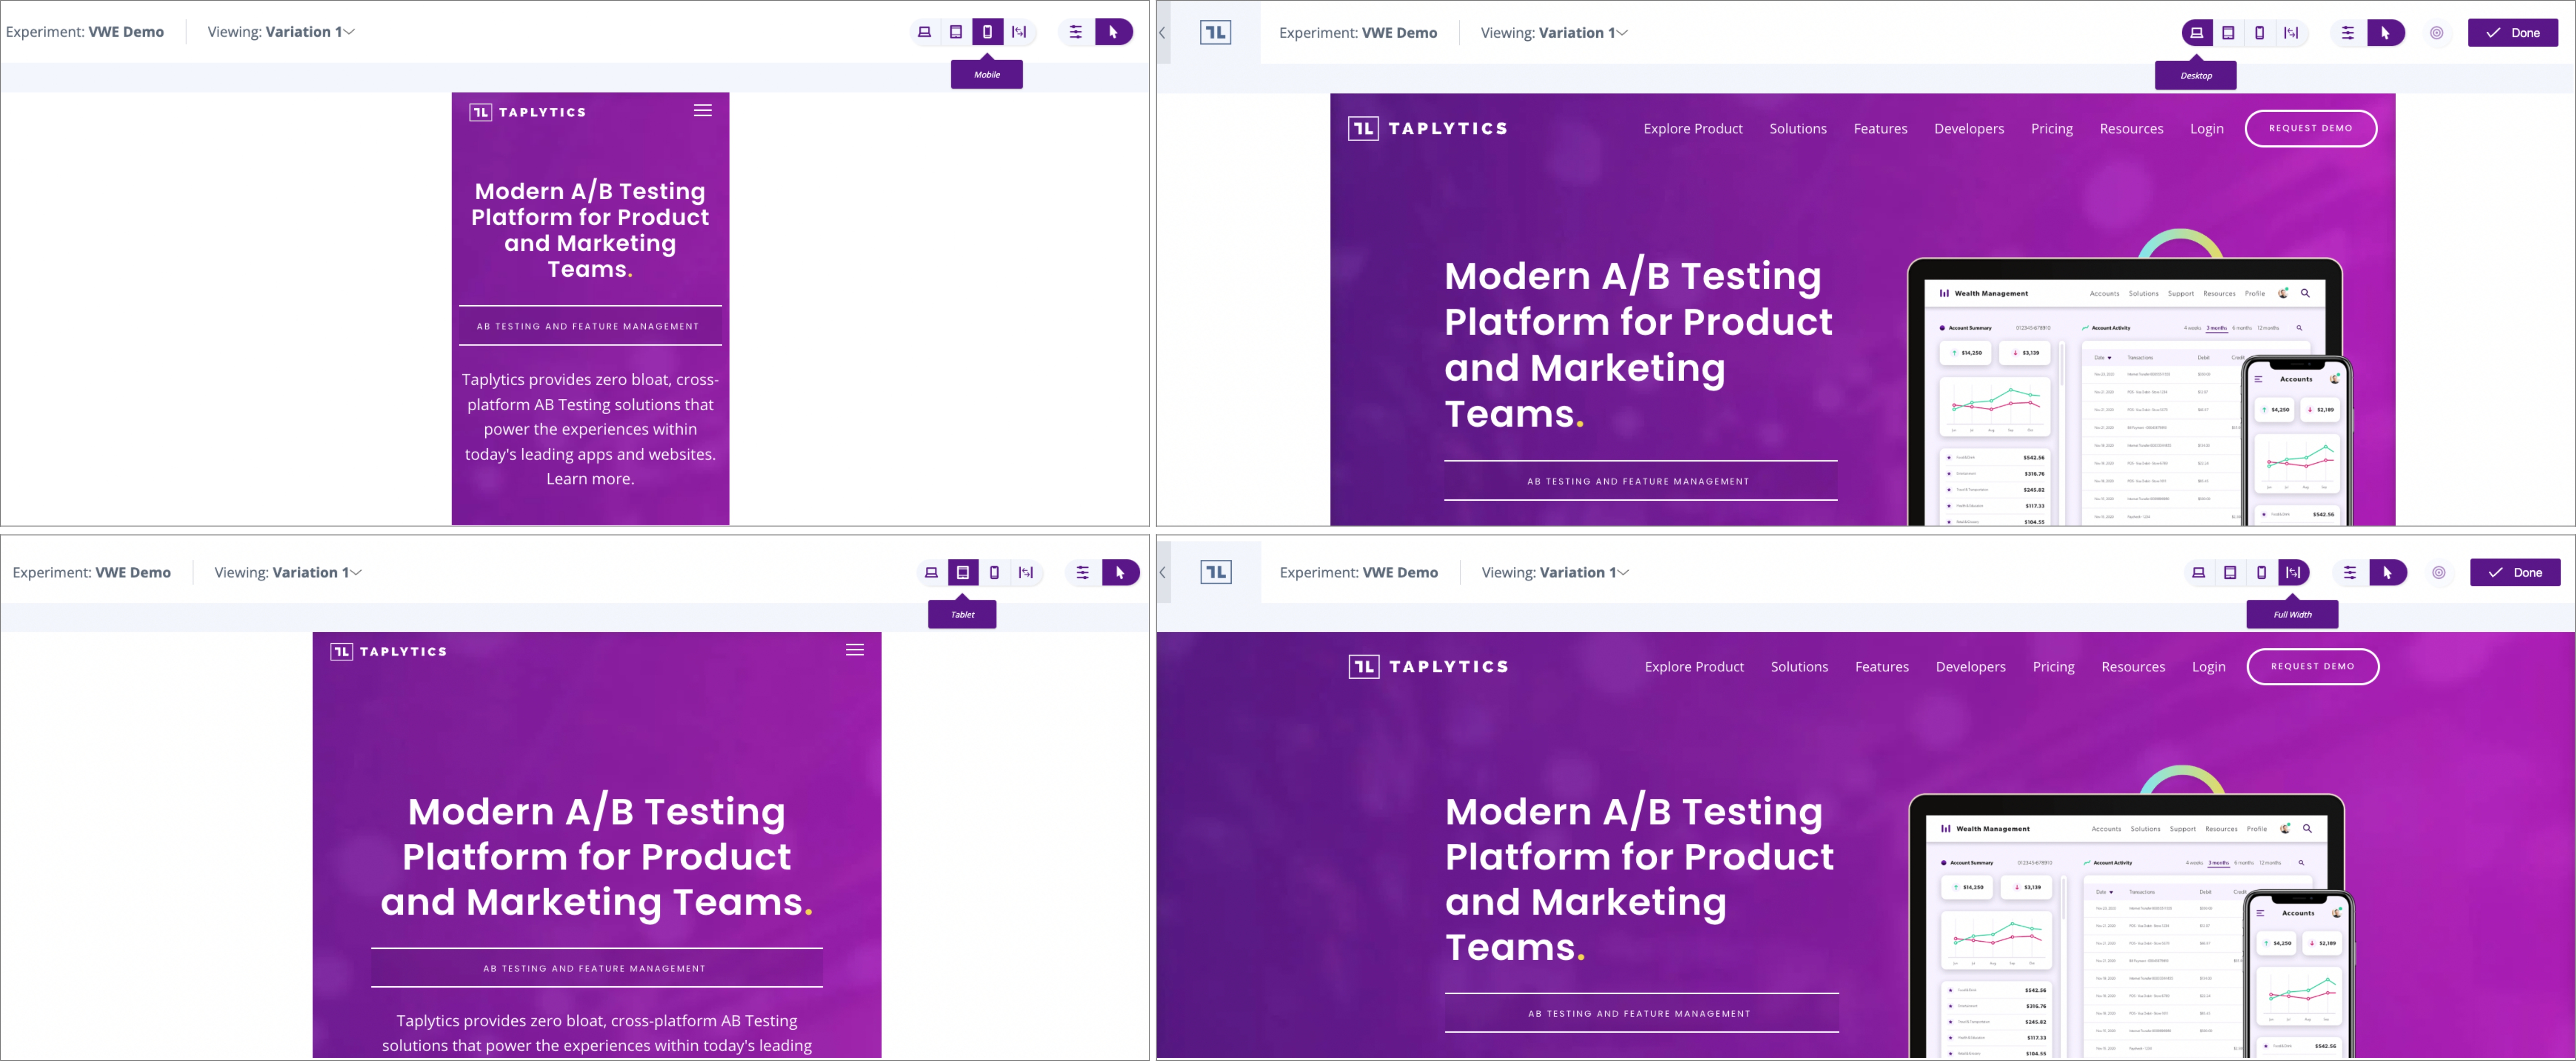
Built-in VWE Viewports
Editing Text or HTML
You can simply update the text within the Text box or click on Advanced to see the actual HTML. If you'd like to update the font or colour - simply add the correct CSS modifiers to enable the changes you'd like.
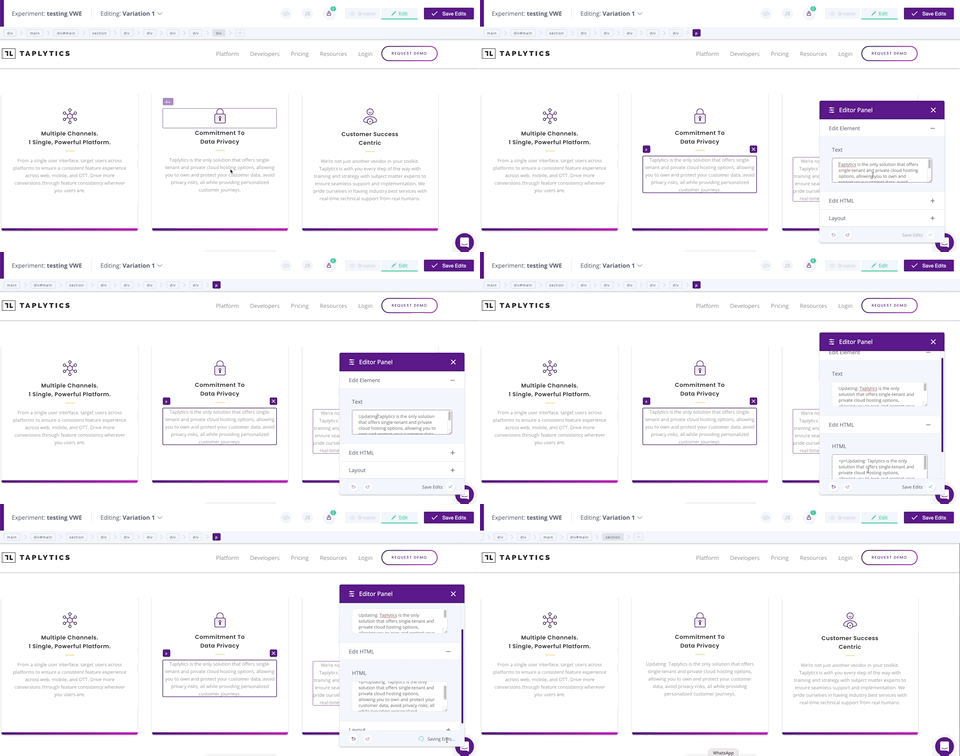
Layout
In the Editor panel, there is a section called "Layout". This section allows you to arrange elements on your site without touching any code.
- Select the element you wish to edit
- Choose the rule of the Arrangement (before or after)
- Select the element that you want to Arrange it with
Don't forget to hit save!
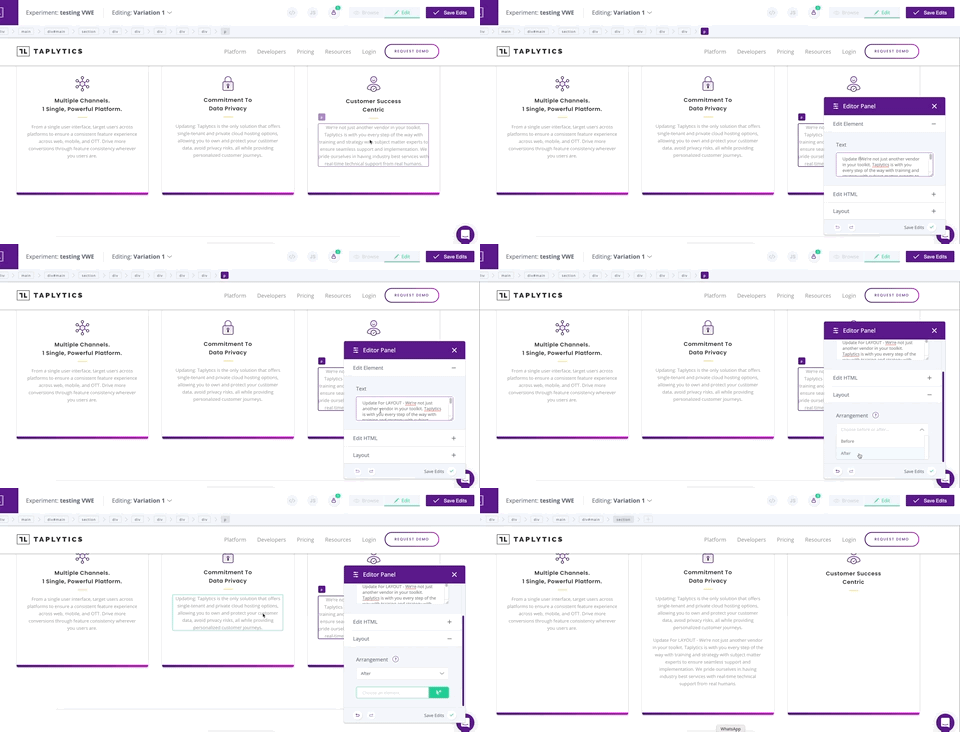
It also gives you the ability to Show, Hide or Delete an element by clicking the display icon.
- Show Element
- Hide Element
- Delete Element
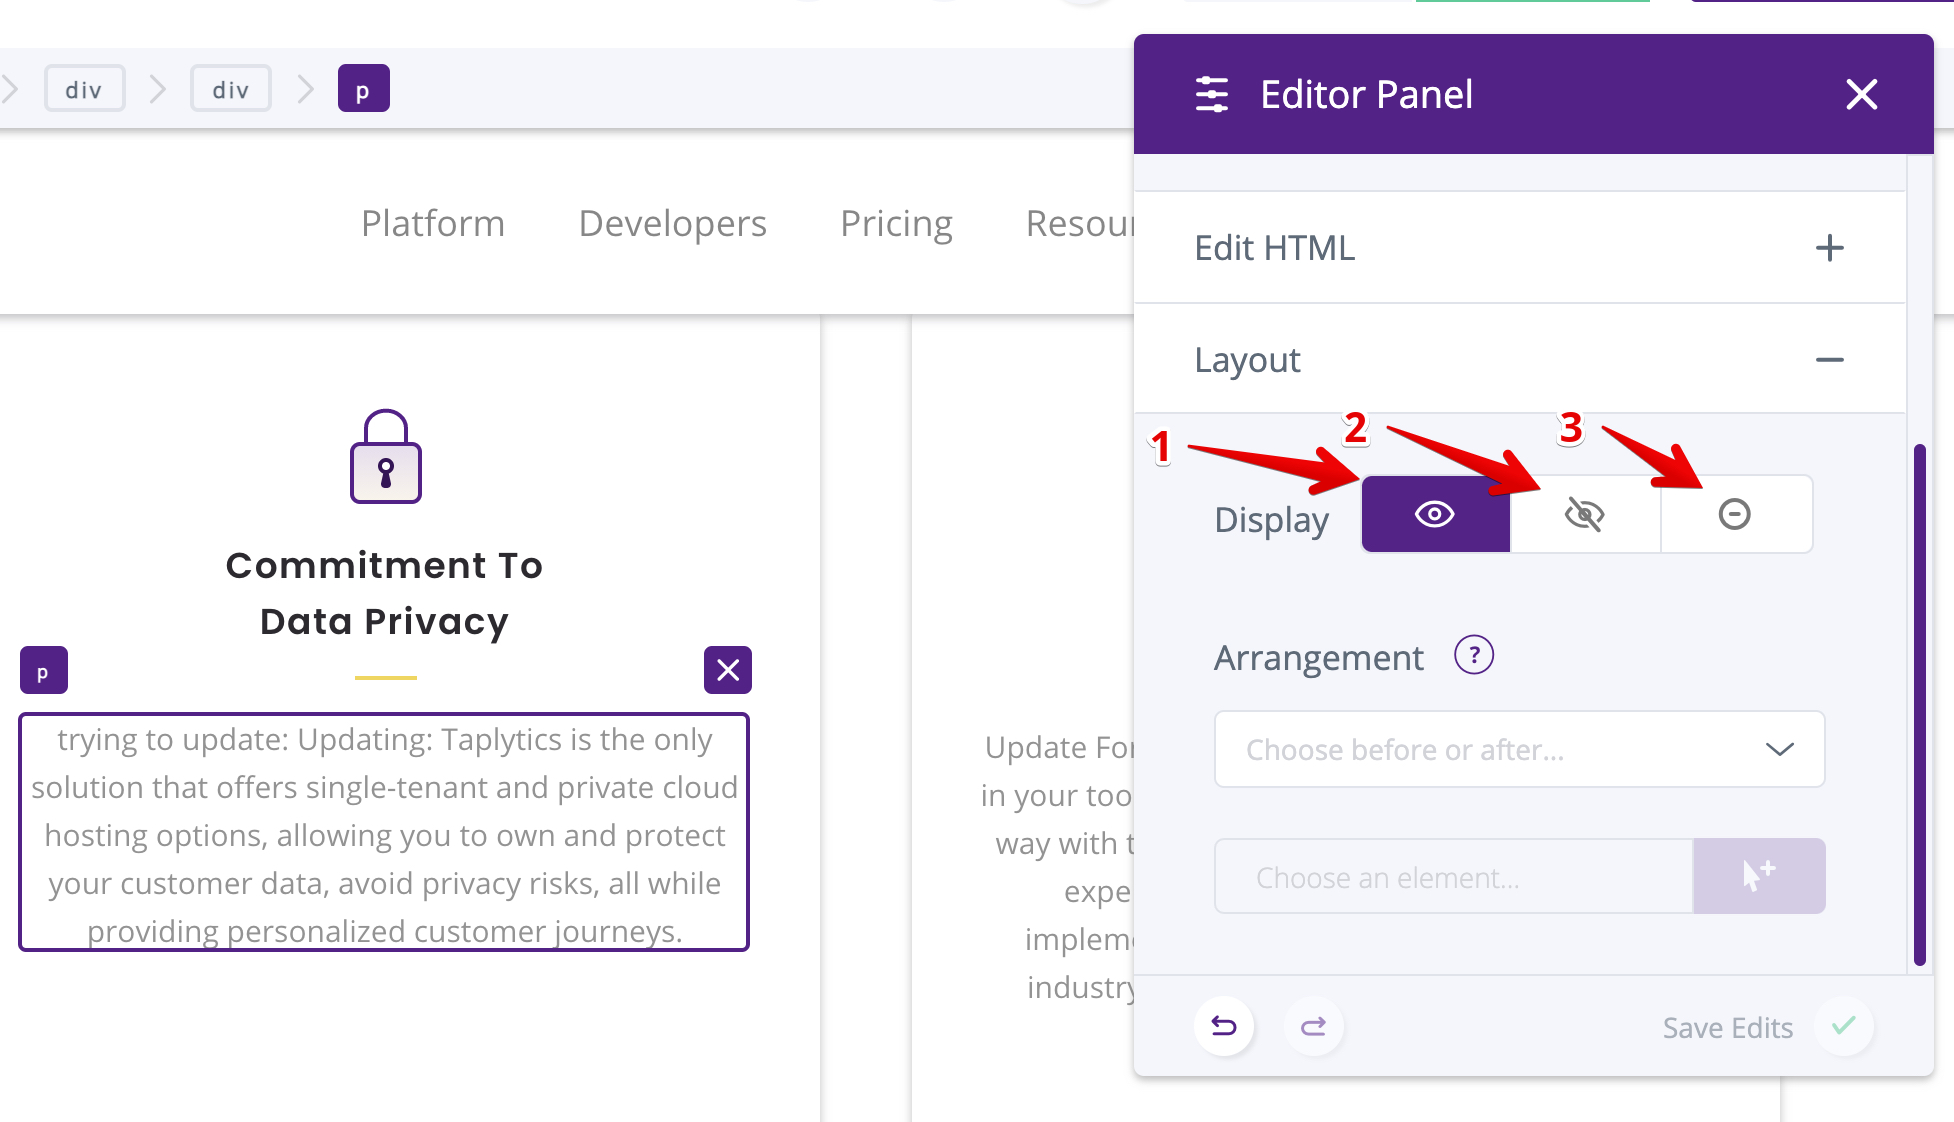
Typography
The Typography section in the editor panel will give you the ability to update the styling of the element, you will be able to edit the following:
- Font
- Weight
- Color
- Size
- Alignment
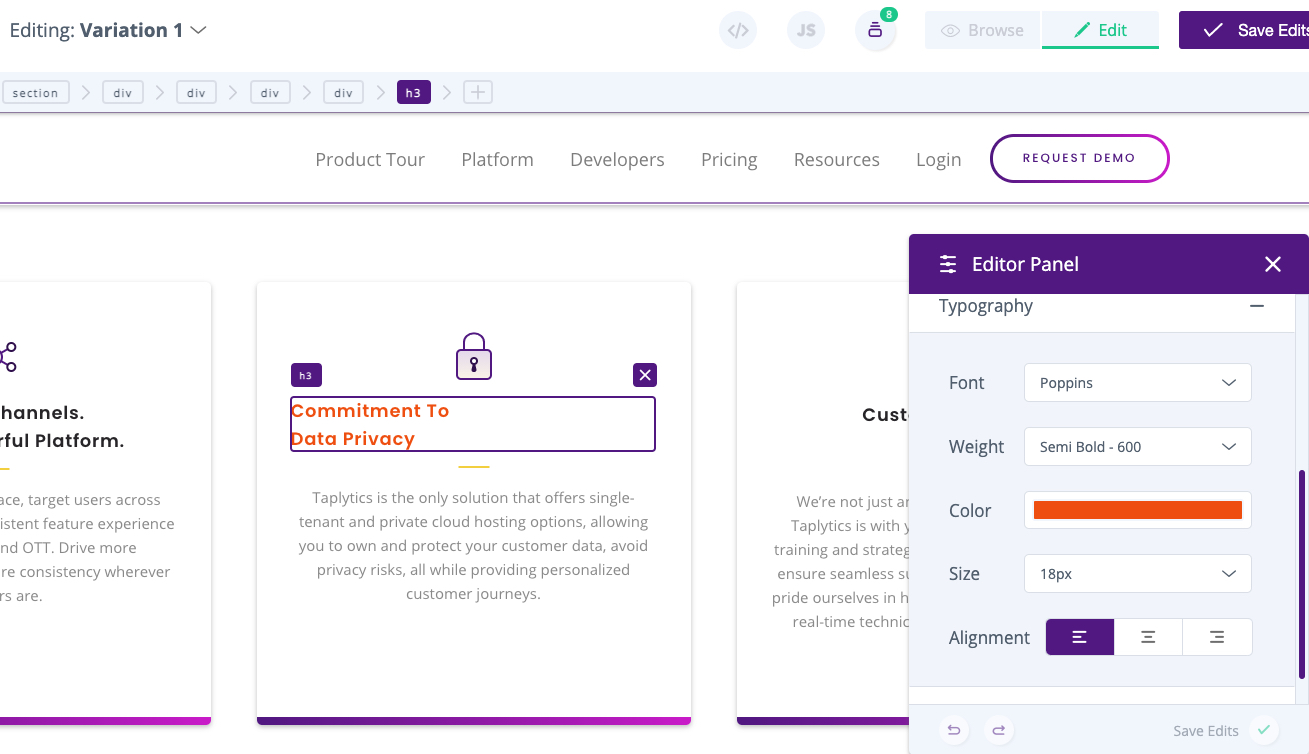
Background
Currently, the Background section will give you the ability to change the element's background-color.
- Color
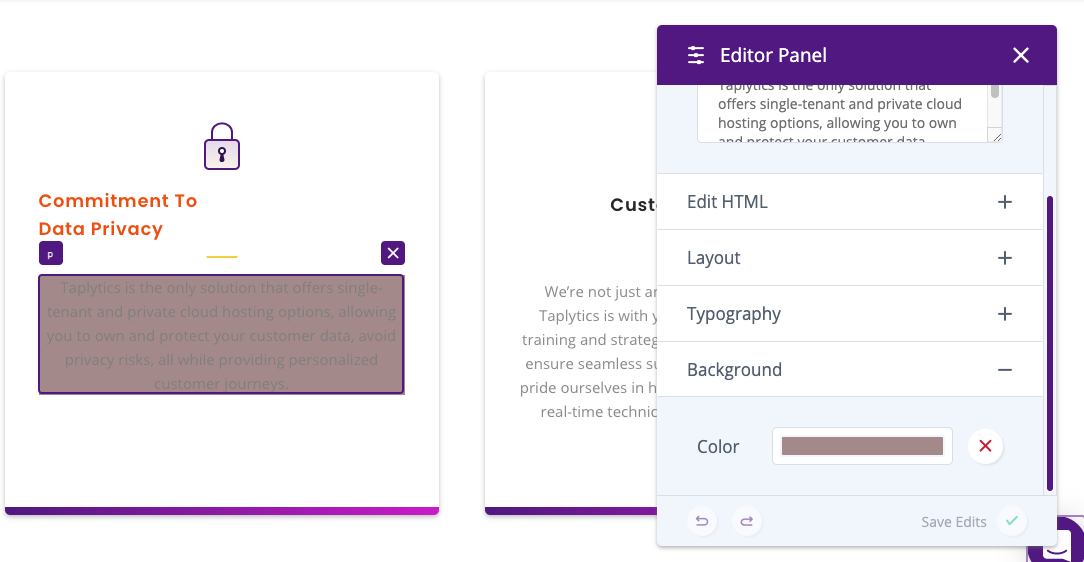
Once all your changes have been made and you're done adding variations hit the "Save Edits" button in the top right hand corner of the screen and you'll be taken back to the Taplytics Experimentation Dashboard.
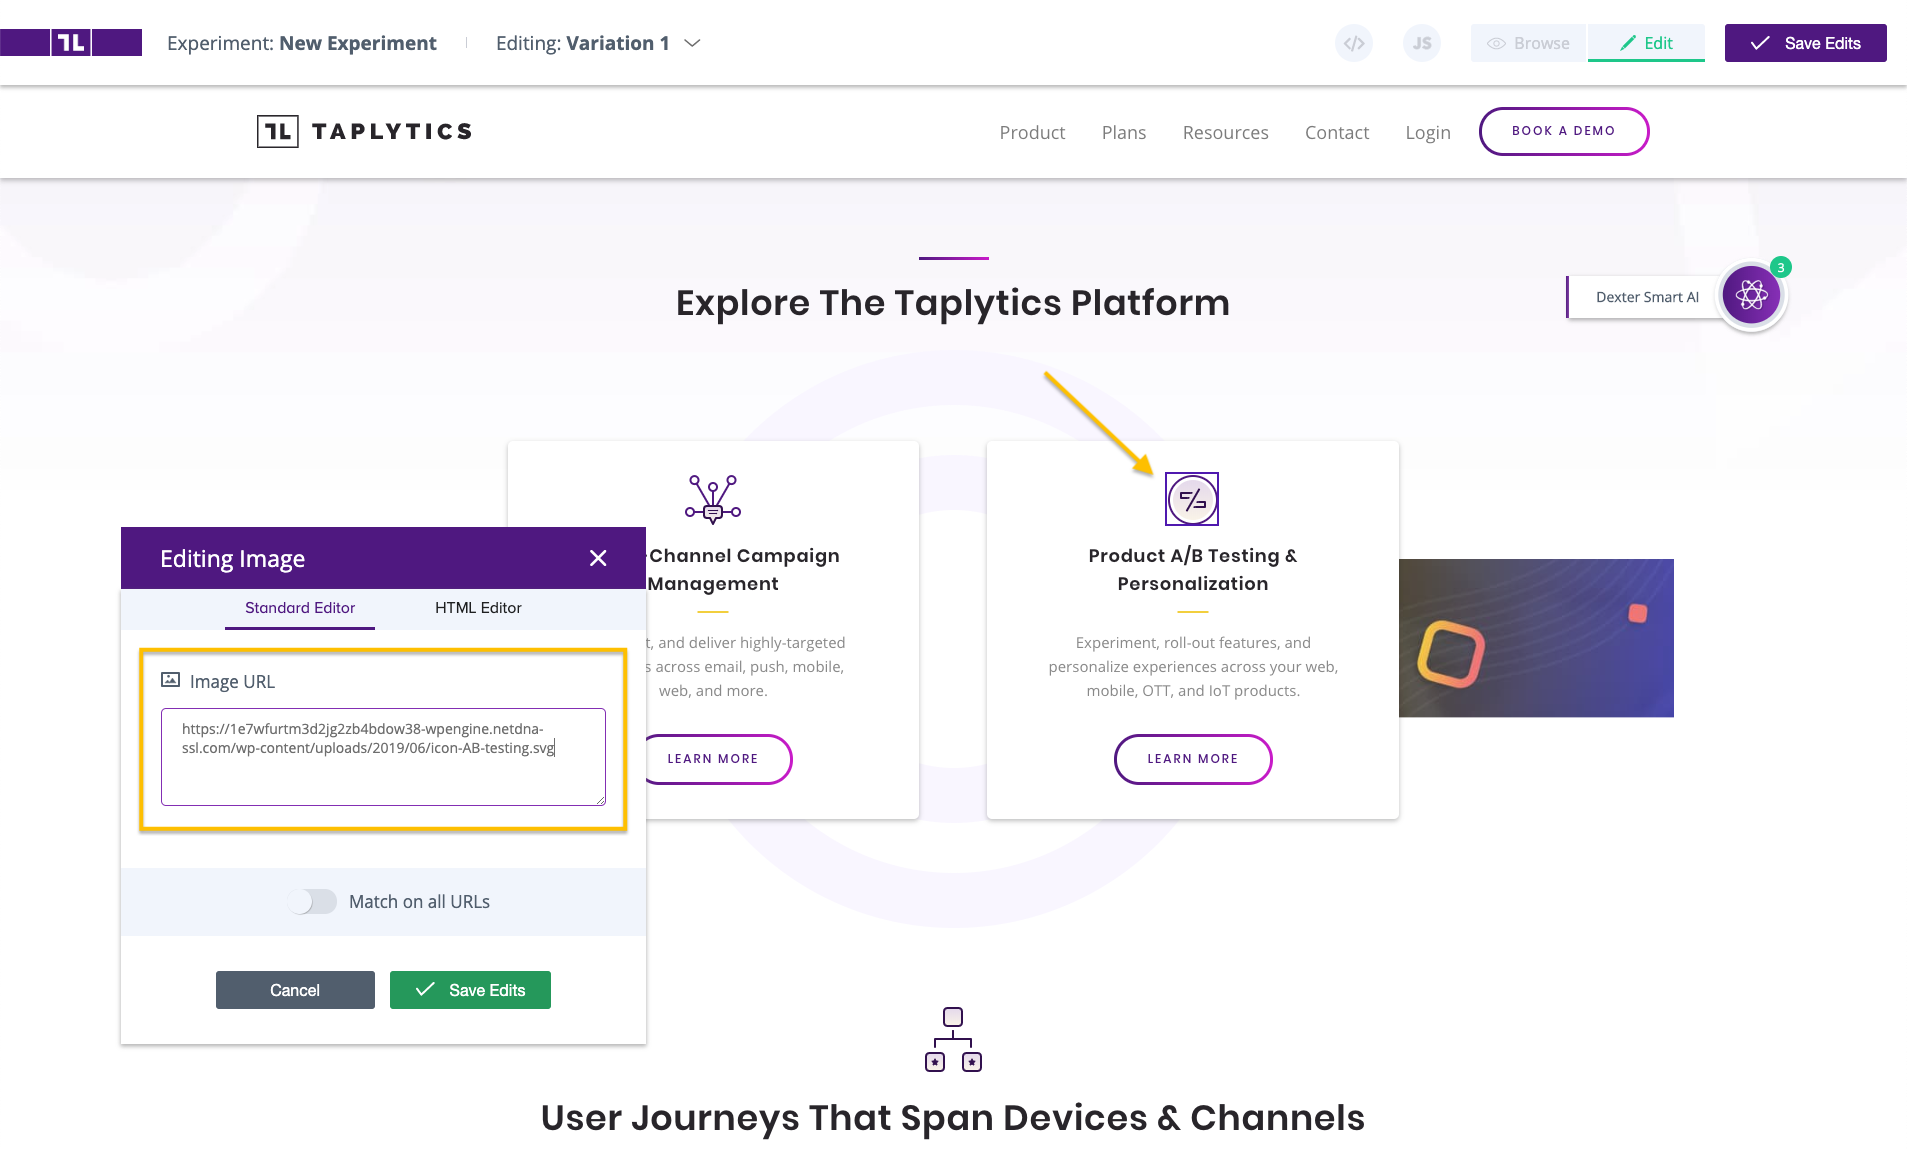
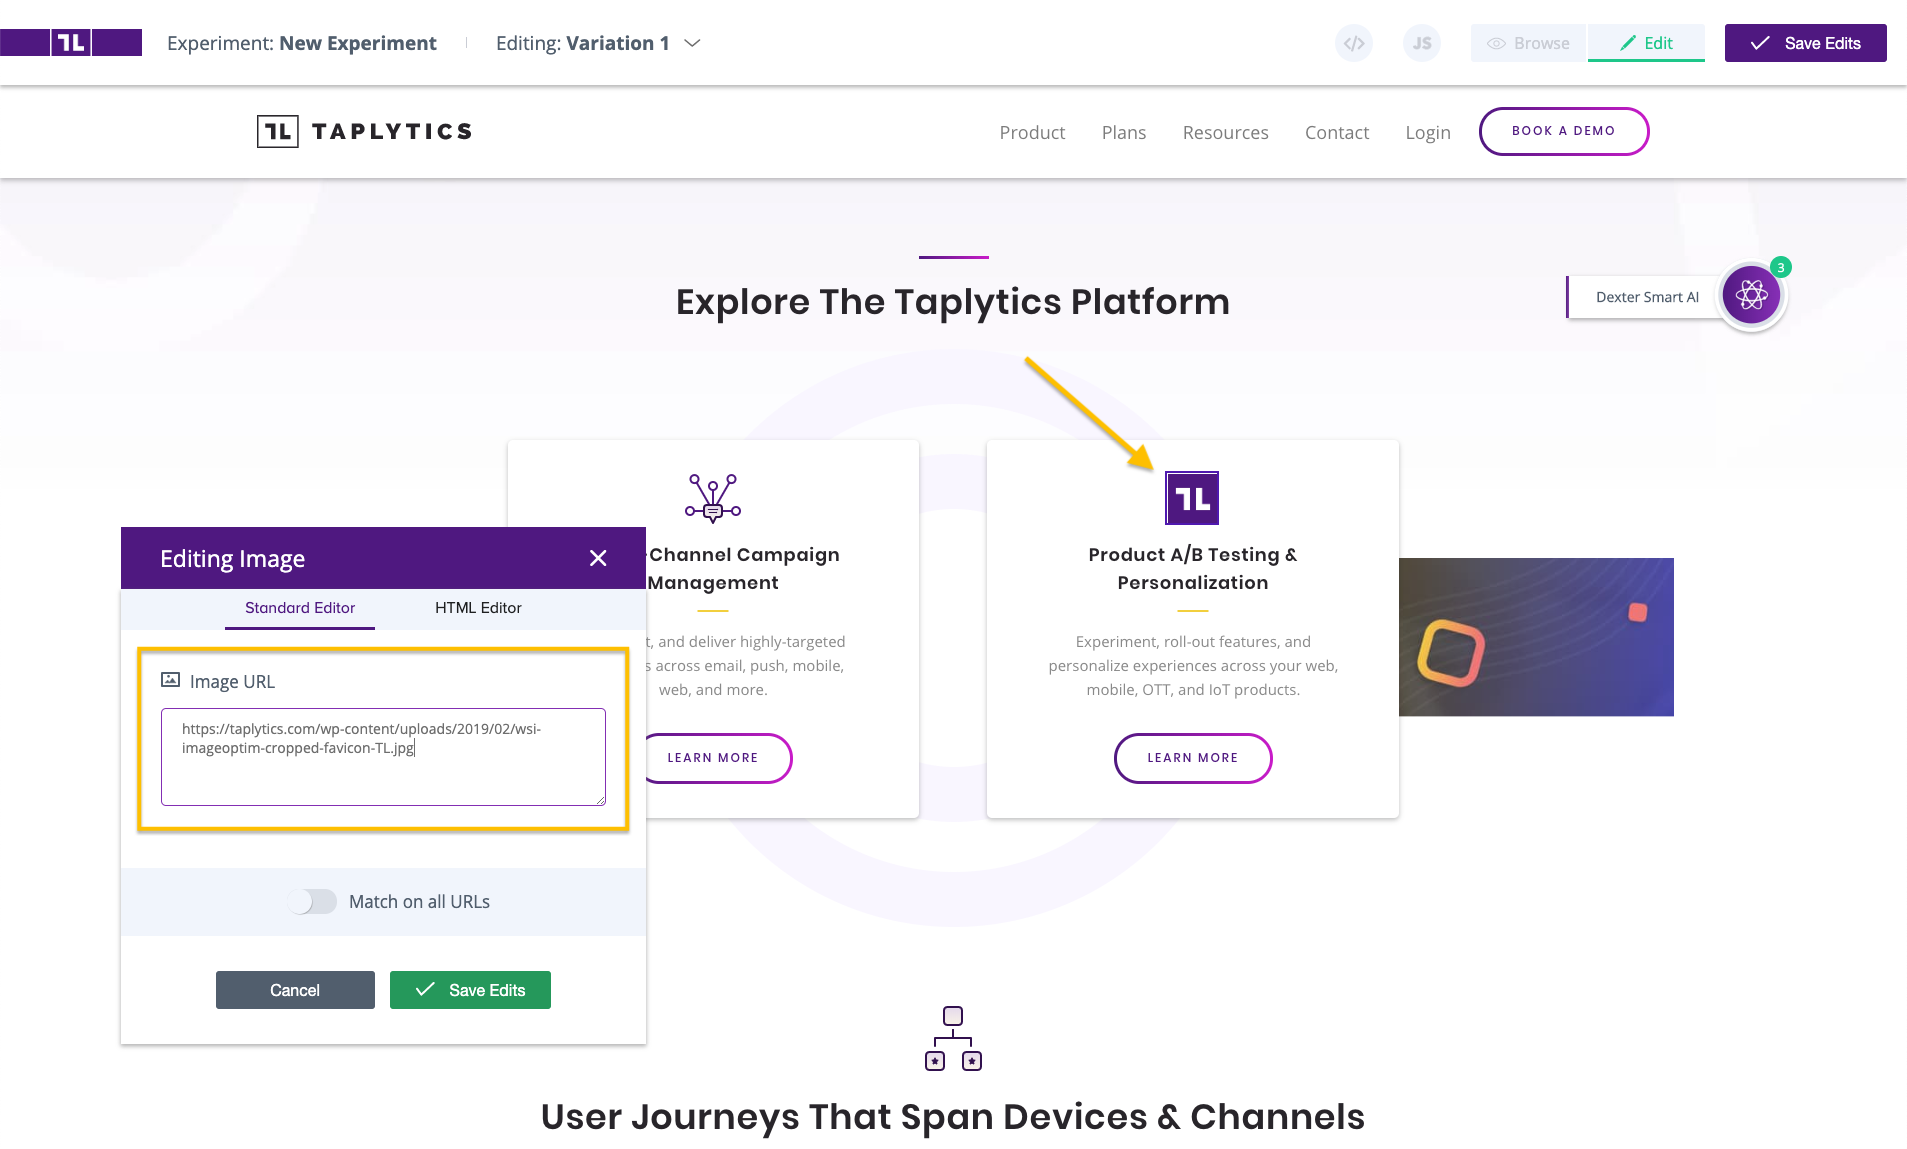
Editing Images
You can also use the web editor to swap images! Simply select the image and update the URL that you'd like to swap the image for.
CSS Editor
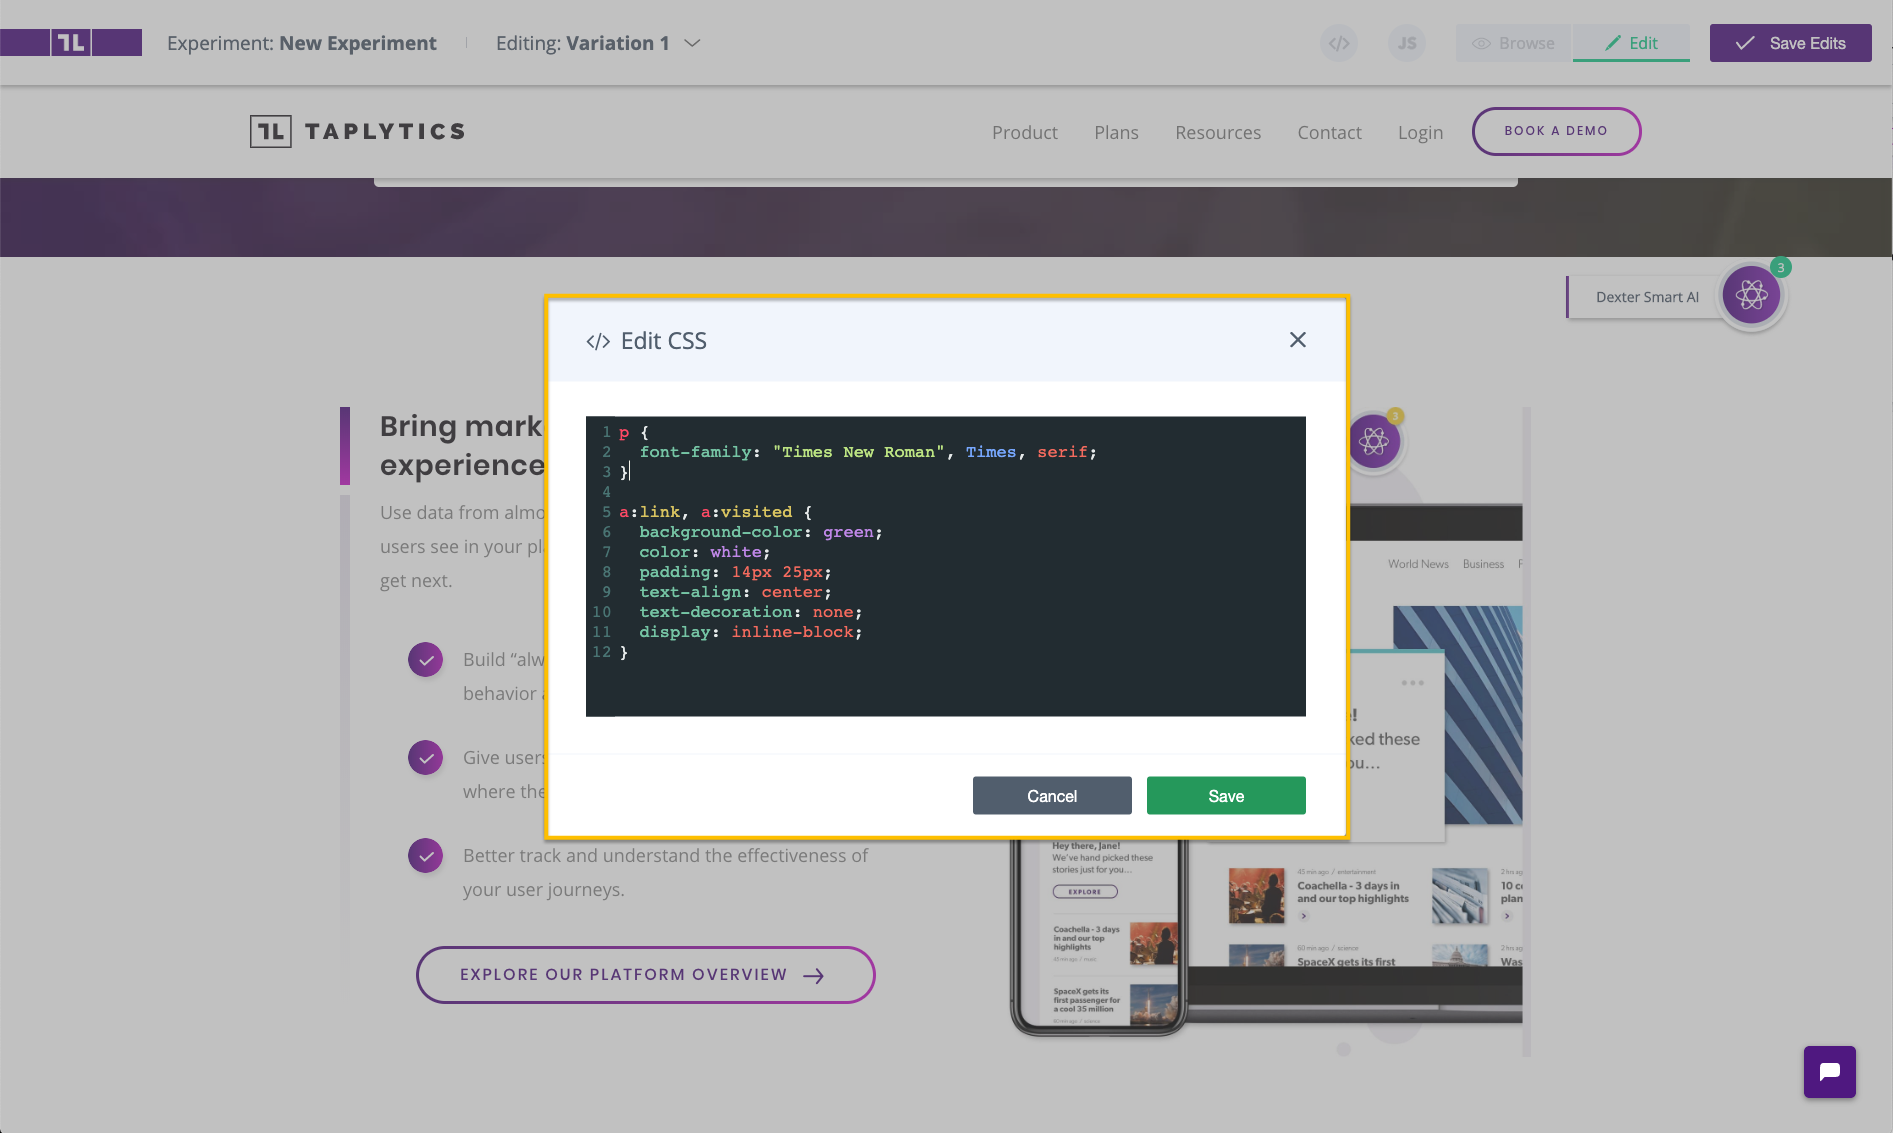
Use the editor to make CSS changes to the page and its elements. You may always come back to a variation and change the CSS you’ve written.
JavaScript Editor
Use this editor to write and run JavaScript. The script will be executed upon hitting Save. Note: To cancel changes made by the JS editor, you may need to delete the variation.
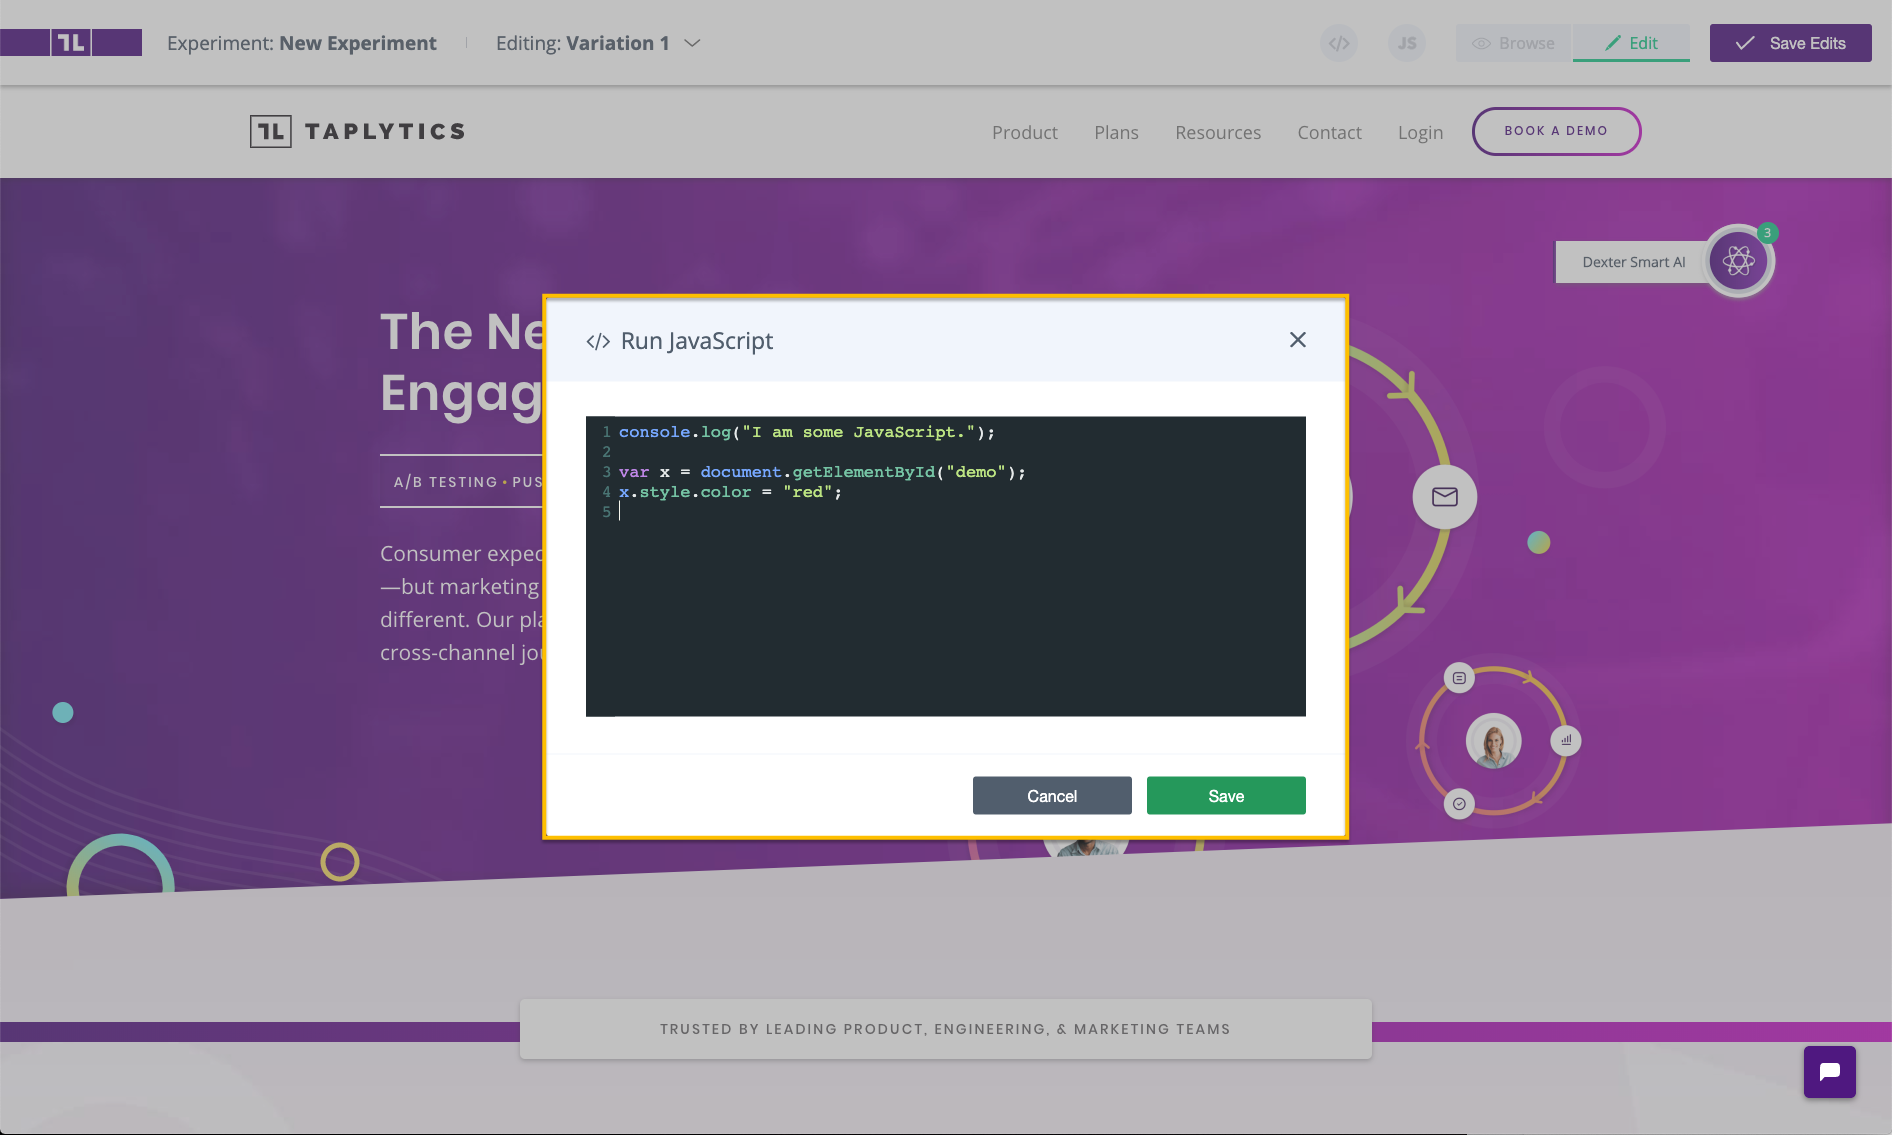
That's it for edits! You've created your first visual experiment changes using the Taplytics Web Visual Editor! Learn more about Instant Goals and URL targeting below to add click goals and apply the edits you've made to only specific pages.
Instant Goals
With Taplytics Instant Goals, we are enabling teams to execute on multi-platform, end-to-end, no-code experiments.
Any team member can visually define a conversion - without having to write a single line of code. Use the Taplytics Visual Web Editor to configure your visual A/B tests, set up metrics to measure your success, and gather insights on user behaviour.
How to create an Instant Goal
Open the page that you want to use VWE for. After setting up all your Visual changes you can create an Instant Goal by clicking the circle button in the right side of the Taplytics header.

Click to "Open Goal Mode" and you will see the Instant Goals modal appear prompting you to add a click goal.
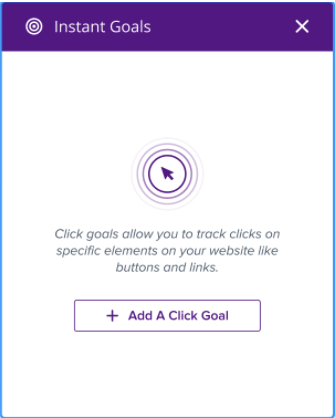
Once you click to "Add a Click Goal", you are taken to Element Selection mode. Similar to Element Rearrangement, this mode allows the user to freely select an element directly on the page, or through the DOM.
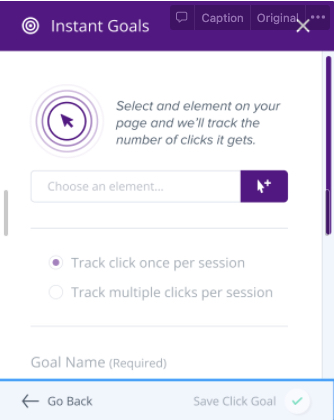
At this point, there are two possible paths you can take to select the element you wish to add a Click Goal to:
- Click on the mouse icon beside "Choose an Element" to enter element selection mode
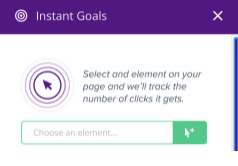
In option 1. above, you will have the time to build this element and show the tip to users that they are able to use the DOM selector to choose an element as well.
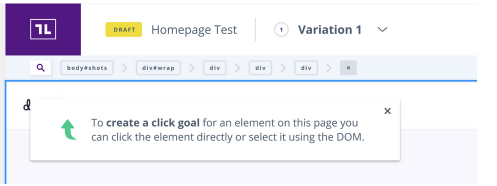
- Directly click on an element in the page, which enters selection mode and sets that element as the active item that has been selected.
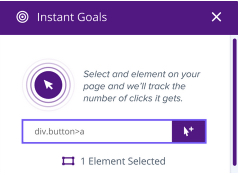
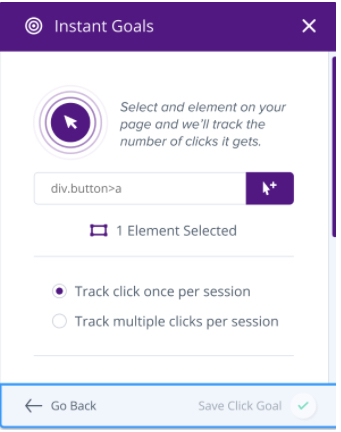
Once an element has been selected, choose if the element should be tracked either once per session, or multiple times per session. The default selection will be "Track click once per session". After creating the Goal on the VWE, you can visit the Goals page of the Experiment to further customize the Instant Goal.
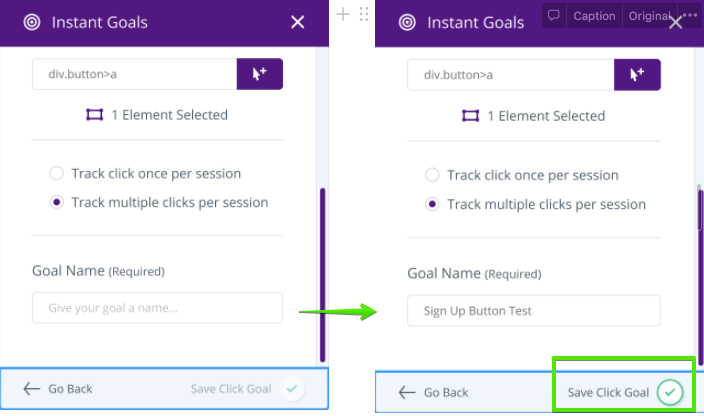
The user is also required to enter a Goal Name; after a name has been entered, the Save Click Goal option becomes selectable.
Once you've configured your Goals, they will then appear under the Code Events dropdown on the Goals setup page of the Experiment.
How to check created instant goals
Click the Instant goal icon and you will see the window that has the list of goals created previously.
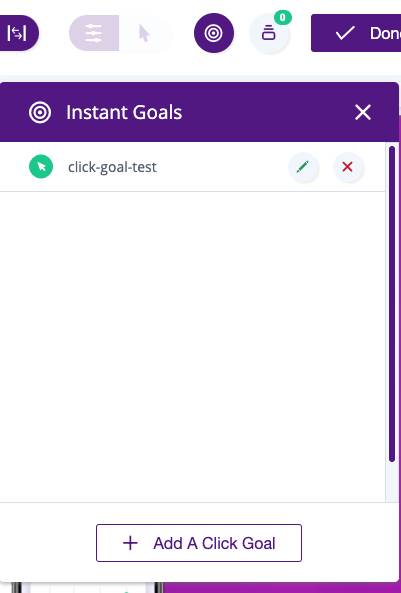
How to edit Instant goals
Click the Instant goal icon and then click the pencil icon in the list of goals to edit.
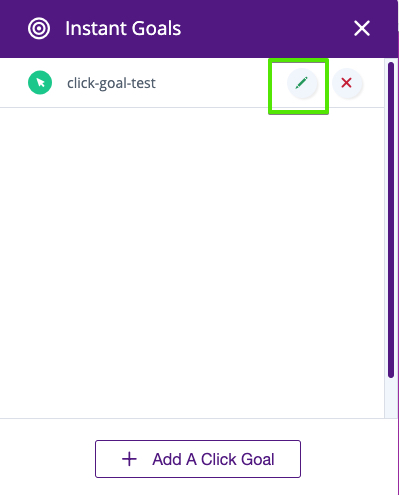
Note: At this point, our goal creation endpoint is hit; if a user were to leave the VWE and head to the Goals section of their experiment, a draft Code Event would exist for this goal which can then be used to create a Goal.
Targeting Rules
Targeting Rules allow you to pick and choose exactly where your web Experiments should run. Once you have finished setting up your Experiments using the Taplytics Web Visual Editor, scroll down to the Targeting Rules section within the Visual Editor tab to start defining your URL or Cookie Targeting Rules.
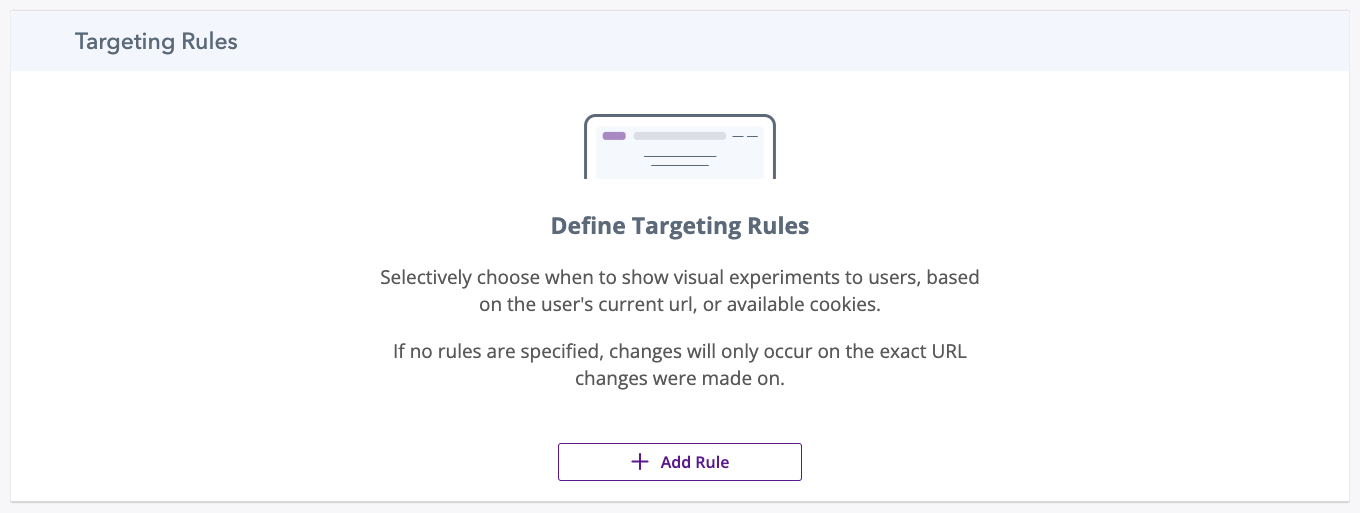
Once you click on “+ Add Rule”, you will be taken to a modal where you can select whether you'd like to add URL or Cookie targeting and enter its corresponding values. If no rules are set, the changes you make within the Web Visual Editor will only be applied to the URL in which you have setup your Visual Edits.
URL Targeting
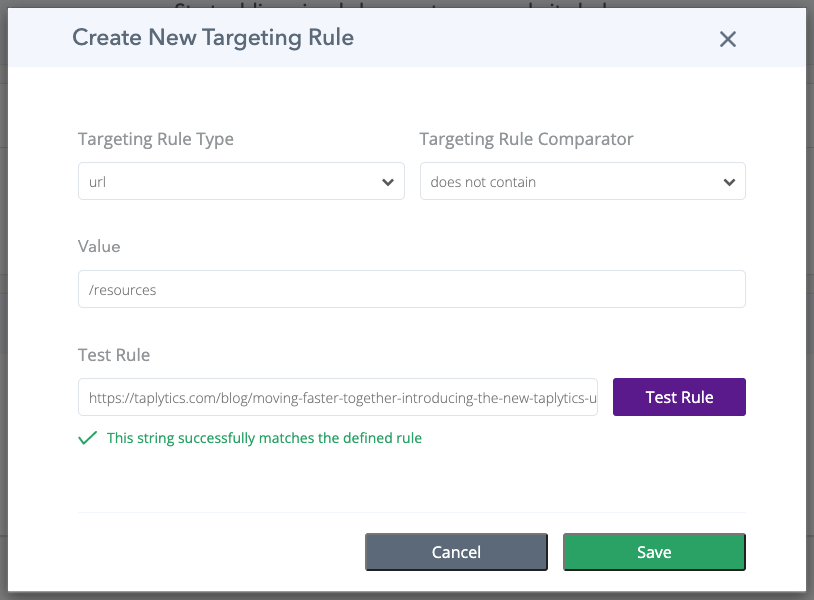
Create a URL Targeting Rule to limit Visual Web Editor changes to the URLs that you've allowed. You may also deliver these changes to multiple pages using a URL Targeting rule. To get started, choose url from the Targeting Rule Type dropdown.
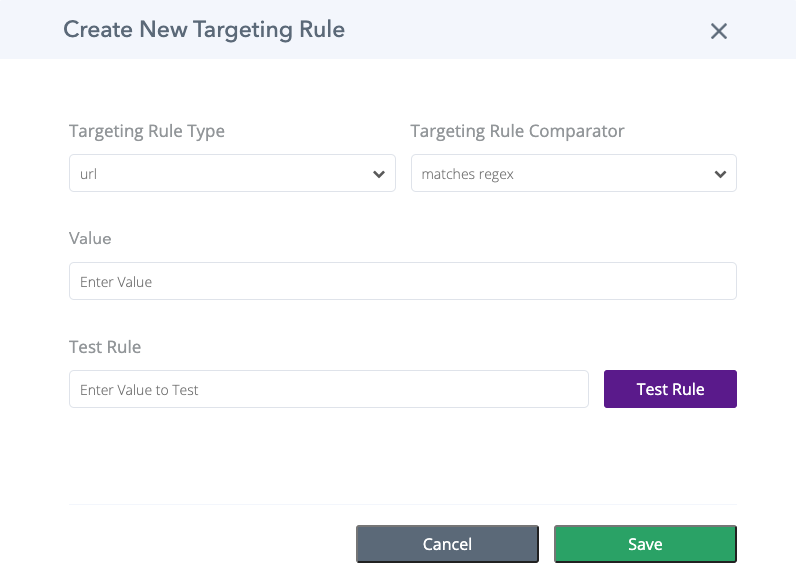
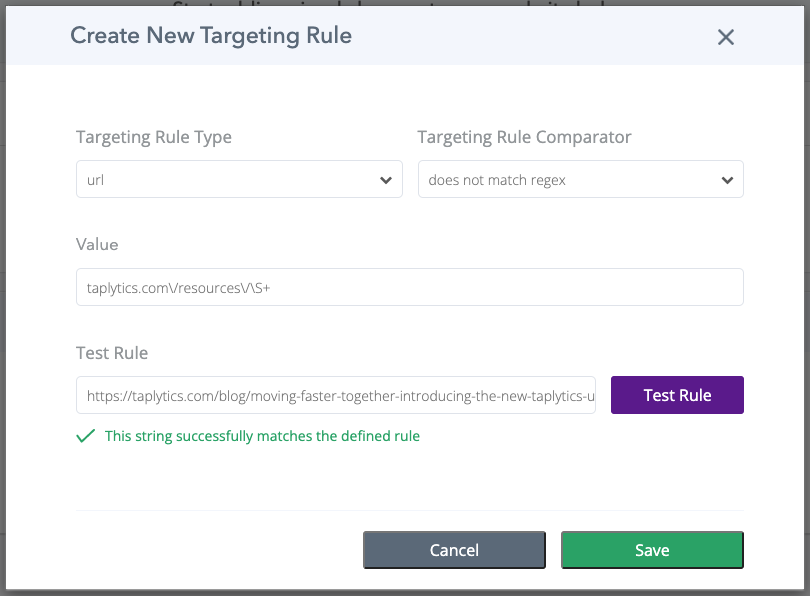
Next, you'll want to specify how Taplytics should recognize the target URL. There are various comparators that you may use to achieve the desired segmentation. More info can be found below under Comparator Types.
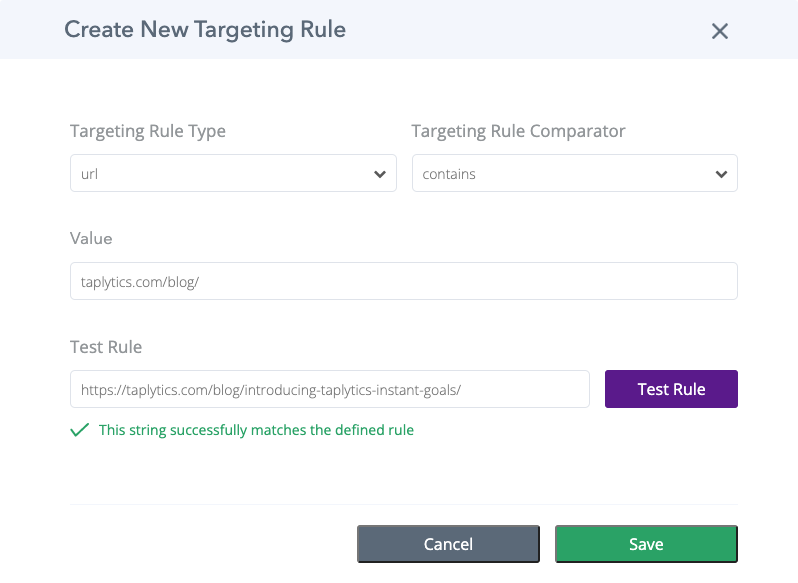
After you've filled in the details, you can Test your new Targeting Rule and Save it to proceed with the rest of the Experiment.
Cookie Targeting
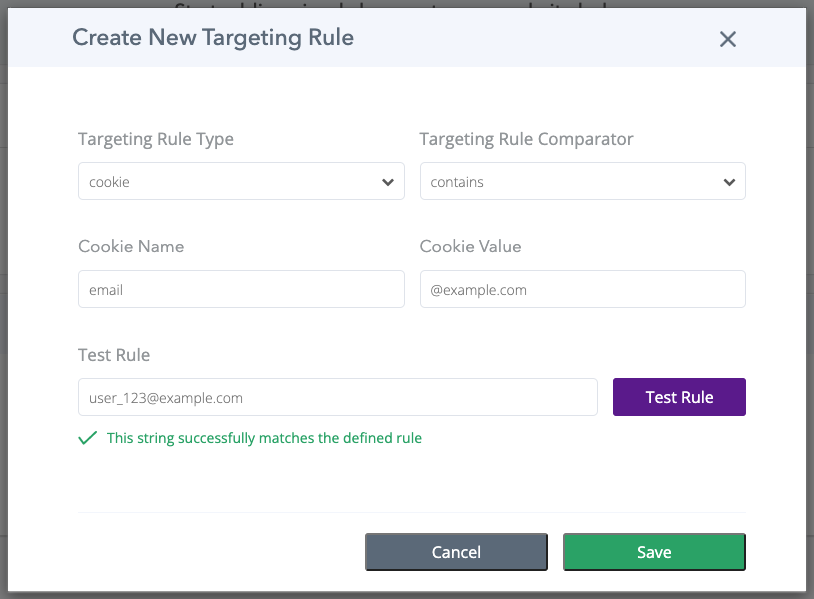
Create a Cookie Targeting Rule to limit Visual Web Editor changes to pages where a specified Cookie name and Cookie value is defined. To get started, choose cookie from the Targeting Rule Type dropdown.
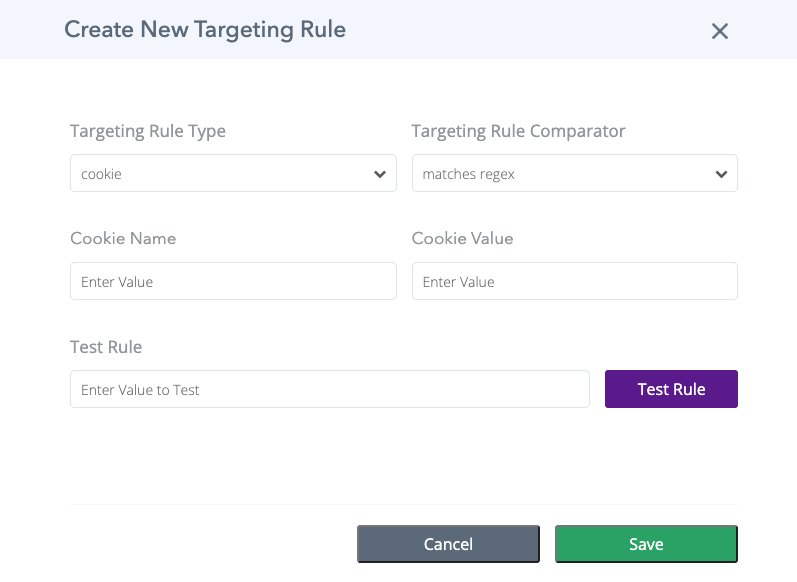
Next, you'll want to specify how Taplytics should recognize the Cookie combination. First, add the Name of the Cookie you wish to target. Then, you'll define what value(s) Taplytics should match on based on the Targeting Rule Comparator and Cookie Value. More info on the different comparators can be found below under Comparator Types.
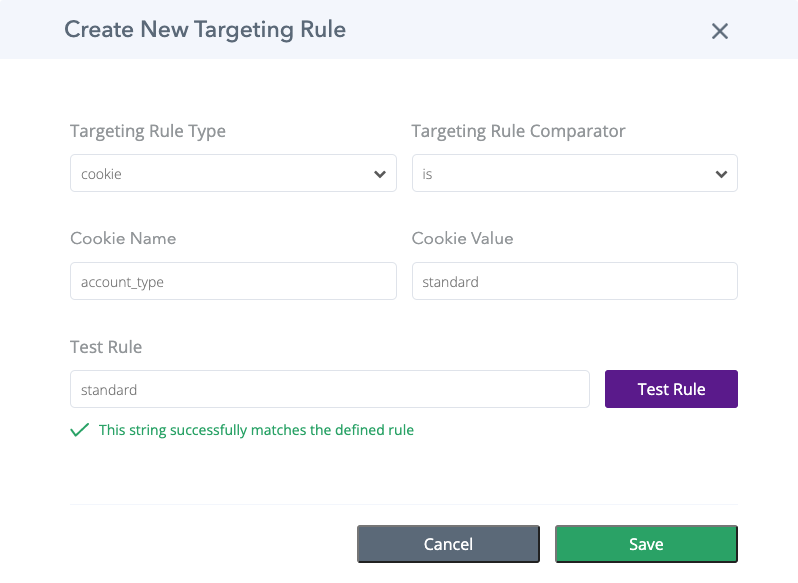
After you've filled in the details, you can Test different Cookie Values in the Test Rule section and Save it to proceed with the rest of the Experiment.
JavaScript Targeting
Create a JavaScript Targeting Rule to only apply Visual Web Editor changes when the self-calling JavaScript code that is added to the targeting rules returns true.
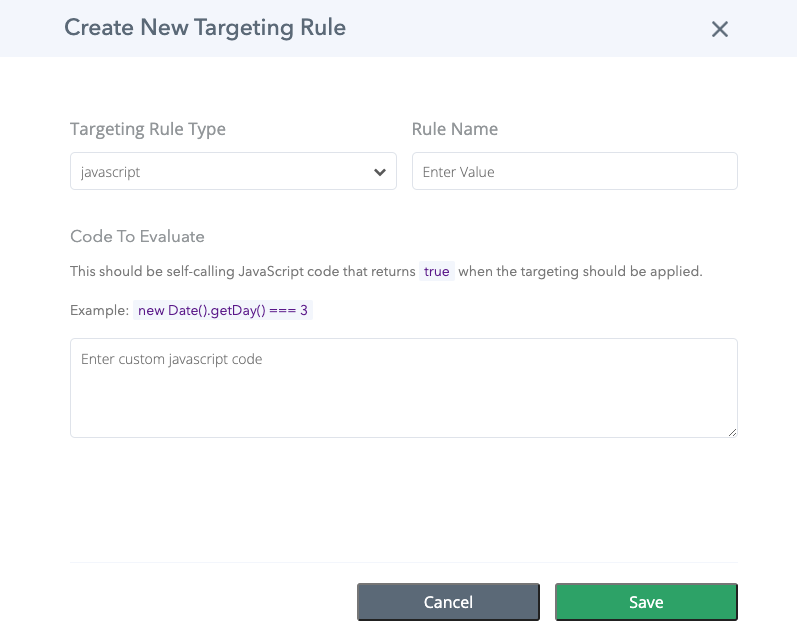
To get started, select javascript from the Targeting Rule Type dropdown and provide a name for the rule.
Next, add custom JavaScript code to the Code To Evaluate textbox. Ensure that the return type of this function is boolean.
Example:
Run this experiment only on Wednesdays.
new Date().getDay() === 3
Comparator Types
There are 6 different Targeting Rule Comparator types that you may use to define your target URL or Cookie Value. An explanation and example(s) of each comparator will follow.
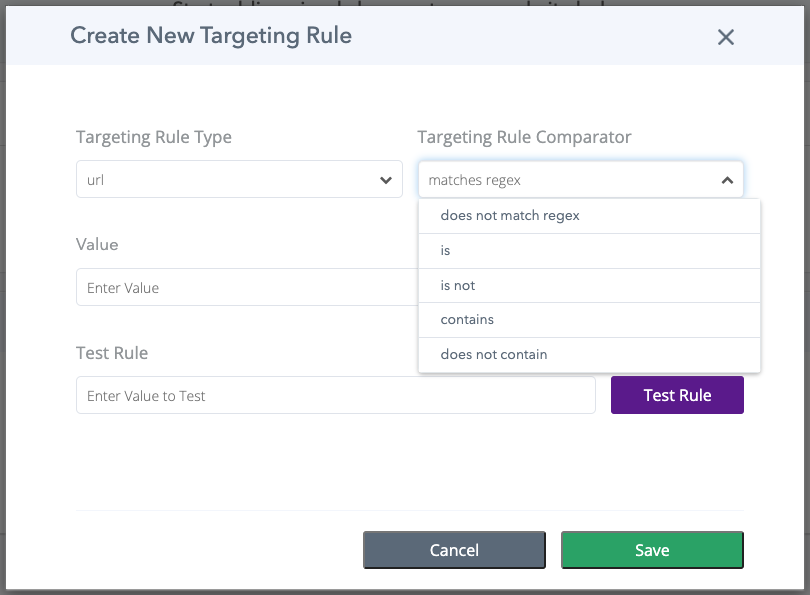
Matches Regex
Value is a Regular Expression that matches the URL.
Test Rule: https://taplytics.com/blog/moving-faster-together-introducing-the-new-taplytics-ui/
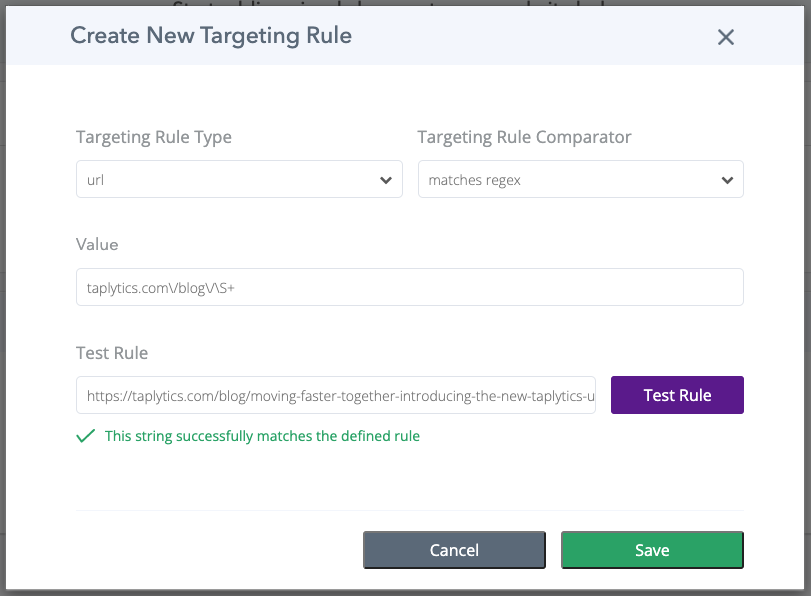
Value is a Regular Expression that matches the Cookie's value.
Test Rule: [email protected]
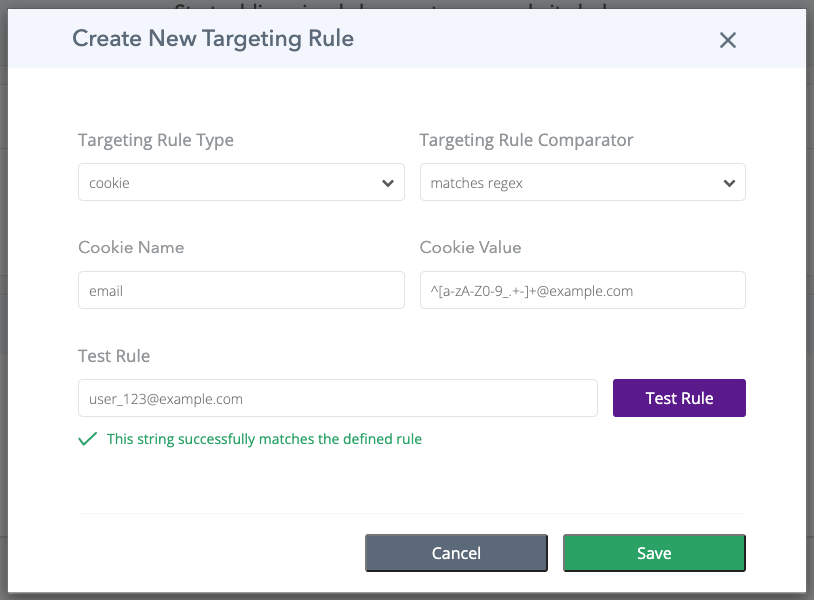
Does Not Match Regex
Value is a Regular Expression will match on all URLs that DO NOT match the Regular Expression
Test Rule: https://taplytics.com/blog/moving-faster-together-introducing-the-new-taplytics-ui/
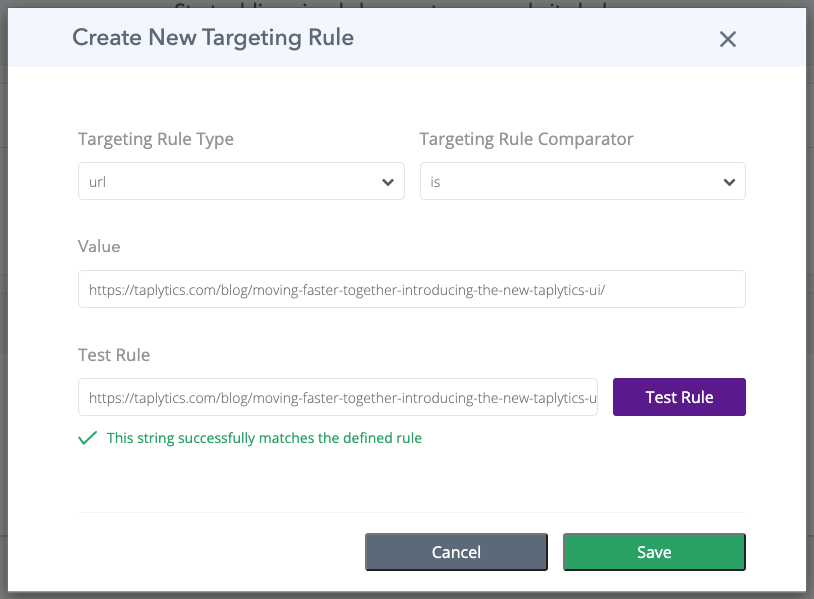
Is
Value must match the exact URL
Test Rule: https://taplytics.com/blog/moving-faster-together-introducing-the-new-taplytics-ui/
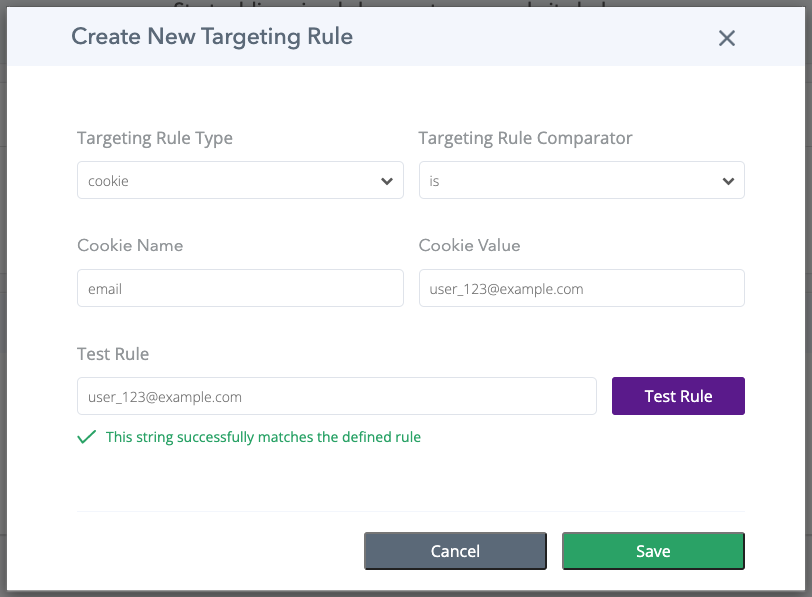
Value must match the Cookie's value
Test Rule: [email protected]
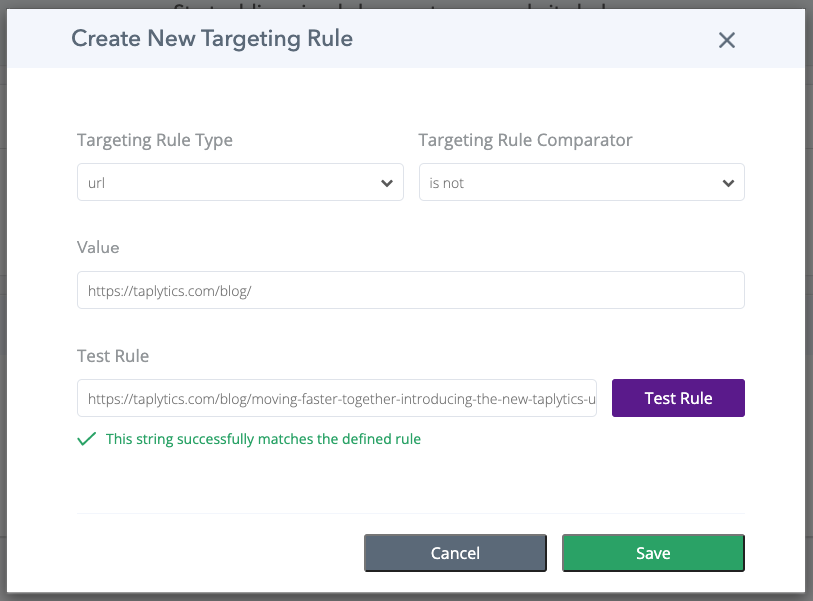
Is Not
Value must not match the exact URL
Test Rule: https://taplytics.com/blog/moving-faster-together-introducing-the-new-taplytics-ui/
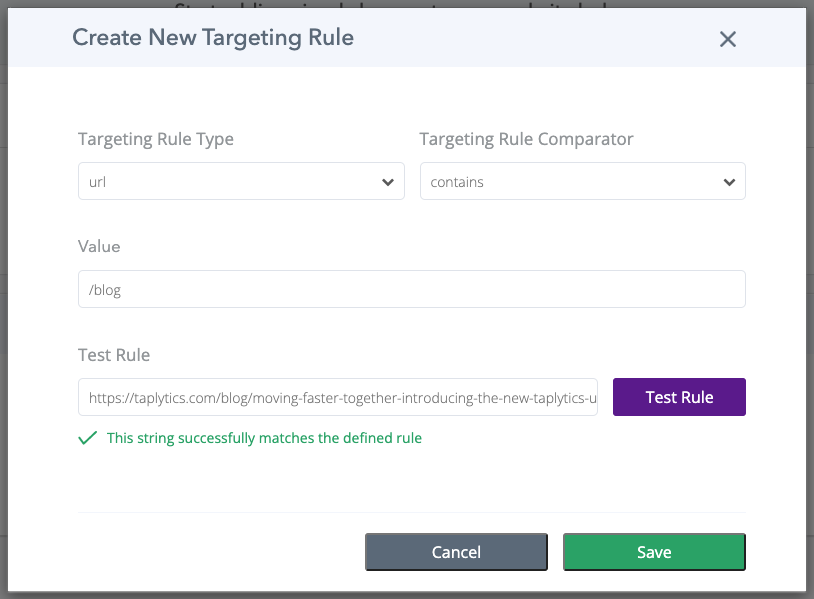
Contains
Value matches the exact URL or contains a substring of the URL
Test Rule: https://taplytics.com/blog/moving-faster-together-introducing-the-new-taplytics-ui/
Value matches the Cookie's value or contains a substring of the Cookie's value
Test Rule: [email protected]
Does Not Contain
Value does not match the URL nor exist in any substring of the URL
Test Rule: https://taplytics.com/blog/moving-faster-together-introducing-the-new-taplytics-ui/
Sharing Your Work
Once you are done setting up your Web experiment, you can share your work with a team member using QA URLs. For more information, visit our QA docs here.
Keep moving through the experiment work flow!
What's next? Move to the Code Blocks and Variables tab or start creating goals!
-
Leveraging Code Blocks and Variables (Web Code-Based Experiments)
-
Creating and customizing your Goals
-
Specifying the Audience Distribution
-
Reviewing the experiment set up and launching it to users!
Updated over 2 years ago
